Fabric grow bags are breathable, non-woven polypropylene containers that let air reach the root zone, triggering a process called air pruning where roots are naturally trimmed at the bag wall and regrow as dense, healthy lateral roots instead of circling and strangling themselves the way they do in hard plastic pots. For home growers, that translates to healthier plants, better drainage, and a container you can move, fold flat, and reuse season after season.
Grow Bag ToG Guide: Choose, Plant, and Care Step by Step

Marcus Holloway
16 Jun 2026
The short version: pick the right size for your crop (5 gallons minimum for most vegetables, 10-plus for tomatoes and trees), fill with a well-draining mix of potting soil, compost, and perlite, water deeply when the top 2-3 inches dry out, and feed every one to two weeks. Everything else is detail, and this guide covers all of it.
What grow bags are and why they actually work
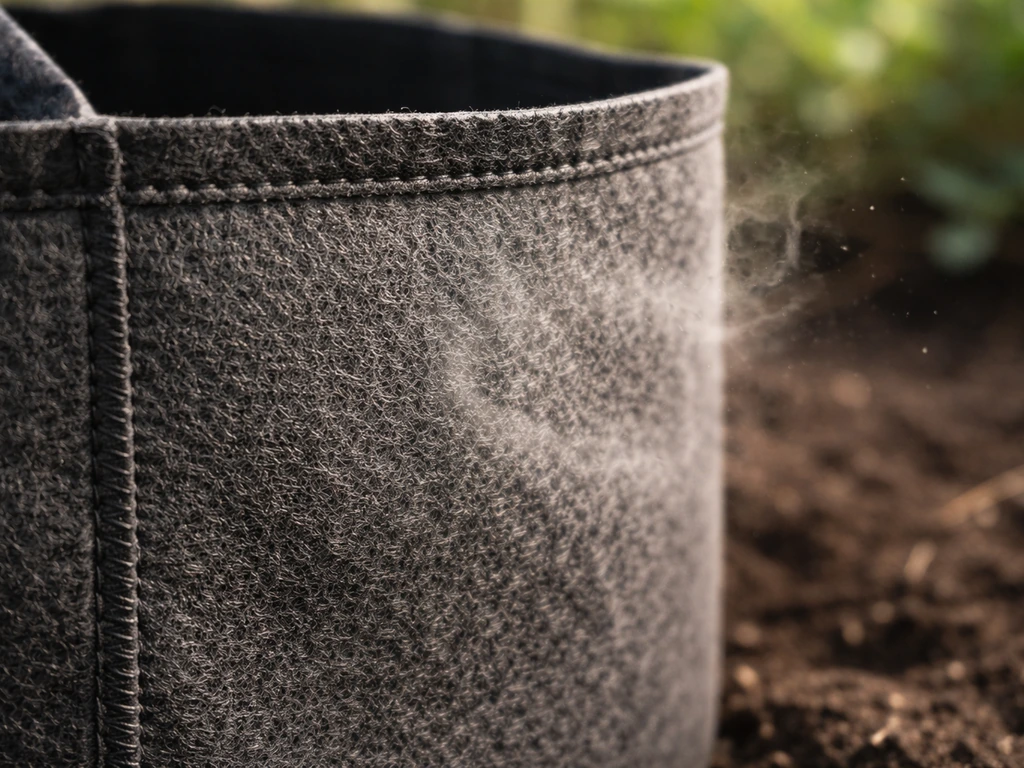
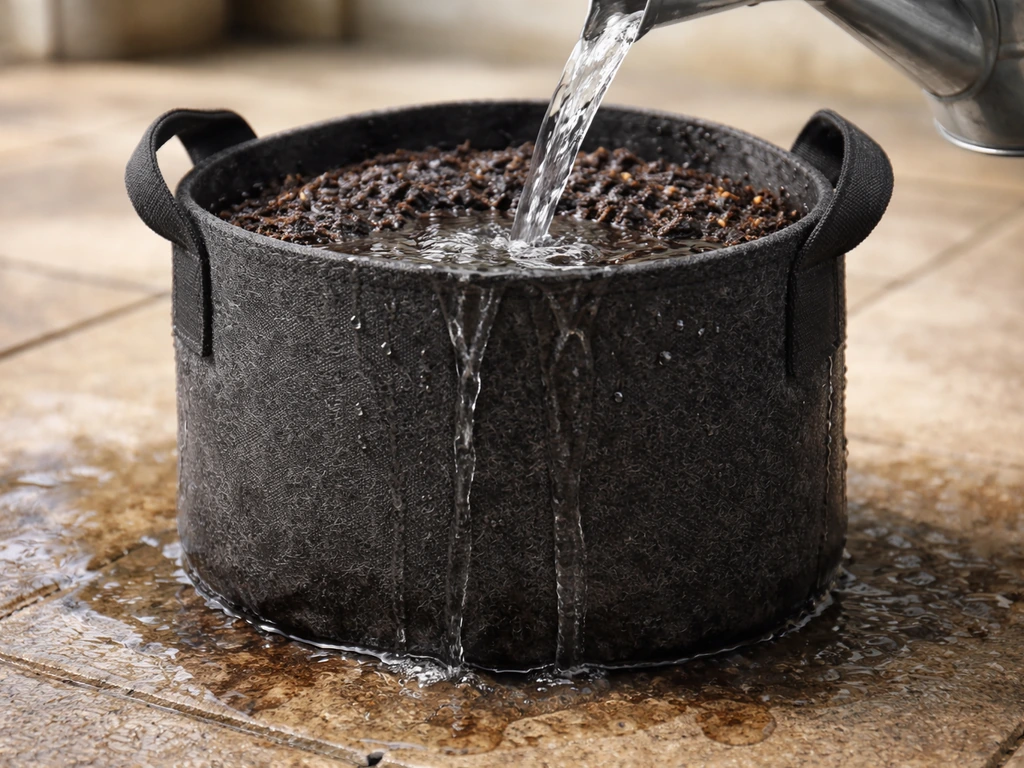
A fabric grow bag is essentially a soft-sided container made from non-woven polypropylene or a similar breathable material. The fabric is porous enough that air passes through the walls, and when a root tip reaches that wall it encounters dry air and gets naturally pruned. Instead of one long circling root, the plant responds by sending out multiple new lateral roots from that pruning point. Research on air-pruning containers confirms this directly: the number of root tips increases significantly because every boundary trim triggers new branching. More root tips means better nutrient and water uptake, which is why plants grown in fabric bags often outperform the same variety in a similarly sized plastic pot.
Beyond root health, the breathability helps regulate soil temperature and prevents the waterlogged conditions that kill more container plants than almost anything else. Colorado State University Extension is blunt about this: plants simply cannot grow in soil that stays continually saturated. Fabric bags drain fast and aerate constantly, which is a genuine structural advantage over solid-walled containers.
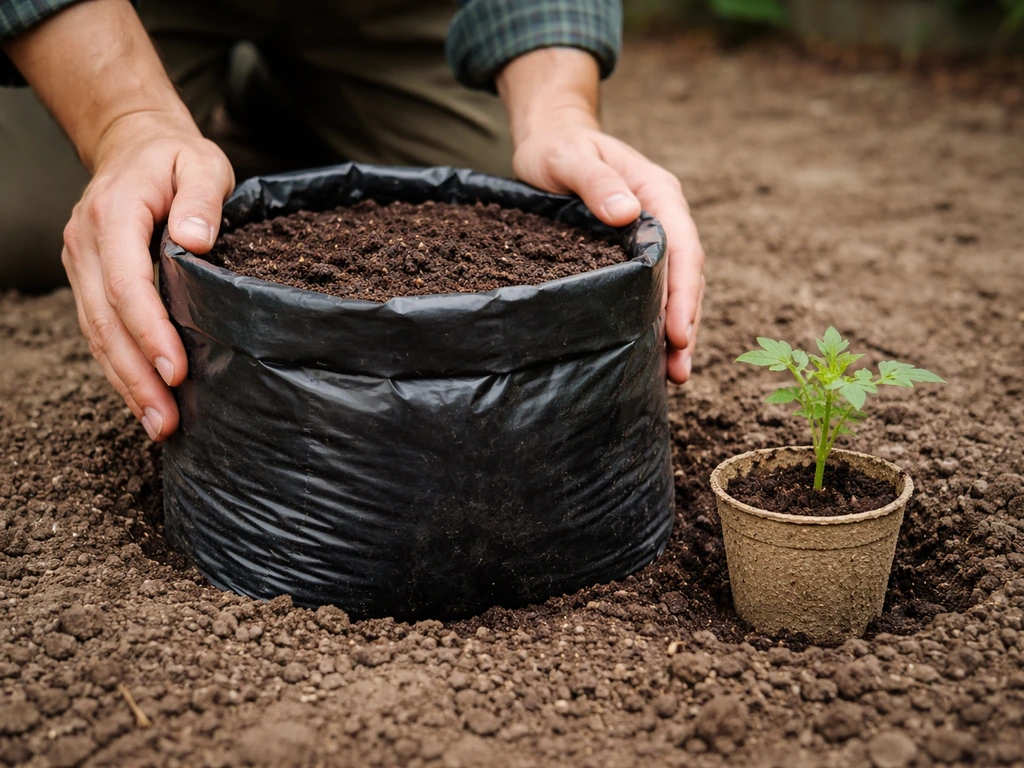
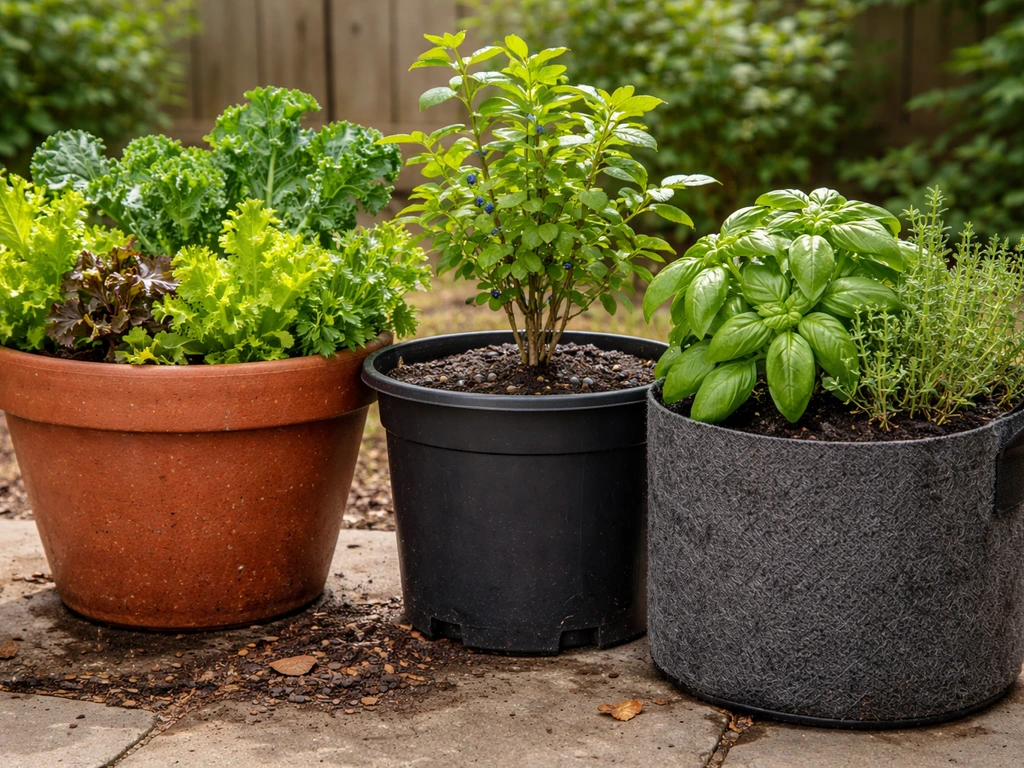
That said, grow bags are not always the best tool. If you want a permanent, low-maintenance setup that you never have to water twice a day in summer, a raised bed is probably a better fit. Grow bags reward growers who like flexibility: rotating crops, moving plants to follow the sun, managing aggressive plants like mint without letting them take over, or gardening on a patio or balcony with no ground access. If you're weighing the two options, grow bags win on portability and root health; raised beds win on water retention and long-term stability.
Choosing the right grow bag: size, fabric, and features
Size is the single most important decision you'll make when buying grow bags, and most beginners go too small. A cramped root zone means stressed plants, faster nutrient depletion, and bags that dry out within hours on a hot day. Here's a straightforward sizing reference based on extension guidance and what experienced growers actually use:
| Plant Type | Minimum Bag Size | Recommended Depth | Notes |
|---|---|---|---|
| Herbs (basil, parsley, cilantro) | 1-2 gallon | 6-8 inches | Can share a 5-gallon bag, 3-4 plants |
| Lettuce, spinach, radishes | 2-3 gallon | 6-8 inches | Shallow roots; width matters more than depth |
| Peppers, eggplant | 5 gallon | 12 inches | One plant per bag; real growers confirm this works |
| Strawberries | 5 gallon | 8-10 inches | Up to 3 plants per 5-gallon bag |
| Cucumbers, zucchini | 5-7 gallon | 12-18 inches | Vining types need trellis support alongside |
| Tomatoes (cherry/patio) | 5-7 gallon | 12-18 inches | Indeterminate types prefer 10+ gallon |
| Tomatoes (indeterminate) | 10-15 gallon | 18 inches | Most common grower recommendation; bigger = better |
| Potatoes | 10-15 gallon | 18+ inches | Deep bags allow hilling and higher yield |
| Dwarf fruit trees / shrubs | 25-45 gallon | 18-24 inches | Larger the better for perennials |
| Mushrooms (substrate bags) | Varies by block size | N/A | Typically 3-5 lb substrate blocks in autoclavable bags |
Fabric type and quality: what actually matters
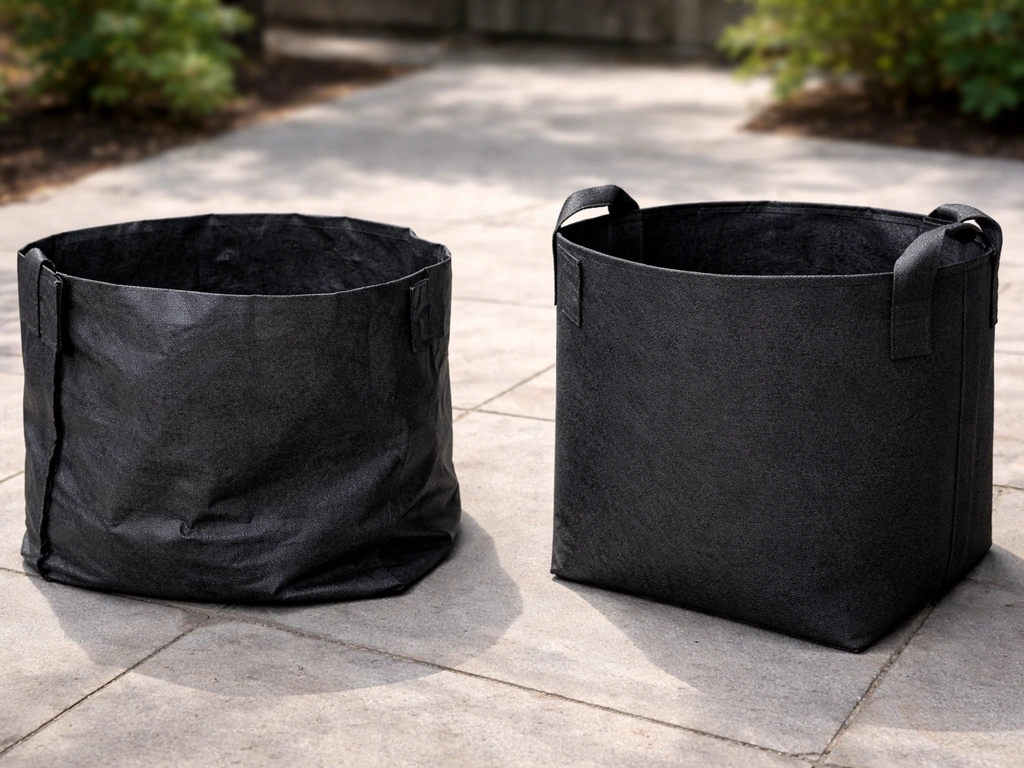
Most grow bags on the market are non-woven polypropylene, but quality varies significantly. Thin, cheap bags dry out faster, lose structural integrity within a single season, and sometimes let roots poke through aggressively. For outdoor use, look for UV-stabilized fabric rated for multiple seasons. Heavier fabric weight (typically 300g or more per square meter) holds its shape better and slows evaporation just enough to reduce your watering frequency without sacrificing the breathability that makes fabric bags worth using. Gardeners who've switched from thin to thicker bags consistently report fewer watering emergencies and bags that still look decent after two or three seasons.
A few other features worth paying attention to: reinforced handles are non-negotiable if you'll ever move a bag once it's full and wet (a 10-gallon wet bag is heavy), double-stitched seams prevent blowouts at the bottom where pressure concentrates, and a wide base keeps bags from tipping over when plants get top-heavy. Some bags have a felt-style interior lining that slows air pruning slightly but reduces evaporation, which can be useful in very hot, dry climates.
Soil mix and planting setup
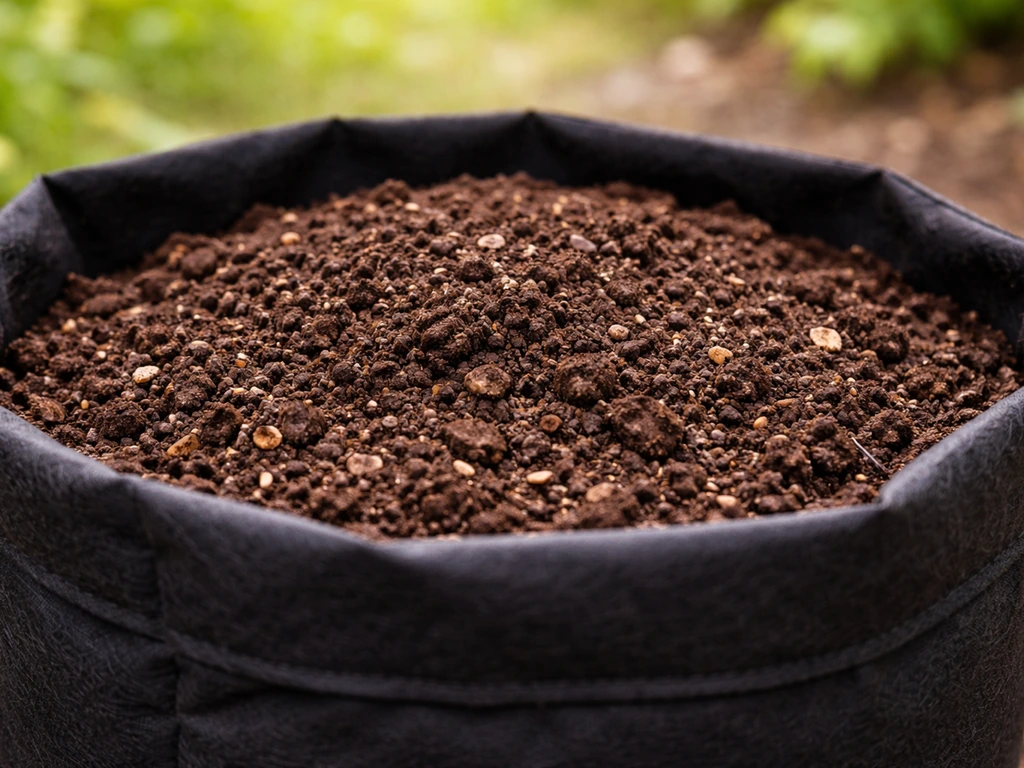
Never use garden soil or heavy field soil in a grow bag. University of Nebraska-Lincoln Extension is clear on this: field soil restricts growth and drainage in containers. It compacts, stops draining properly, and essentially turns your fabric bag into a soggy brick. You need a lightweight, well-structured mix that drains freely but holds enough moisture for roots to access between waterings.
A practical go-to mix for most crops is roughly 50-60% quality potting mix or compost, 20-30% perlite, and 10-20% coco coir. The perlite keeps things aerated and draining freely. The coco coir holds just enough moisture without waterlogging. The compost or potting mix provides structure and initial nutrients. Some growers skip the coco coir and just use potting mix plus perlite at a 2:1 ratio, which also works well. The key thing to avoid is layering different materials in the bag thinking you're creating drainage zones. UW-Madison Extension specifically warns against this because layered media actually impedes water movement; water moves best through a consistent column of the same mix.
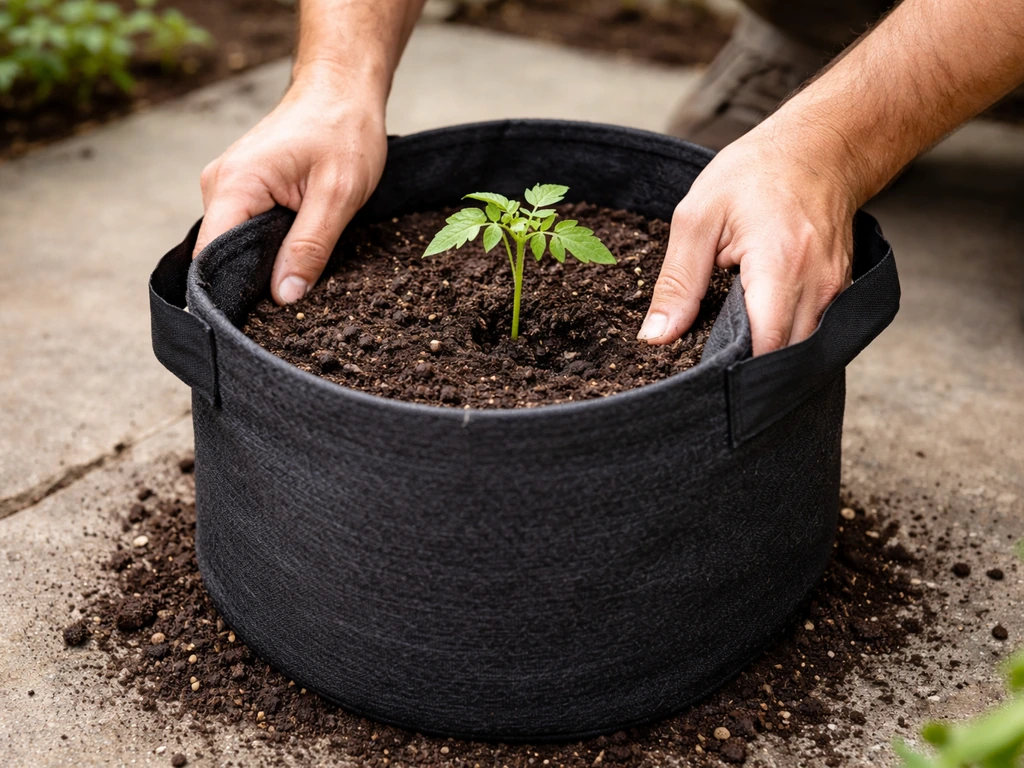
Planting setup and placement
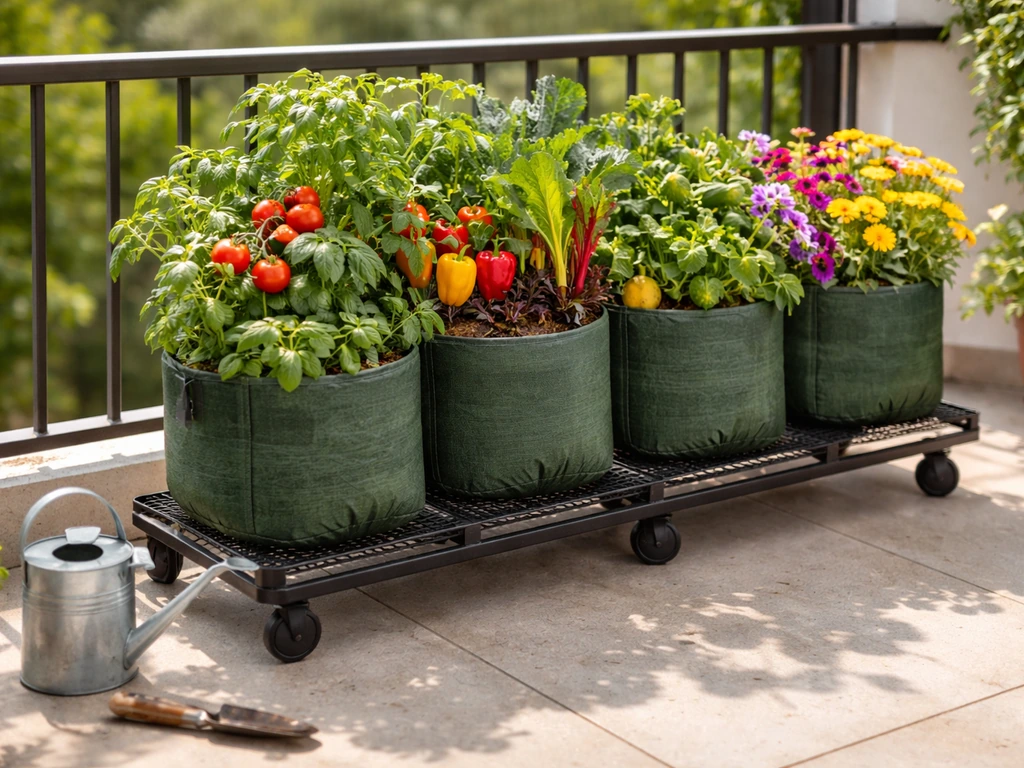
Fill your bag to about 2 inches below the rim to leave room for watering without overflow. Set the bag in its permanent spot before you fill it completely if size makes it unwieldy to move. If you want to streamline the whole grow bag garden setup, plan your placement and watering access first, then fill and plant with the right soil mix. For placement, prioritize the light requirements of your crop first, then think about accessibility for watering.
Placing bags on a slightly elevated surface like a wooden pallet helps with airflow underneath and catches excess drainage without creating a muddy mess. If you're on a balcony or patio, a tray underneath is worth considering, but make sure it's not so deep that it holds water long enough to re-saturate the bag from below.
When transplanting seedlings, plant at the same depth they were growing in their starter container. Water in thoroughly immediately after planting, pouring slowly until water drains from the sides and bottom of the bag. That first deep watering settles the mix around the roots and eliminates air pockets.
Crop-specific guidance
Vegetables
Tomatoes are the most popular grow bag crop, and they genuinely thrive in fabric containers when you give them enough room. Go 10-15 gallons for indeterminate varieties like Cherokee Purple or Sungold. Patio or determinate types can manage in 7 gallons. Set a sturdy stake or cage before the plant gets big, because a mature tomato in a fabric bag will tip over if you try to stake it late. Feed every two weeks with a balanced liquid fertilizer once flowering starts, switching to a lower-nitrogen, higher-potassium formula at fruit set.
Peppers and eggplants do well in 5-gallon bags, one plant per bag. They're slightly more drought-tolerant than tomatoes, but in summer heat a 5-gallon bag in full sun can dry out fast, so check daily. Cucumbers and zucchini need at least 5-7 gallons and a trellis or cage nearby. Lettuces, radishes, and most herbs are easy in 2-3 gallon bags. Potatoes deserve special mention: a 15-gallon bag lets you start planting near the surface and mound soil up around the stems as the plant grows, which is exactly how you maximize yield.
Flowers
Most annual flowers like marigolds, petunias, and nasturtiums are happy in 3-5 gallon bags and look great on a patio. Perennial flowers or larger ornamentals like dahlias do better in 7-10 gallon bags that give their root systems room to establish. The same general soil mix works well: good potting mix with added perlite for drainage. Flowers in grow bags benefit from deadheading and a regular balanced liquid fertilizer every two weeks during the growing season to keep blooming strong.
Trees and shrubs
Fabric grow bags are legitimately useful for dwarf fruit trees, blueberries, and woody shrubs, especially when you need to overwinter a plant that isn't cold-hardy in the ground. A dwarf apple, citrus tree, or fig in a 25-45 gallon fabric bag can spend spring through fall outdoors and then move into an unheated garage or greenhouse for winter.
The air-pruning effect is particularly valuable here because trees in standard pots develop girdling roots within a few years, which eventually strangles the plant. Use a mix that drains well but has more compost to support the longer-term nutrient needs. Top-dress with compost each spring and fertilize with a slow-release granular fertilizer at the start of the growing season, supplemented with liquid feed monthly.
Mushrooms
Mushroom cultivation in bags is a different process from vegetable growing, and the bags used are quite different too. Mushroom substrate bags are typically autoclavable polypropylene bags designed to withstand sterilization, not the fabric breathable bags used for soil-based growing. You fill them with a pasteurized or sterilized substrate (sawdust, straw, or supplemented hardwood depending on species), inoculate with spawn after sterilization, and incubate until the substrate is fully colonized by mycelium.
Contamination prevention depends heavily on clean procedures during spawn introduction. For fruiting, you need high relative humidity in the 85-95% range, which is achieved by misting the colonized block several times a day and keeping the fruiting environment enclosed. Avoid letting water pool on the developing mushrooms since standing water on fruiting bodies encourages rot. For a deeper dive into spawn bag specifics, the spawn bag grow guide covers that process in more detail.
If you are using spawn bags, follow a spawn bag grow guide for step-by-step timing, inoculation, and incubation.
Watering, feeding, and keeping things going all season
Watering
The biggest adjustment most growers need to make when switching to fabric bags is watering frequency. Fabric bags lose moisture faster than plastic pots, especially thin ones in full sun. In peak summer, a 5-gallon bag with a tomato plant in it can dry out within 24 hours on a hot day. Stop watering on a fixed schedule entirely. Instead, use the finger test: push your finger 2-3 inches into the soil, and if it feels dry at that depth, water. If it still feels damp, wait and check again tomorrow. University of Maryland Extension specifically recommends checking containers daily in summer, not every few days.
When you do water, water deeply. Pour slowly until you see water coming out of the sides and bottom of the bag. This ensures the entire root zone gets wet, not just the top few inches. OSU Extension consistently emphasizes this: water until it exits the drainage holes. If water runs straight through too fast, your mix may be too dry and has pulled away from the bag walls, or it's too compacted. Slow the flow or water twice in quick succession to let the first pass rewet the surface before the second goes deep.
Feeding
Container plants need regular feeding because every watering pushes some nutrients out through the drainage. NC State Extension makes this plain: nutrients in container media get depleted quickly and ongoing fertilization is not optional for a productive container garden. You have two practical routes: slow-release granular fertilizer worked into the top inch of soil at planting and refreshed every 3-4 months, or liquid fertilizer applied on a schedule.
For liquid feeding, a common and effective approach is full-strength application every two weeks for most crops. For heavy feeders like tomatoes and cucumbers in their fruiting stage, University of Maryland Extension suggests light fertilization roughly every two weeks throughout the harvest period. At half-strength weekly is another option some growers prefer because it's gentler and consistent. Pick one approach and stick with it rather than alternating randomly.
General maintenance through the season
Beyond watering and feeding, there's not much active maintenance required with grow bags. Keep an eye on the soil level: the mix will settle over the season and you may need to top it up in mid-season. Remove dead foliage and spent flowers regularly. Check for pests on the undersides of leaves weekly, especially once temperatures warm up. If you have bags sitting directly on concrete in full sun, the root zone can get very hot by mid-afternoon; a simple move to a slightly shaded spot during the hottest part of the day or a layer of mulch on the soil surface helps regulate temperature.
Troubleshooting common grow bag problems
| Problem | Likely Cause | Fix |
|---|---|---|
| Bag drying out within hours | Thin fabric, high heat, or sandy mix | Upgrade to thicker fabric; add more coco coir to mix; water twice daily or use drip irrigation |
| Water runs straight through without wetting soil | Soil has pulled away from bag walls after drying out | Water slowly in two passes; push mix gently back against walls; consider adding coco coir for better water retention |
| Water not wicking up from bottom watering | Mix is inconsistent or has layered pockets | Switch to top watering; avoid layering different media; use a uniform mix throughout |
| Yellowing lower leaves | Nitrogen deficiency from nutrient depletion | Begin or increase liquid fertilizer schedule; check drainage is not flushing nutrients too fast |
| Wilting despite moist soil | Waterlogged roots causing root rot | Check that water is actually draining freely; reduce watering frequency; ensure mix has enough perlite |
| Roots poking through bag walls | Natural air pruning (normal) or overcrowding | If minor, this is normal and expected; if extensive, plant may need a larger bag next cycle |
| Bag losing shape and tipping over | Low-quality fabric or top-heavy plant | Use a wider base bag; stake plants earlier; upgrade to heavier fabric next purchase |
| Mold on soil surface | Poor airflow or overwatering | Let surface dry between waterings; improve air circulation around bags; reduce watering frequency |
| Nutrient burn (brown leaf tips) | Over-fertilizing or fertilizer concentration too high | Flush bag with plain water; reduce fertilizer concentration or frequency; switch to half-strength liquid feed |
The two problems that trip people up most are drying out too fast and the opposite, waterlogging that looks like drying out because the plant wilts in both cases. If you're watering heavily and the plant still wilts in the afternoon, check drainage before adding more water. Lift the bag slightly; if it feels very heavy and no water drains when you tilt it, root rot from overwatering is likely the culprit, not dehydration.
Harvesting, reusing your bags, and storing them between seasons
Harvesting
Harvesting from grow bags works exactly like harvesting from any other container or garden bed. There are no special considerations for the bag itself. For root crops like potatoes, the advantage is clear: tip the bag onto a tarp and you can harvest everything without digging. It's one of the most satisfying ways to grow potatoes precisely because of this. For fruiting crops, harvest regularly to keep plants productive. Leaving overripe fruit on the plant signals it to stop producing.
Reusing grow bags
Most quality fabric grow bags can last multiple seasons if you treat them reasonably well. At the end of the season, empty the bag completely, shake out loose soil, and rinse the fabric with a hose. To disinfect before reuse, University of Minnesota Extension recommends cleaning first to remove all organic material, then applying a diluted bleach solution (roughly 1 part bleach to 9 parts water), letting it sit briefly, then rinsing thoroughly. This is especially important if you had any disease issues during the season. After rinsing, let the bag dry completely in the sun before folding for storage. Never store a damp bag: mold will develop and the fabric will degrade faster.
One thing to think carefully about with reuse: don't reuse the old soil from the bag. Container soil is depleted of nutrients after a full season, may harbor disease spores, and loses its structure. Compost the old mix and start fresh each year. The cost of a new bag of potting mix is minimal compared to the cost of a failed crop from exhausted soil.
Storage between seasons
Once your bags are clean and fully dry, fold or roll them flat and store in a cool, dry location out of direct sunlight. UV exposure degrades polypropylene over time even in UV-stabilized bags, so keeping them out of sunlight during the off-season extends their life. A plastic storage bin with a lid works well and keeps pests from nesting in folded fabric. Done right, a decent-quality bag can realistically last three to five seasons, which makes the per-season cost very reasonable compared to buying new plastic pots every year.
If you're just getting started with fabric grow bags or want to go deeper on specific aspects of setup, there are related guides on grow bag planting specifics, practical grow bag tips, and full garden setup approaches that build naturally on everything covered here. If you're still deciding what grow bag meaning actually is in practice, the grow bag planting specifics guide can help you connect the concept to setup and results.
If you want step-by-step grow bag instructions from filling the bag to watering and feeding, follow the grow bag instructions guide grow bag planting specifics. If you want more targeted grow bag tips for watering schedules, soil mix, and plant spacing, that guide has you covered practical grow bag tips. Use this grow bag planting guide as you plan your bag size, soil mix, and watering routine for healthy harvests.
If you are curious about grow bag alternatives, the same principles of drainage, root space, and consistent moisture also apply to containers like raised beds and fabric pot systems. Start with one or two bags this season, see how they work in your conditions, then scale up from there. Most growers who try fabric bags don't go back.
FAQ
Can I reuse a grow bag for a new crop without sanitizing it?
You can, but only if the prior season had no disease issues and you fully clean off old roots and debris. For higher-risk crops (tomatoes, peppers), sanitize before reuse, then always start with fresh potting mix, since depleted media is a bigger problem than the bag itself.
What’s the fastest way to tell if my grow bag mix is too dry or not draining well?
Do a weight check and a drainage check together. After watering, wait 10 to 15 minutes, then lift the bag slightly, if it’s still extremely heavy and water is not moving out, you likely have compaction or a poor mix. If it feels light and the top looks dry within hours, you’re under-watering for your conditions.
Should I add fertilizer right away after planting, or wait until the first feeding?
If you’re using a mix with compost plus potting mix, wait at least 2 to 3 weeks before starting liquid feeding for most vegetables. Start earlier only if your mix is mostly peat-based potting mix with little compost, and avoid strong fertilizer immediately after transplanting because salt buildup can stress roots.
How do I prevent the soil from pulling away from the bag walls?
This usually happens when the mix dries out too far. Use consistent moisture, water slower so the first pass re-wets the surface, and consider adding a thin top layer (up to about 1 inch) of compost or mulch to reduce rapid evaporation. If it happens mid-season, rehydrate by watering twice in quick succession rather than one heavy pour.
Is there a good way to mulch or cover the soil in a fabric grow bag?
Yes, use a light top dressing like a thin compost layer or coarse mulch to shade the surface, but keep mulch off the stem area to reduce rot risk. Avoid thick, dense layers that block evaporation entirely, because you still want the pot to dry between waterings and maintain airflow.
What should I do if my plant tips over in a grow bag (especially tomatoes)?
Stake or cage early, before the plant gets tall and heavy. If it already started leaning, don’t just retie, anchor the support securely into the bag’s base and, if possible, rotate the bag so the heaviest side faces the trellis. For very top-heavy varieties, consider upsizing the bag instead of trying to “fix it” with stakes alone.
Can I grow multiple plants in one grow bag?
Sometimes, but follow crop-specific spacing because overcrowding speeds nutrient depletion and can trap humidity. Most beginners do best with one plant per bag for peppers, eggplants, and indeterminate tomatoes. For compact lettuces and herbs, multiple plants can work in 2 to 3 gallon bags, as long as you thin to maintain airflow.
Are fabric grow bags safe on balconies or on patios with drainage trays?
They’re safe as long as you use a tray that drains away rather than one that keeps water sitting. Keep trays shallow and empty excess runoff promptly, standing water under the bag can re-saturate the fabric from below and encourage root problems.
Do I need to drill extra drainage holes in a fabric grow bag?
Usually no. Quality fabric bags are designed to drain through the bottom and breathable sides. If your bag is sitting in a way that blocks drainage holes, fix placement instead (for example, lift it slightly on a pallet). If water still pools, you may have a blocked seam or poor-quality bag that should be replaced.
How should I transition plants when moving bags between indoors and outdoors for overwintering?
Harden off gradually by increasing outdoor time over 7 to 10 days, then reduce watering once growth slows. When bringing plants indoors, inspect for pests, remove dead leaves, and place in the brightest spot you have, since warm indoor air with low light often leads to weak growth and delayed recovery.
Next Articles
Grow Bag Alternatives: Best Options for Every Plant
Compare grow bag alternatives for veggies, flowers, trees and mushrooms, with setup tips, sizing, and fixes for drainage
Best Soil for Grow Bags: Mix Recipes and How Much to Add
Best soil for grow bags: mix recipes, how much to add by bag size, and vegetable tweaks for strong drainage and yield.
Pros and Cons of Grow Bags for Vegetables and Flowers
Grow bag pros and cons for veg, flowers, trees, and mushrooms: aeration, mobility, and watering plus fixes for common is