Using a fabric grow bag correctly comes down to four things: picking a bag big enough for your crop, filling it with a well-draining mix, watering more often than you think you need to, and feeding regularly because nutrients leach out fast. Grow bag meaning refers to what a grow bag is used for, how it functions as a container, and why its fabric design matters for drainage and root health fabric grow bag. Get those four things right and grow bags genuinely outperform most rigid containers, thanks to air pruning and side drainage that keeps roots healthy and prevents rot. Get them wrong and your plants will stall, dry out, or starve. This guide walks you through every step, from choosing your first bag to cleaning it at the end of the season.
Grow Bag Instructions: Step-by-Step Setup and Planting Guide
Picking the right fabric grow bag
Size: go bigger than you think
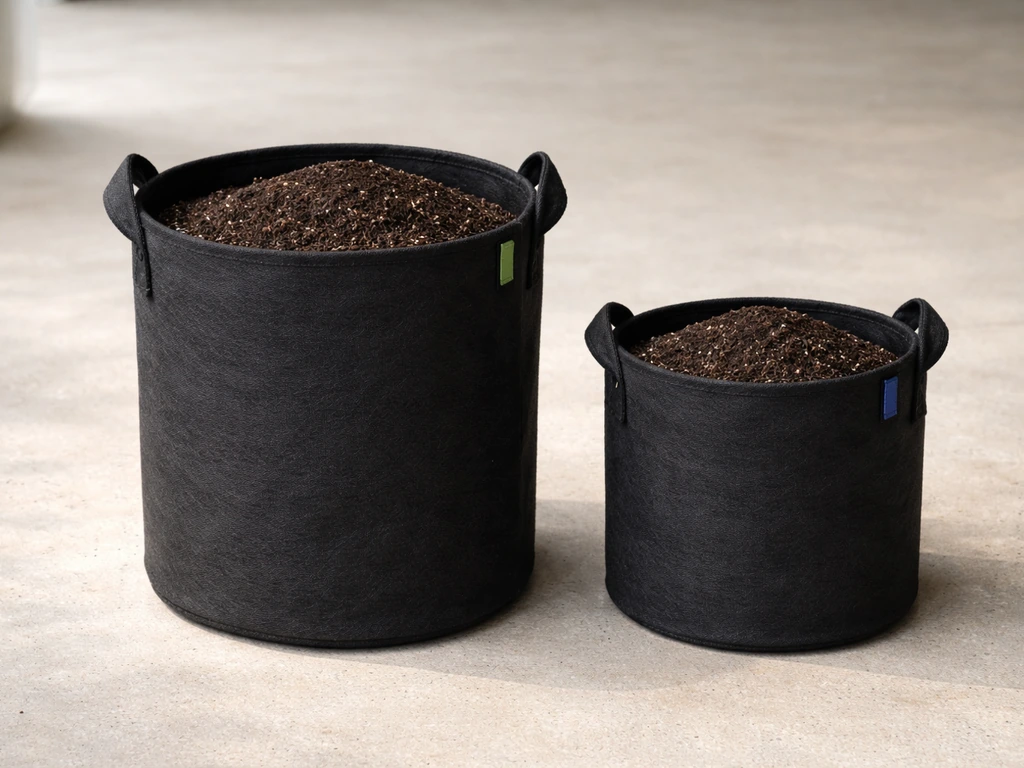
Soil volume is the most important spec on any grow bag listing. A bag that looks roomy can still be too small if the gallon rating is low. As a practical starting point: small herbs and lettuce do fine in 3 to 7 gallons, tomatoes and peppers need at least 10 to 15 gallons, and large crops like potatoes, cucumbers, and zucchini want 15 to 25 gallons. A 25-gallon bag is roughly 22.5 inches across and 15 inches tall, so it takes up real space but gives roots room to work. When in doubt, size up. A plant in a bag that's too small will stall; a plant in a bag that's slightly too large will just use the extra room.
Material: non-woven polypropylene vs. felt
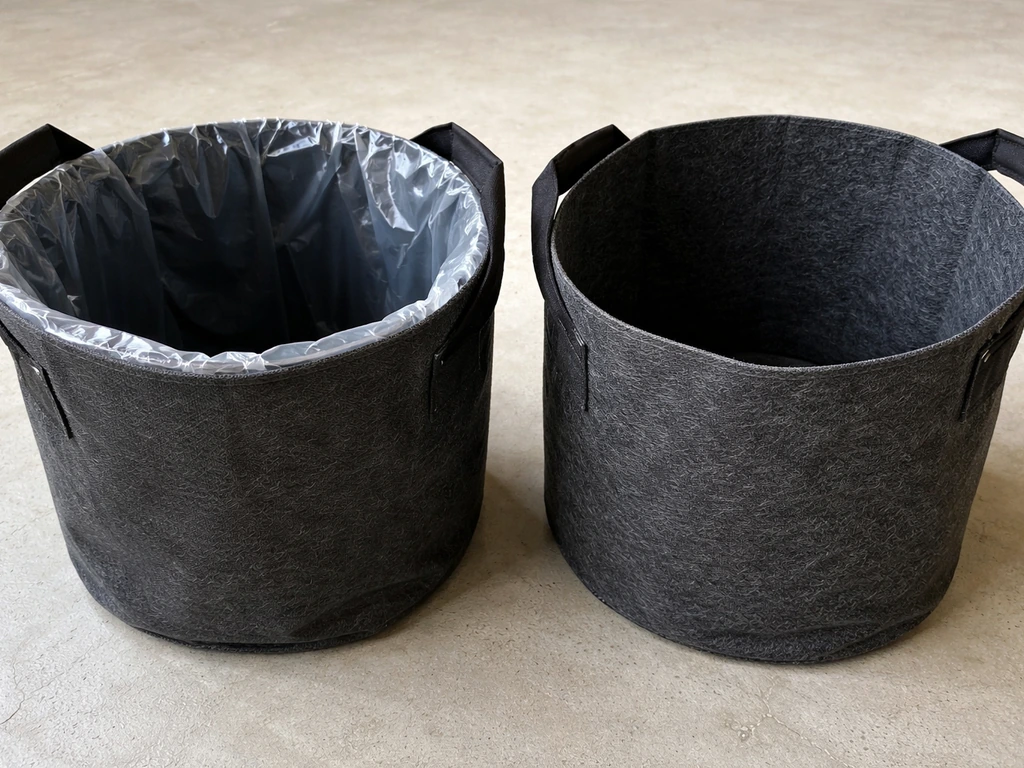
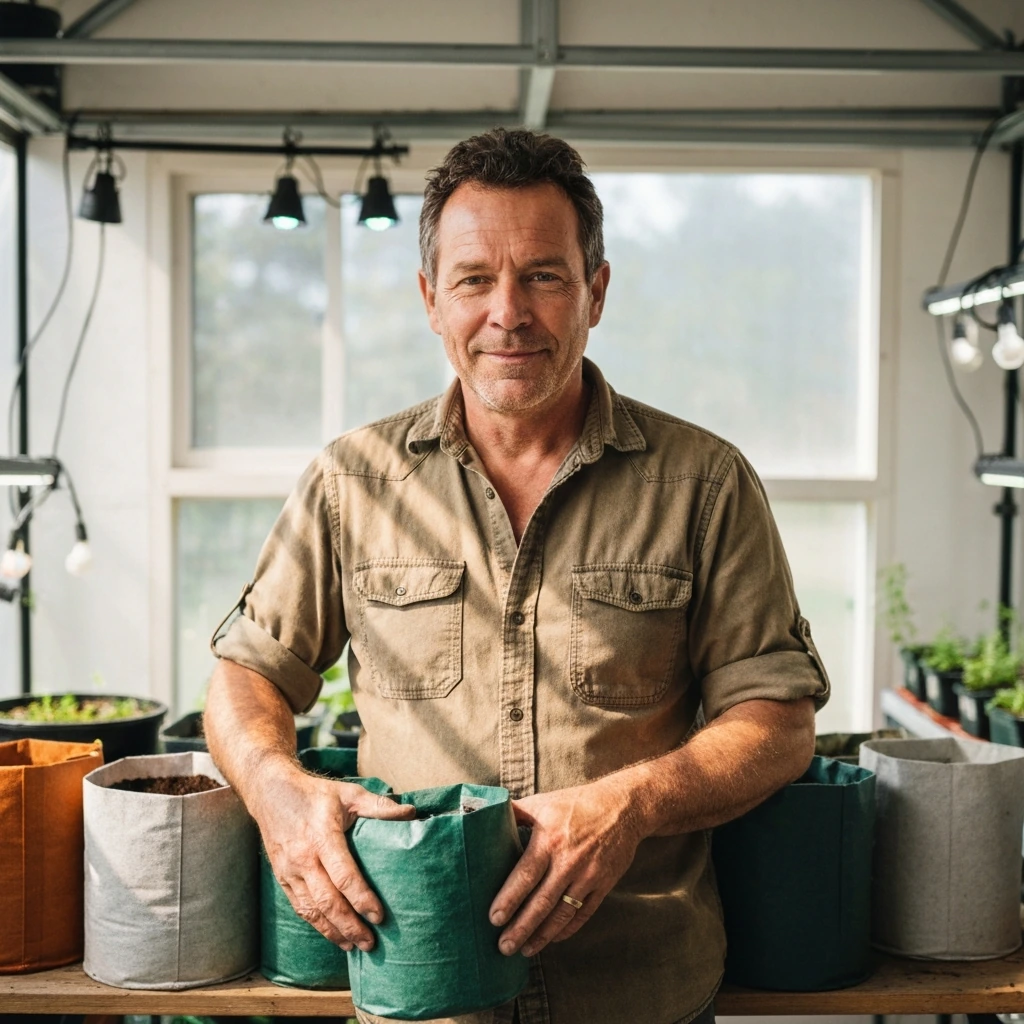
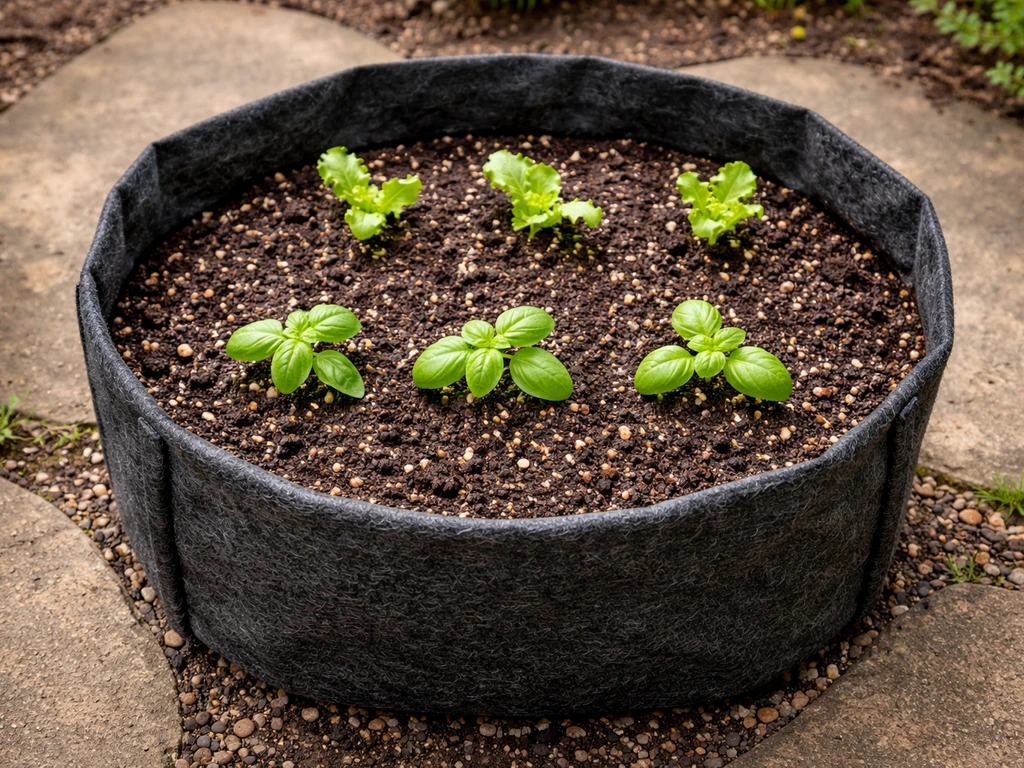
Most fabric grow bags are made from either non-woven polypropylene or a heavy-duty needle-punched felt. Both are breathable and allow the sidewall drainage and air pruning that make fabric bags worth using. Felt tends to feel softer and holds its shape a bit better when full, while non-woven polypropylene is usually lighter and cheaper. Either works well for vegetables and flowers. If you want a straightforward grow bag garden setup, start with a breathable bag size that matches your crop and use a well-draining potting mix. For trees and perennials that will stay in the bag longer, choose a thicker felt or a rated-weight fabric (200 to 300 GSM is a reasonable benchmark for durability).
Lined vs. unlined
Lined grow bags have an inner plastic liner that slows moisture loss through the sides, which is useful in hot or arid climates where an unlined bag can dry out alarmingly fast. Unlined bags provide maximum drainage and aeration, which is what you want in humid conditions or with plants that hate wet feet. The tradeoff with lined bags is that the liner can warp if exposed to direct hot air or very hot water, and you lose some of the sidewall drainage that makes fabric bags special. For most beginner setups in temperate climates, unlined bags are simpler and more forgiving.
A quick size reference by crop
| Crop | Minimum bag size | Notes |
|---|---|---|
| Lettuce / salad greens | 3–5 gallons | Can grow several plants per bag |
| Herbs (basil, parsley) | 5–7 gallons | One large plant or 2–3 smaller ones |
| Peppers | 10–15 gallons | One plant per bag |
| Tomatoes (determinate) | 10–15 gallons | One plant per bag |
| Tomatoes (indeterminate) | 15–25 gallons | One plant; needs support stake |
| Cucumbers / zucchini | 15–25 gallons | One plant; train vertically to save space |
| Potatoes | 15–25 gallons | 3–5 seed potato chunks |
| Small flowering annuals | 3–7 gallons | 2–4 plants per bag depending on species |
| Dwarf fruit trees / small shrubs | 25–45 gallons | One plant; repot or in-ground within 2–3 seasons |
Prepping the bag and choosing your growing mix
Never fill a fabric grow bag with garden soil straight from the ground. In-ground soil compacts inside a bag, kills drainage, and suffocates roots. You want a mix that drains well while retaining just enough moisture between waterings. A reliable all-purpose recipe is two parts quality potting mix, one part perlite, and one part compost. The perlite keeps things loose and draining; the compost adds slow nutrients; the potting mix provides structure. Pre-mixed potting soils labeled for containers or raised beds (not bagged topsoil) also work fine on their own if you're keeping things simple.
Before you fill the bag, shake it out and stand it up so it takes its full shape. Fill it to about two to three inches below the rim, not all the way to the top, so water doesn't run off the surface before it can soak in. You don't need to line the bottom with gravel or landscape fabric; the breathable walls handle drainage on their own. If you're using a lined grow bag, check that the liner is seated flat and not bunched, since a bunched liner can create a low-drainage pocket.
Once filled, water the mix thoroughly before planting. This pre-soak settles the medium, reveals any air pockets, and ensures your roots encounter moist (not bone-dry) soil from the start. If the mix sinks significantly after the first soaking, top it up before planting.
Planting step by step
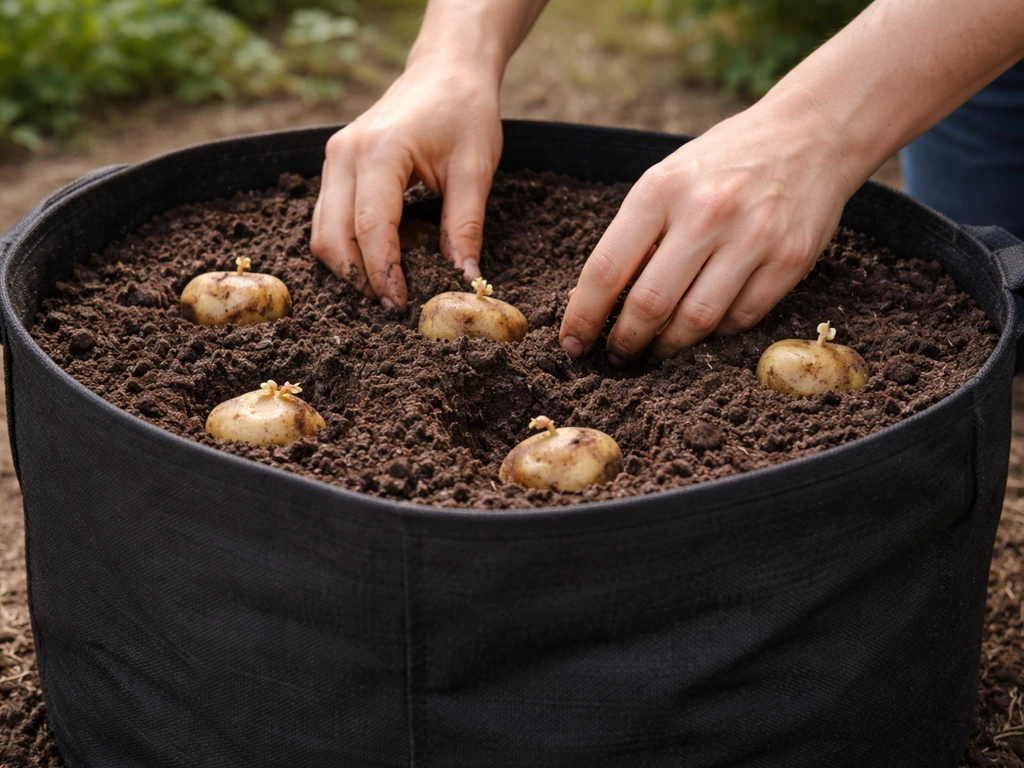
- Choose your spot first. Fabric bags are mobile, but moving a 25-gallon bag full of wet soil is miserable. Decide on final placement before you plant.
- Check light requirements. Most fruiting vegetables need at least 6 hours of direct sun. Leafy greens and herbs tolerate 4 to 6 hours. Put the bag where it'll get what it needs.
- Dig your planting hole to the right depth. For transplants, match the depth the plant was growing at in its nursery pot (tomatoes are the main exception: bury them deep, up to the lowest set of leaves, because they root along the stem). For direct-seeded crops, use standard depth guidelines: about 1/4 inch for lettuce, 1/2 inch for cucumbers, 1 inch for beans.
- Loosen the rootball before placing it in the hole. If you see any circling roots, gently straighten them outward. Circling roots left in place can eventually girdle the plant and restrict water and nutrient uptake.
- Firm the mix gently around the roots and water in well. The first watering after transplanting is the most important one. Soak the bag until water seeps from the bottom or sides.
- Add a stake or cage for tall plants right now, before roots establish. Pushing a stake in later risks damaging roots in a confined bag space.
- Space bags at least as far apart as you would space the same plants in the ground. Overcrowding increases humidity around foliage and reduces airflow, inviting fungal problems.
For potatoes specifically, the approach is different. Place seed potato chunks (each with at least one eye) on the surface of the pre-filled bag, cover with a 4 to 6 inch layer of mix, and water in. As the plants grow, keep adding mix around the stems to encourage more tuber development. Position the bag in a spot with at least 6 hours of direct sun.
Watering, feeding, and managing heat
How often to water
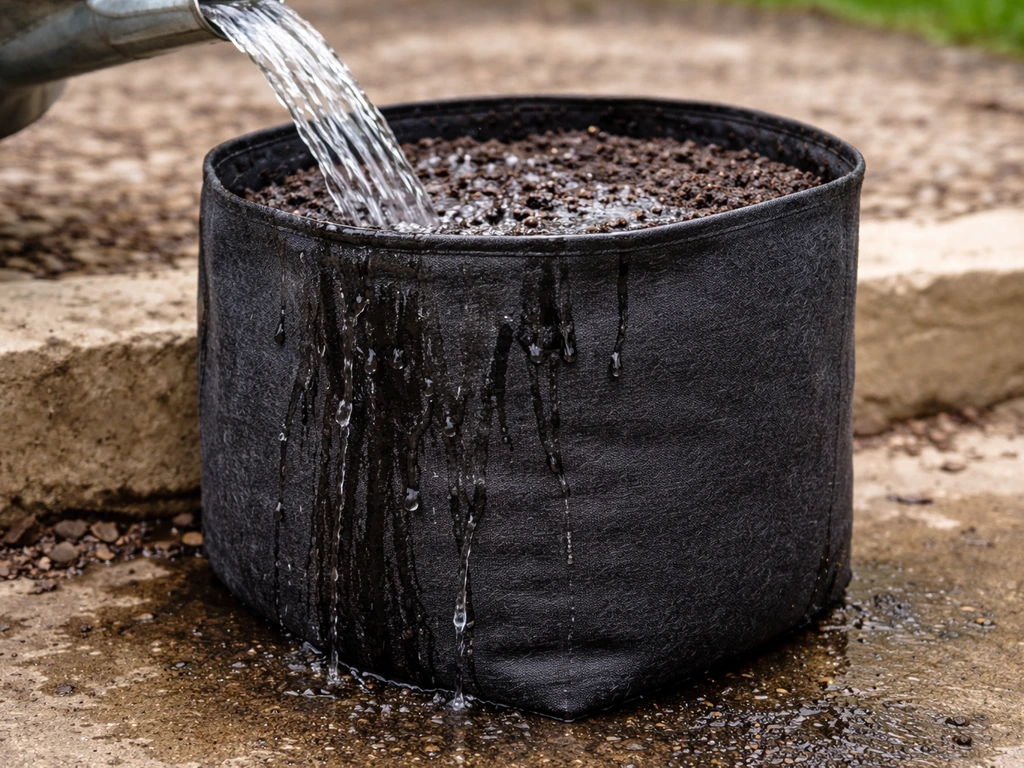
Fabric grow bags dry out faster than rigid containers, and they dry out much faster than in-ground beds. In summer heat, a large bag with an actively growing tomato plant may need water every single day. OSU Extension also notes that plants grown in grow bags need to be blank" rel="noopener noreferrer">watered more frequently, especially in summer heat. The basic rule: stick your finger two inches into the mix. If it feels dry at that depth, water. If it still feels moist, wait. During early establishment (the first week or two after transplanting) and during flowering and fruit development, plants are most sensitive to drought stress, so check daily. These grow bag tips for watering, feeding, and heat management can help your plants stay healthy through changing conditions. In cooler weather or for smaller bags with slow-growing plants, every two to three days may be enough.
When you water, water thoroughly until you see it seeping from the sides or base of the bag. A light surface watering that doesn't penetrate the root zone does more harm than good, since it encourages shallow roots to grow upward toward the surface. If you're running drip irrigation, position emitters to distribute moisture evenly across the surface rather than in one central spot. Some growers place bags on shallow saucers to capture seepage and let the media absorb it back from the base, which helps in extreme heat. Just don't let bags sit in standing water for more than an hour or two, since prolonged saturation at the base defeats the drainage advantage and invites disease.
Feeding: you need to do it regularly
Frequent watering leaches nutrients out of the mix faster than in any other growing system. Even a mix with good compost will be largely depleted within four to six weeks of regular watering. Start feeding with a balanced water-soluble fertilizer between two and six weeks after planting, depending on how rich your initial mix was and how fast your plant is growing. Apply it mixed to label-recommended concentration as part of a regular watering, so fertilizer solution reaches the full root zone. For crops with a long season (tomatoes, cucumbers, squash), switch to a lower-nitrogen, higher-potassium feed once flowering begins to support fruit development rather than leaf growth. If you prefer slow-release granular fertilizer, sprinkle it on the surface and water in, but plan to supplement with liquid feeding during peak growth because leaching in fabric bags outpaces what slow-release granules can supply on their own.
One specific risk to manage: nutrient burn from over-fertilizing. Because you're feeding frequently in a limited volume of media, it's easy to overshoot. Stick to label rates or slightly below. If you see leaf-tip browning or bleached-out new growth, flush the bag with plain water for a couple of waterings to dilute any salt buildup before resuming feeding.
Keeping bags from drying out in a heatwave
If you're growing in a hot climate or your bags sit on a dark surface that absorbs heat, try a few practical tricks. Grouping bags close together reduces air movement around the sides and slows evaporation. Moving bags into afternoon shade during a heatwave won't hurt most vegetable crops much. Switching to a lined bag, or wrapping an unlined bag with a second layer of burlap or a reflective cover, cuts sidewall moisture loss noticeably. Mulching the top of the bag with a thin layer of straw also helps. None of this replaces consistent watering, but it makes the schedule more manageable.
Crop-specific instructions
Vegetables
Tomatoes, peppers, and cucumbers are the most popular fabric bag crops and they all follow the core instructions above with one key addition: support. Indeterminate tomatoes and vining cucumbers need a stake or cage inserted at planting time, and the bag itself may need to be placed against a fence or wall to prevent tipping as the plant gets top-heavy. Tomatoes respond especially well to deep planting (bury up to two-thirds of the stem) and consistent moisture; inconsistent watering causes blossom end rot, which is a calcium uptake problem triggered by drought stress rather than a calcium deficiency in the mix. Leafy greens and herbs are the easiest bag crops: they tolerate partial shade, don't need support, and are less demanding about watering precision.
Mushrooms
Mushroom cultivation uses a completely different type of grow bag and a completely different process from fabric vegetable bags. Mushroom grow bags are typically polypropylene bags with a built-in filter patch for gas exchange that blocks contaminants while allowing CO2 and oxygen exchange during colonization. They're filled with a sterilized substrate (straw, wood chips, or grain depending on species), inoculated with spawn, and kept in a dark, humid environment until fully colonized before being moved to a fruiting chamber. If you're looking for detailed mushroom bag cultivation steps, the process is covered in a dedicated spawn bag grow guide. The short version: don't try to use fabric vegetable grow bags for mushrooms, and don't try to use mushroom cultivation bags for vegetables. They're designed for entirely different biological processes.
Flowers
Annual flowering plants (marigolds, zinnias, petunias, nasturtiums) do very well in 3 to 7 gallon bags. You can plant two to four annuals per bag depending on their mature spread, which creates a dense, full display. The main care difference from vegetables is that deadheading (removing spent blooms regularly) is more important than heavy feeding: too much nitrogen produces lush foliage at the expense of flowers. Use a low-nitrogen fertilizer once flowers begin, and keep watering consistent. Fabric bags are particularly good for flowers because the excellent drainage prevents the root rot that kills overwatered container flowers.
Trees and large shrubs
Growing small trees and shrubs in fabric bags is a legitimate nursery technique, but it requires understanding the timeline. A dwarf fruit tree, blueberry shrub, or ornamental Japanese maple can live in a 25 to 45 gallon bag for one to two seasons while it establishes, but it will eventually need to move to a larger container or into the ground. The air-pruning benefit is especially valuable for trees: instead of developing circling roots that would later girdle the trunk (a serious long-term problem in rigid containers), roots are naturally pruned at the fabric wall and branch into dense, fibrous systems. When you're ready to transplant a bag-grown tree into the ground, you can often plant bag and all if the bag is designed to decompose, or carefully cut the bag away and plant the rootball. Either way, loosen any circling roots at the surface before backfilling.
Troubleshooting common problems
Mix is too wet or soggy
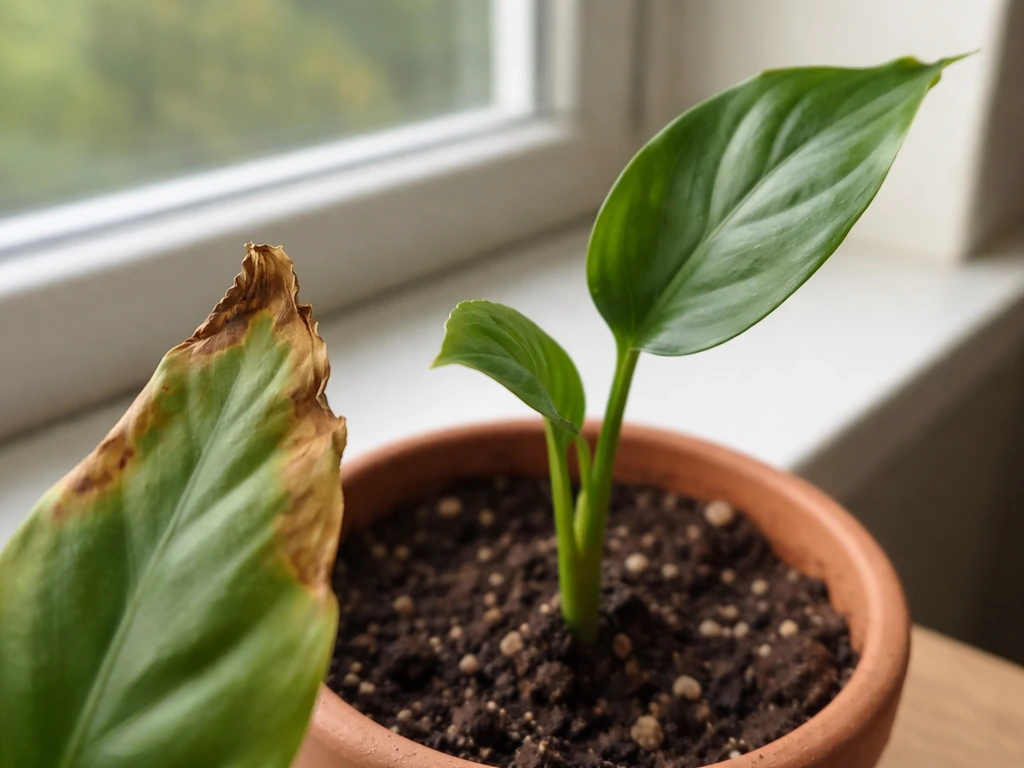
If the mix feels wet days after watering and the plant looks yellowed or wilted despite the moisture, the likely causes are: poor mix (too much peat or bark with no perlite), a liner that's pooling water at the base, or a bag sitting in a saucer that's stayed full too long. Standing water deprives roots of air and encourages fungal growth, leading to rot and potentially damping off in seedlings. Fix it by improving the mix (repot with more perlite if you can), removing saucers that hold water, and pulling back on watering frequency until the mix recovers. If rot has already started, you'll often smell it before you see it.
Mix is too dry or hydrophobic
A mix that's been allowed to dry out completely can become hydrophobic, meaning water runs off the surface and down the sides of the bag rather than soaking in. You'll see water pouring out the sides immediately, even though the core of the mix stays bone dry. The fix is slow rehydration: set the bag in a tray of water for 30 to 60 minutes so moisture wicks upward from the base, or water very slowly in small amounts over 20 to 30 minutes to give the surface time to absorb it. Adding a drop of a surfactant (a tiny amount of dish soap in the watering can, or a dedicated wetting agent) helps break the surface tension in severely hydrophobic media.
Stunted growth
Stunted plants in grow bags are almost always either underfed or root-bound in a too-small bag. Check the bag size first: if roots are visibly pushing through the fabric walls all the way around and the plant has been in the same bag for more than one season, it's time to size up. If the bag size seems appropriate, start a regular feeding schedule. Nutrient deficiency shows up as slow growth and pale, yellowing older leaves (nitrogen), purple-tinged leaves (phosphorus), or brown leaf edges (potassium or calcium).
Nutrient burn
Brown or crispy leaf tips, especially on newer growth, usually mean salt buildup from over-fertilizing. Flush the bag with two to three volumes of plain water (so a 10-gallon bag gets 20 to 30 gallons of plain water passed through it slowly) to leach out excess salts, then resume feeding at half the normal rate for a week or two before returning to full strength.
Pests
Fabric bags don't repel pests, but the excellent drainage and aeration do reduce the wet, anaerobic conditions that fungus gnats thrive in. If you see fungus gnats (tiny flies around the soil surface), let the top inch of mix dry out fully between waterings and use yellow sticky traps. For aphids, spider mites, or caterpillars on foliage, treat the same as you would any container plant: neem oil solution or insecticidal soap applied in the evening works for most soft-bodied insects.
Plant falling over
Fabric bags can tip when holding a large, top-heavy plant. Solutions: use a bag with a wider base (lower height-to-width ratio), place bags inside a decorative pot or wooden box for stability, grow against a fence or wall, or stake the bag itself to a fixed structure. Some growers partially fill a wide saucer with gravel and set the bag in it for ballast.
Reusing bags, storage, and end-of-season care
Good quality fabric grow bags are reusable for multiple seasons, but only if you clean them properly. Leftover pathogens and fungal spores in the fabric can infect next season's crop. At the end of the growing season, empty the bag completely (compost the spent mix), shake out loose debris, and let it dry in the sun. Then soak the bag in a dilute bleach solution (about 1 part bleach to 9 parts water) or a 3 percent hydrogen peroxide solution for 10 to 20 minutes. Rinse thoroughly and allow to dry completely before folding and storing. Both bleach and hydrogen peroxide are effective; hydrogen peroxide is gentler on the fabric over repeated uses and leaves no residue, which makes it a good default choice.
Inspect each bag after cleaning. If the fabric has thinned, torn, or the stitching on the handles is fraying, replace it. A compromised bag loses its structural integrity and breathability, which defeats the main advantage of fabric growing. Budget-grade bags often last one to two seasons; thicker, higher-GSM bags can go four or five seasons with proper care.
Store clean, dry bags folded flat in a cool, dry place out of direct UV light. Prolonged sun exposure degrades polypropylene and felt fibers even when the bag isn't in use. A cardboard box in a garage or shed works perfectly. When you pull them out next spring, give them a quick visual check and re-sanitize if they've been stored somewhere dusty or damp.
If you're deciding whether a bag is worth reusing vs. replacing, the honest answer is: clean and reuse a good-quality bag without hesitation, but don't nurse a cheap thin bag through another season hoping it holds up. The cost difference between a budget bag and a durable one is small compared to the value of the crop you're growing in it. If you're still weighing whether grow bags are the right system for your setup at all, there are solid alternatives worth considering depending on your space, budget, and plant types. Depending on your goals, grow bag alternatives can include raised beds, containers, or in-ground setups with similar drainage and aeration.
FAQ
Can I reuse the same grow bag soil (mix) for another season?
You should not. The medium is usually depleted of nutrients and can retain disease organisms. Compost the spent mix, then refill with fresh (or at most partially refreshed) container mix so drainage and aeration are restored.
Should I add fertilizer to the soil when I first set up the bag?
In most cases, start without extra fertilizer if your mix includes compost, then feed after planting once the roots are established. If you do add at setup, use a very light amount, because frequent watering will quickly leach salts and can also create nutrient burn if you overestimate the mix’s buffering capacity.
What’s the best way to prevent salt buildup if I’m growing in a hot climate?
Use regular, thorough watering that fully wets the root zone, and periodically do a deeper flush (plain water run-through) when you notice crusting on the surface or brown leaf-tip symptoms. Also avoid exceeding label rates, since fabric bags concentrate leaching and salt accumulation in limited volume.
Why do my plants look healthy but grow very slowly even though I water regularly?
The two most common causes are a container that’s too small for the root system, or insufficient nutrients. Check whether roots are circling or pushing through the fabric, then start a consistent feeding schedule appropriate to the crop stage rather than relying on the initial mix alone.
Is it okay to use a self-watering system or wicking tray with fabric grow bags?
It can work, but control saturation. If the bag stays in a constantly wet tray, you can erase the drainage advantage and risk rot. Only wick enough to support moisture, and verify that water does not pool around the base for extended periods.
Can I put a grow bag directly on grass, soil, or a deck without a stand?
Use a stable, non-absorbing surface and airflow underneath. On grass or bare soil, moisture can wick upward and keep the base too wet. On decks, consider pot feet or a stand so any seepage can drain away and air can circulate under the bag.
Do I need to punch drainage holes or remove the bottom fabric layer?
Usually no. Fabric grow bags are designed to drain through the breathable sides and base. Removing or altering layers can disrupt air pruning and create uneven wet zones, which often leads to root stress.
How do I know if my grow bag mix is too dense or not draining enough?
After watering, the top may look wet while the bag interior stays soggy for a long time (or smells earthy and sour). A simple fix is to repot with a mix adjusted for drainage, typically increasing perlite and using true container potting mix instead of garden soil.
What should I do if my grow bag keeps drying out too fast?
First confirm you’re using the right bag size for the crop, then adjust how you manage heat and evaporation (afternoon shade, grouping bags, top mulching). If it’s still too fast, consider switching to a lined bag in hot, dry conditions or using drip irrigation with properly spaced emitters.
Can I use grow bags for fruiting vegetables like tomatoes year-round indoors?
You can, but indoor lighting and temperature strongly affect watering and feeding. In low light or cool rooms, the plants use less water and you should reduce watering frequency to prevent the medium from staying wet too long.
Are fabric grow bags compatible with drip irrigation controllers and timers?
Yes, but you must dial in run times. Because fabric bags dry unevenly by side and wind exposure, position emitters to cover the root zone and start with shorter intervals, then adjust based on finger-depth checks two inches down.
How should I store grow bags between seasons to avoid mold or odor?
Dry them completely after cleaning, fold flat, and keep them out of direct UV and away from damp areas. If stored in a humid space, you can get mildew smell and spores, which is why a quick re-sanitizing step may be needed next season.
My tomato blossom ends rot, but my soil mix isn’t calcium-poor. Why?
This is commonly linked to inconsistent moisture rather than low calcium. Keep watering even and don’t let the bag swing from very dry to saturated, since drought stress can disrupt calcium uptake even if calcium is present in the mix.
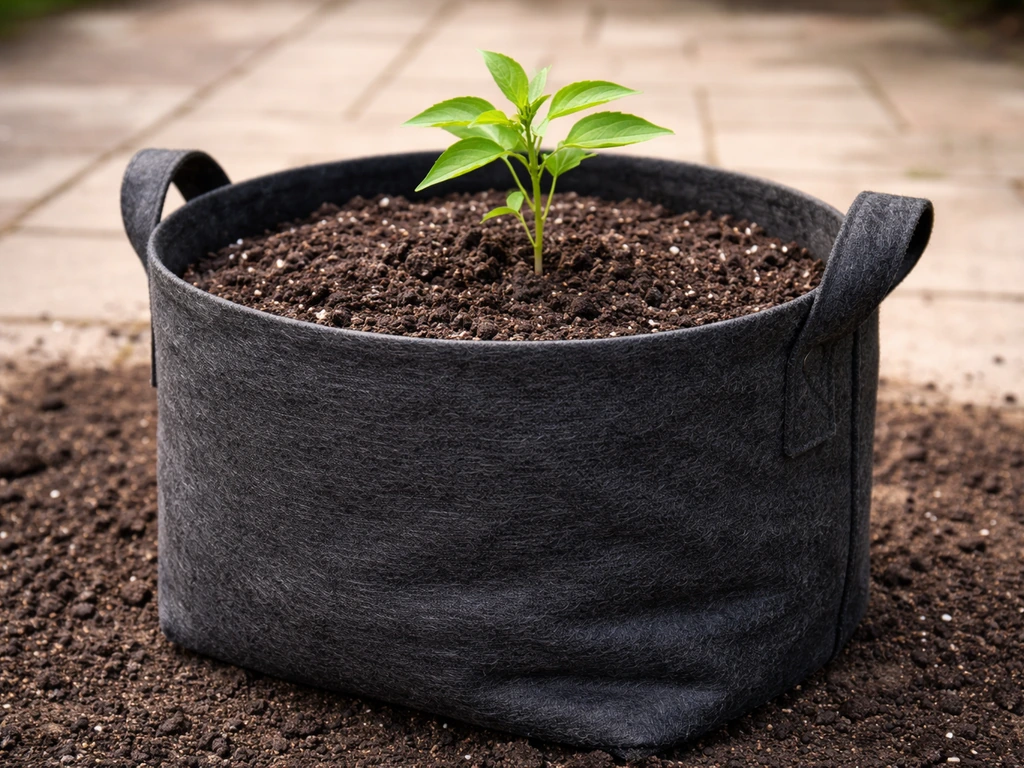
Get the grow bag meaning and how fabric air-pruning bags work, plus sizes, buying tips, and fixes for common problems.
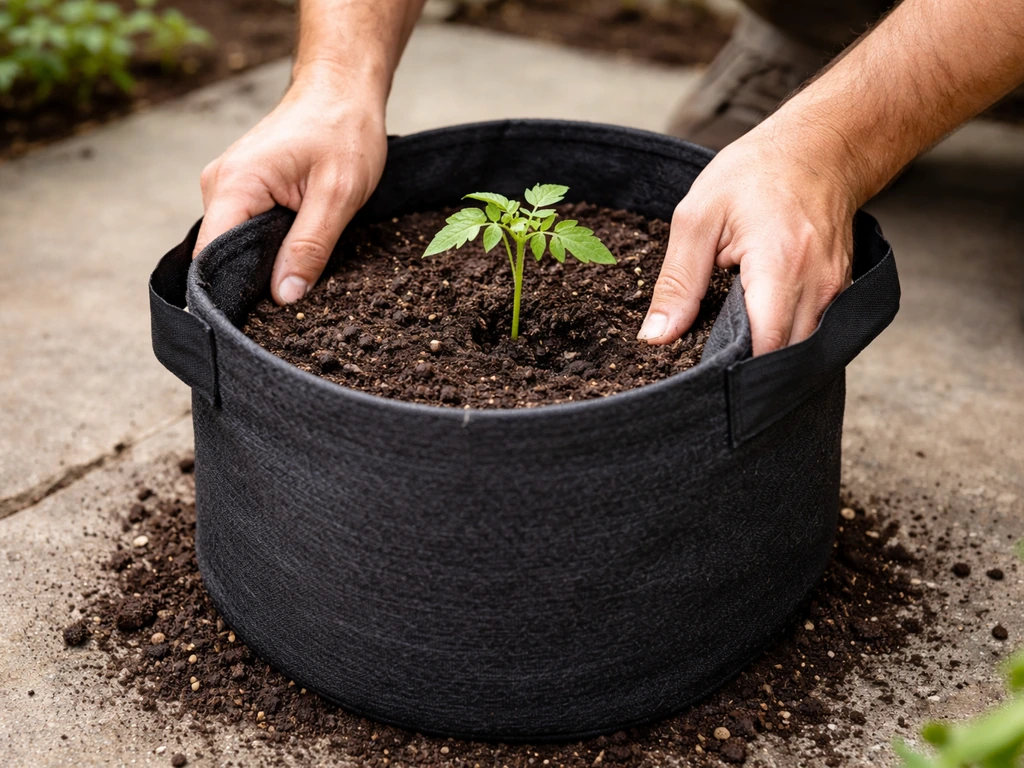
Step-by-step grow bag ToG guide: choose the right size and fabric, plant, care routines, troubleshooting, reuse and stor
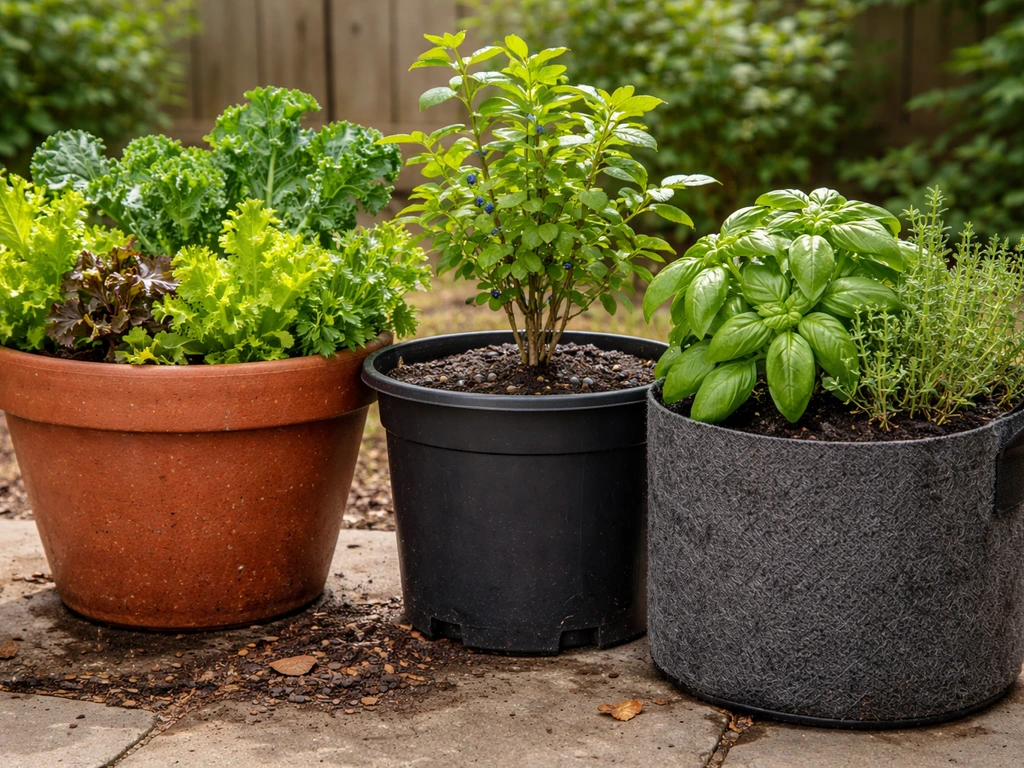
Compare grow bag alternatives for veggies, flowers, trees and mushrooms, with setup tips, sizing, and fixes for drainage