A grow bag garden setup works by filling a breathable fabric container with a quality potting mix, placing it where your plant gets the right light, and watering more frequently than you would with an in-ground bed. That is genuinely the whole framework. For a practical, step-by-step watering and temperature (tog) checklist, see the grow bag tog guide for recommended daily routines and seasonal adjustments. The details, which fabric, which size, which soil recipe, how deep, are what this guide covers, crop by crop and step by step.
Grow Bag Garden Setup: Step-by-Step Guide for Home Growers
Marcus Holloway
21 Jul 2026
What is a grow bag and why does it work?
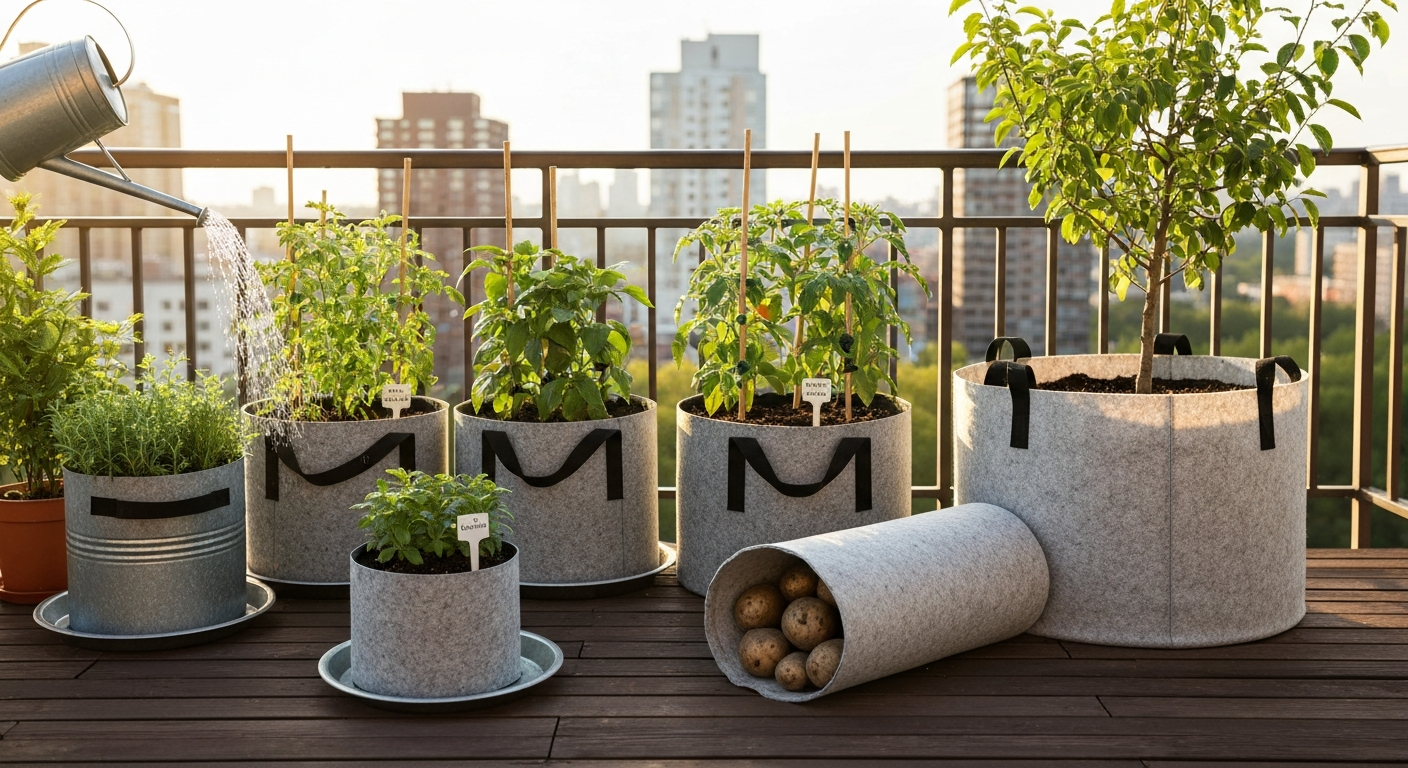
A grow bag is a breathable fabric container, typically made from needle-punched nonwoven polypropylene or recycled PET felt, designed to hold potting media for containerized plant production. Unlike a rigid plastic pot, the porous walls allow water and air to move through the fabric rather than pooling at the bottom or building up as heat. The U.S. federal crop insurance code (7 CFR § 457.162) actually defines a fabric grow bag as a container providing adequate drainage and appropriate size for nursery plants, which tells you how mainstream this technology has become.
The headline benefit is air pruning. When a root tip reaches the fabric wall, the drop in moisture and humidity at the surface kills the tip cleanly. The plant responds by pushing out dense lateral roots instead of circling roots that can eventually strangle themselves. A published three-year study on Chanticleer pear trees (O'Connor et al., 2018, Arboriculture and Urban Forestry) found that trees grown in fabric containers had a greater percentage of root growth beyond the original root ball and far fewer circling roots than trees from standard black plastic pots. That effect applies to vegetables and herbs just as much as to nursery trees.
The trade-off is honest: fabric walls that breathe also dry out faster. In hot weather, a 5-gallon fabric bag can need watering daily. You also get a finite lifespan, most quality polypropylene bags retain around 70% tensile strength after 500 hours of UV exposure (ASTM D4355), which typically translates to three to five growing seasons before degradation becomes noticeable, depending on how much direct sun they see.
Who should use grow bags and when they make the most sense
Grow bags are the right call when you are working with limited or poor-quality ground, need to move plants around, want better root health than a plastic pot provides, or are growing on a balcony, patio, or rooftop. They are also genuinely excellent for potatoes, where harvest means simply tipping out or unrolling the bag rather than digging. If you are already gardening in healthy, well-drained soil with plenty of space, the value proposition is smaller, and a direct in-ground bed will likely outperform a bag on water retention and nutrient cycling. The grow bag wins on portability, root health, and drainage control.
- Patio, balcony, rooftop, or deck growers with no soil access
- Anyone with compacted, contaminated, or waterlogged native soil
- Growers who want to extend the season by moving containers indoors or to sheltered spots
- People growing potatoes, tomatoes, peppers, or herbs who want better root structure than standard plastic pots provide
- Nursery growers or tree propagators who want cleaner root balls at transplant time
Short materials checklist before you start
You do not need much to get started. These are the genuine essentials, plus a few optional items that make a real difference once you are running more than a couple of bags.
| Item | Why you need it | Optional or essential? |
|---|---|---|
| Fabric grow bags (correct size for crop) | Primary container — air prunes roots, drains freely | Essential |
| Quality potting mix (not garden soil) | Sterile, well-aerated growing medium that does not compact | Essential |
| Perlite or pumice | Improves drainage and aeration in mix | Essential for heavier mixes |
| Coconut coir or sphagnum peat | Water retention base in homemade mixes | Essential if making own mix |
| Controlled-release fertilizer or liquid feed | Containers exhaust nutrients faster than in-ground beds | Essential |
| Watering can or drip irrigation | Consistent moisture management | Essential |
| Saucers or drip trays | Protect decks and hard surfaces; catch leachate | Strongly recommended on decks |
| pH meter or test strips | Container mixes target pH 5.5–6.5 | Recommended |
| Plant supports (stakes, cages) | Tall crops in bags need anchoring | Crop-dependent |
| Shade cloth or frost fleece | Season extension and temperature control | Optional but useful |
Choosing grow bag material: fabric, plastic, and biodegradable compared
The material your grow bag is made from has a direct effect on drainage rate, root temperature, lifespan, and how much moisture you need to put back in. Here is an honest comparison across the three main types you will encounter.
| Material | Air pruning | Drainage rate | Heat management | Typical lifespan | Best for |
|---|---|---|---|---|---|
| Nonwoven polypropylene (felt) | Excellent — porous all around | High — can dry fast in heat | Good — breathes and cools root zone | 3–5 seasons with UV stabilizers | Vegetables, herbs, potatoes, annual crops |
| Recycled PET felt (e.g., Root Pouch) | Excellent — same principle | High — some lined versions moderate this | Good, slightly better heat resistance | 3–5 seasons, manufacturer claims up to 5 | Eco-conscious growers, multi-season crops |
| Plastic grow bags (standard) | None — roots circle | Low-moderate — drainage only at base | Poor — black plastic heats root zone significantly | 5–10+ seasons | Budget setups, short-term seasonal use |
| Biodegradable/coir or jute | Good — degrades in ground | Good initially | Moderate | 1 season (designed for in-ground transplant) | Starting seedlings, direct transplant into beds |
My recommendation for most home growers is nonwoven polypropylene in the 200–300 g/m2 weight range. That weight hits the sweet spot of strength, permeability, and UV resistance. Lighter fabrics drain very fast but deteriorate in one to two seasons. Recycled PET options are a solid choice if sustainability matters to you, brands like Root Pouch use recycled water bottles, sometimes blended with jute or bamboo, and their multi-season durability is well-documented. Just be aware that some lined PET products slow drainage to manage moisture, which affects the air-pruning benefit. Read the product specs before buying.
Plastic grow bags are cheap and durable but they do not air prune, their black walls raise root zone temperatures in summer, and root circling is a real issue for any plant that stays in one for more than a season. They are fine for a single-season potato harvest but I would not rely on them for tomatoes, peppers, or anything you want to transplant cleanly later.
Choosing grow bag size, shape, and features
Volume is the single most important sizing decision. Too small and the root zone overheats, dries out in hours, and plants stall. University extension programs have mapped this out well: small herbs and salad greens do fine in 1–3 gallon (approximately 4–11 litre) bags, most annual vegetables want 5 gallons (19 litres) as a minimum, and fruiting crops like tomatoes and peppers consistently perform better at 10–15 gallons (38–57 litres). Potatoes are typically grown in 10–15 gallon bags as well, with rolling-down sides a useful feature for earthing up.
| Crop | Minimum volume | Recommended volume | Minimum depth | Notes |
|---|---|---|---|---|
| Salad greens, radishes | 1 gallon (4 L) | 2–3 gallon (8–11 L) | 6 inches (15 cm) | Shallow bags fine; sow densely |
| Herbs (basil, parsley, chives) | 1 gallon (4 L) | 3 gallon (11 L) | 8 inches (20 cm) | Good starter crop for beginners |
| Bush beans, spinach | 3 gallon (11 L) | 5 gallon (19 L) | 10 inches (25 cm) | Groups of 2–4 per bag |
| Peppers, cucumbers, eggplant | 5 gallon (19 L) | 10 gallon (38 L) | 12 inches (30 cm) | Larger bags greatly improve yield |
| Determinate tomatoes | 5 gallon (19 L) | 10 gallon (38 L) | 12–14 inches (30–35 cm) | Stake or cage essential |
| Indeterminate tomatoes | 10 gallon (38 L) | 15–20 gallon (57–76 L) | 16+ inches (40+ cm) | Bigger is almost always better here |
| Potatoes | 10 gallon (38 L) | 15 gallon (57 L) | 14+ inches (35+ cm) | Rollable side bags simplify earthing up |
| Dwarf fruit trees, shrubs | 15 gallon (57 L) | 25–30 gallon (95–113 L) | 18+ inches (45+ cm) | Handles and strong seams critical |
Shape matters less than volume, but a taller, narrower bag suits deep-rooted crops like carrots and parsnips better than a wide, shallow one. Wide shallow bags work well for strawberries and ground-covering herbs. If you are on a balcony or deck, look for bags with reinforced handles and a flat base, portability quickly becomes important when the bag is fully planted and watered. Bags with a felt-lined base rather than open fabric at the bottom help retain moisture in dry climates while still allowing drainage.
Decision matrix: picking the right grow bag step by step
Work through these decisions in order. Each one narrows your options before you spend any money.
- Identify your crop: Use the sizing table above to pin down the minimum volume and depth your plant needs. If you are growing more than one crop type, size to the most demanding one.
- Assess your space and mobility: If you need to move bags regularly, prioritize bags with double-stitched handles rated to the filled weight (a 15-gallon bag with wet soil weighs 35–45 kg — choose handles accordingly). On a deck, add saucers to your checklist.
- Choose your fabric material: For most annual crops in a sunny spot, standard nonwoven polypropylene at 200–300 g/m2 is the best value. For multi-year shrubs or trees, invest in heavier recycled PET with UV-stabilized stitching.
- Check the diameter and depth against your planting site: A 15-gallon round bag is typically around 38–40 cm in diameter and 35–40 cm tall. Measure your shelf, rack, or patio space before ordering.
- Consider TOG rating if you are growing through winter: Insulated grow bags with a higher TOG rating protect root zones from freezing. This is especially relevant for overwintering perennial herbs, dwarf trees, or root crops in climates with hard frosts. The grow bag TOG guide on this site covers this in detail.
- Check seam and handle construction: Double-stitched or bar-tacked handles are worth paying extra for. Single-stitched handles on large bags fail under load.
- Decide on drainage modification needs: In very hot or windy conditions, consider a base liner or saucer to slow moisture loss. In wet climates or on waterlogged patios, elevated stands improve drainage further.
Step-by-step setup workflow
Step 1: Choose your site
Most vegetables and fruiting crops need a minimum of six hours of direct sun. Grow bags on hard surfaces absorb and radiate heat, so in climates above 35°C (95°F) in summer, afternoon shade can actually improve yields for crops like lettuce and spinach that bolt quickly. Place bags where you can reach them with a hose or watering can every single day in summer, convenience here is not a luxury, it is pest and drought prevention.
Step 2: Place and prepare the bag
Unfold the bag fully before filling. If you are placing it on a wooden deck, put a saucer or drip tray underneath to protect the surface and capture leachate. On grass or soil, you can place the bag directly, roots that grow through the fabric into native soil will eventually get air-pruned, so this is not a long-term problem. If stacking bags on a rack or shelf, confirm weight-bearing capacity first.
Step 3: Fill with growing medium
Do not use garden soil in grow bags. Extension guidance recommends using a commercial potting mix rather than garden soil, placing fabric bags on the ground or a saucer-protected patio, and typically using 10–15 gallon bags for potatoes (Growing Potatoes in Grow Bags, UC Master Gardener Program (UC ANR)) Growing Potatoes in Grow Bags — UC Master Gardener Program (UC ANR). It compacts badly in containers, drains poorly, and often introduces pests and disease. Use a commercial potting mix or a homemade recipe (see the soil recipes section below). Moisten your mix before filling, dry potting mix can be hydrophobic and will resist water when you first irrigate. Fill loosely to about 5 cm (2 inches) below the rim; light tamping to settle large air pockets is fine, but avoid pressing down hard. Vermiculite in particular collapses if compressed when wet, losing its structure and water-holding benefit.
Step 4: Plant
For transplants, dig a hole slightly wider than the root ball, place the plant at the same depth it was growing previously (tomatoes are an exception, you can bury them deeper to encourage stem rooting), and firm the soil gently around the roots. For direct-sown seeds, follow packet depth instructions and thin to final spacing once seedlings have two true leaves. Water in thoroughly straight after planting until water drains freely from the base.
Step 5: First-week care
The first week is about establishment, not growth. Check moisture daily by pressing a finger 2–3 cm into the medium, if it feels dry at that depth, water. Do not fertilize transplants for the first week; let them root in before adding nutrient stress. If you used a pre-amended commercial mix or added a controlled-release fertilizer at planting, you have roughly 4–6 weeks of baseline nutrition before liquid feeding becomes necessary. Watch for wilting in the afternoon heat, which in the first week usually indicates transplant shock rather than drought, shade cloth for a few days can bridge this.
Soil and growing medium recipes for grow bags
The classic benchmark for container mixes is the Cornell peat-lite formula, roughly equal parts sphagnum peat moss and perlite or vermiculite by volume. See Potting Mixes for Certified Organic Production (NCAT), Cornell/Cornell‑adapted peat‑lite background and recipes for tested peat‑lite and peat‑free formulas (typically ~50% sphagnum peat moss or coir + ~50% perlite or vermiculite by volume) Potting Mixes for Certified Organic Production (NCAT) — Cornell/Cornell‑adapted peat‑lite background and recipes. Modern growers often replace peat with coconut coir for sustainability reasons; the hydraulic behaviour is similar, though coir has a slightly higher pH and lower initial nutrient content. The recipes below are adapted from NCAT and university extension guidance and have been tested in fabric containers specifically. All ratios are by volume, not weight.
All-purpose vegetable mix
This works well for tomatoes, peppers, cucumbers, beans, and most annual vegetables. The compost provides a baseline of slow-release nutrition and beneficial microbes; the coir retains moisture; the perlite keeps the mix aerated even after settling.
- 2 parts coconut coir (or sphagnum peat)
- 1 part perlite
- 1 part mature compost
- Optional: small handful of controlled-release fertilizer per 10-litre batch, mixed in before filling
- Target pH: 6.0–6.5 (lime as needed if using peat; coir usually sits near 6.0–6.5 already)
Fast-draining herb and Mediterranean mix
Rosemary, thyme, oregano, and lavender come from dry, stony soils and will rot in moisture-retentive mixes. This recipe prioritises drainage and aeration over water holding.
- 2 parts coconut coir
- 2 parts perlite or coarse grit
- 1 part compost
- Target pH: 6.5–7.0 (slightly less acid than the vegetable mix)
Ornamentals and flowering annuals mix
Petunias, marigolds, geraniums, and similar bedding plants benefit from a mix that balances moisture retention with aeration. Vermiculite can be added here for extra water storage, as ornamentals are slightly more forgiving of short dry spells than fruiting vegetables.
- 2 parts coconut coir
- 1 part perlite
- 1 part vermiculite
- 1 part compost
- Target pH: 5.8–6.5
Dwarf tree and woody shrub mix
Trees and shrubs in large bags need structural stability as well as drainage. Bark chips add weight and resist compression over multiple seasons, which matters in a 25-gallon bag that will not be refreshed every spring. Research on fabric-container tree production from Colorado State University confirms that substrate temperature and irrigation behaviour differ meaningfully from plastic containers, a coarser, more open mix compensates for the faster drying at the fabric wall.
- 2 parts coconut coir
- 1 part perlite or pumice
- 1 part coarse bark (10–20 mm particle size)
- 1 part compost
- Optional: small amount of slow-release fertilizer blended in at potting
- Target pH: 6.0–6.5 for most deciduous trees; 5.0–5.5 for blueberries and acid-loving shrubs
A note on mushroom and spawn bag setups
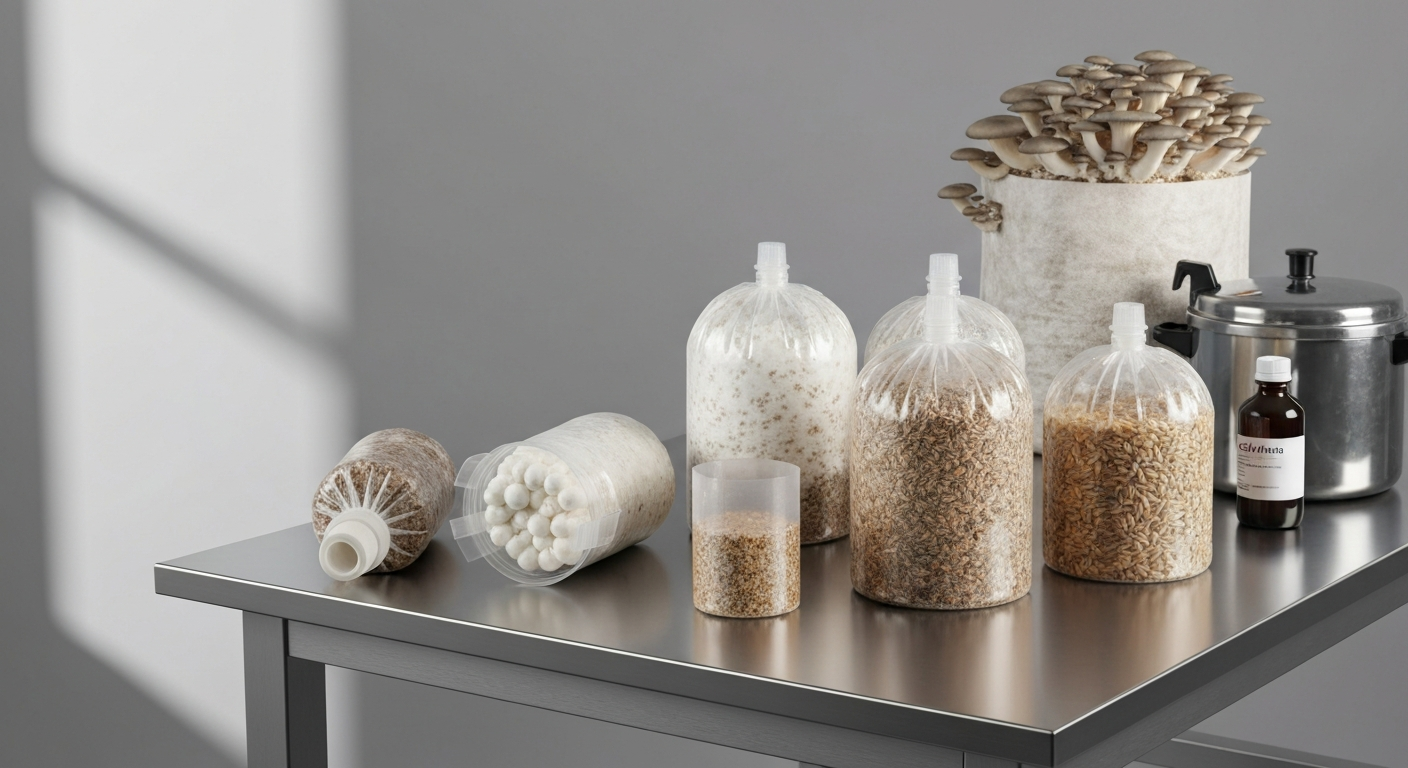
Mushroom cultivation in grow bags works on a completely different principle, sterilised or pasteurised substrate (usually hardwood sawdust, straw, or a grain-based mix) is inoculated with fungal spawn rather than filled with potting medium. The bag acts as a sterile incubation chamber, not a container for soil. This is a specialist topic covered separately in the spawn bag grow guide on this site, but it is worth flagging here because the setup workflow, materials, and bag specifications (polypropylene with filter patches, autoclavable) are entirely different from what is covered in this guide.
Ongoing care: watering, feeding, and seasonal management
Watering is the biggest adjustment growers make when moving from in-ground to grow bags. A 10-gallon bag in full sun in summer can lose 1–2 litres of water per day through evapotranspiration and fabric evaporation combined. The practical check is the finger test: push a finger 2–3 cm into the mix, if it is dry at that depth, water thoroughly until it flows from the base. Shallow watering encourages roots to stay near the surface and increases drought stress; always water until you see it run out. For more practical grow bag tips on watering schedules and moisture management, see the dedicated grow bag tips guide.
Nutrients deplete faster in containers than in the ground because every watering event leaches soluble minerals. If you used a controlled-release fertilizer at potting, it handles baseline nutrition for 4–6 weeks. After that, a weekly diluted liquid feed (balanced NPK during vegetative growth, higher potassium once fruiting starts) keeps plants on track. Container mixes target a pH of 5.5–6.5 for most vegetables; outside that range, nutrients become less available even if fertilizer is being applied regularly. A cheap pH meter pays for itself quickly.
At the end of the season, empty the bags completely, shake out remaining roots, and wash the fabric in plain water. Do not use bleach on polypropylene, it accelerates UV degradation. Dry the bags fully before folding and storing them away from direct sunlight. A quality nonwoven polypropylene bag stored this way can last four to five seasons without significant performance loss.
Troubleshooting common grow bag problems
| Problem | Most likely cause | Fix |
|---|---|---|
| Plant wilting daily despite watering | Bag too small, or watering not reaching root zone | Size up to a larger bag; water slowly in two passes to ensure full saturation |
| Waterlogging and root rot | Poor mix quality or saucer trapping water permanently | Switch to a more porous mix with extra perlite; empty saucers after rain |
| Yellowing lower leaves (chlorosis) | Nitrogen deficiency or pH out of range locking out nutrients | Test pH first; adjust to 6.0–6.5, then apply liquid nitrogen feed |
| Slow growth, pale colour across whole plant | Nutrient exhaustion in older mix | Begin regular weekly liquid feed; consider top-dressing with compost |
| Fabric degrading, tearing at handles | UV exposure over multiple seasons | Replace bag; store out of direct sun between seasons to extend life |
| Mix drying in clumps, water runs straight through | Hydrophobic dry peat or coir | Water slowly and repeatedly; mix in a small amount of wetting agent; pre-moisten mix before next fill |
| Roots growing through the bag wall and into the ground below | Normal air-pruning process — fine short-term | Lift and reposition the bag periodically; roots will air-prune at the fabric surface |
| Pests (fungus gnats, aphids) | Overwatering attracting fungus gnats; aphid colonies on new growth | Let surface dry between waterings for gnats; blast aphids with water, use insecticidal soap if persistent |
Are grow bags always the right choice?
Not always, and I think it is worth being direct about that. If you have good in-ground soil, the productivity per square metre of a raised bed or direct-sown plot will typically beat a collection of grow bags on total yield and water efficiency. Grow bags shine in constrained spaces, on hard surfaces, for crops that benefit from air pruning, and for growers who want control and portability. For anyone interested in comparing the full range of options, including raised beds, standard containers, and wicking beds, the grow bag alternatives section of this site covers that trade-off in detail.
Within the grow bag category itself, the differences in setup instructions, planting density, and medium choices between vegetables, ornamentals, and mushroom spawn systems are significant enough that each deserves its own treatment. The grow bag planting guide and grow bag instructions pages on this site go deeper on crop-specific planting and care routines, and the grow bag tips page covers optimisation once your basic setup is running. If you are new to fabric containers entirely, the grow bag meaning page is a useful starting point for the fundamentals before you buy anything.
FAQ
What is a grow bag and why use one instead of a rigid container or in‑ground bed?
A grow bag is a fabric (non‑woven or recycled‑PET) container holding potting media for containerized production. Fabric bags provide drainage, improved aeration and “air‑pruning” that reduces root circling and promotes finer lateral roots. Advantages: lighter/portable, cooler root zone, better root structure, and often lower transplant shock. Drawbacks: faster drying, variable durability (UV/weathering), and limited lifespan compared with rigid pots. These tradeoffs make grow bags especially useful for vegetables, herbs, potatoes, small trees and seasonal crops.
How do I choose the right fabric type and weight for a grow bag?
Match fabric properties to your priorities: recycled‑PET felt (Root Pouch style) is soft, holds more moisture, and often marketed as reusable; needle‑punched nonwoven polypropylene is durable, higher tensile strength and can have variable permeability. Use manufacturer datasheets: higher g/m2 (weight) → greater strength/UV life but sometimes lower permeability. For annual vegetables, mid‑weight (≈200–400 g/m2 equivalent) is common; for multi‑season use or larger trees choose heavier fabric and reinforced handles. Consider UV stabilizers, presence of carbon black, seam quality and handle construction when evaluating durability.
What sizes of grow bags should I use for common crops?
Use container‑volume rules from extension guidance: small herbs and salad greens: 1–3 gallons (≈4–11 L); most annual vegetables (peppers, bush beans, small cucumbers): 5 gallons (≈19 L); indeterminate tomatoes, production peppers, larger cucurbits or small shrubs/trees: 10–15+ gallons (≈38–57+ L); potatoes: stackable potato bags or 5–15 gallons depending on variety; lightweight fruit trees or large shrubs: 15–30+ gallons. When in doubt, choose larger volume to increase water/nutrient buffer and reduce stress.
What evidence‑based potting medium recipes work best in grow bags?
Use a soilless potting mix targeting good drainage, aeration and moderate water retention. Common recipes: 1) Classic peat/coir mix: 2 parts peat moss or coconut coir : 1 part perlite : 1 part compost (by volume). 2) Lightweight sandy mix: 1 peat/coir : 1 perlite/pumice : 1 compost. For certified organic, substitute coir for peat and use compost or well‑graded bark. Aim pH ~5.5–6.5. Add controlled‑release fertilizer per product label or plan for regular soluble feeding. Avoid garden soil—use commercial potting mix or a tested homemade mix to maintain porosity and reduce pathogens.
How do I fill and handle media to avoid compaction and settling?
Fill with pre‑moistened but not waterlogged media. Mix dry components thoroughly, then add water gradually until uniformly moist. Fill loosely—do not compact; light tamping only to settle the mix and remove large air pockets. Avoid over‑wetting vermiculite or peat‑heavy mixes during handling (they can collapse). Leave space at the top (~1–2 inches) for mulch and to prevent overflow during watering. Expect some settling; top up with light mix when needed.
How should grow bags be placed and positioned for best performance?
Place bags on a stable surface: directly on soil/ground for better drainage and rooting into the ground (if intended), or on a saucer/pallet/deck board to protect decking and allow airflow. Avoid placing directly on impermeable surfaces without a gap that allows drainage. Position for crop light needs (full sun for most vegetables). For heat mitigation, put darker bags in part shade in hot climates or use reflective mulch/painting or insulating wrap as needed.
Next Articles
Spawn Bag Grow Guide: From Prep to Fruiting in Fabric Bags
Practical spawn bag grow guide: choose, prepare, inoculate, transfer, troubleshoot, and integrate with fabric grow bags.
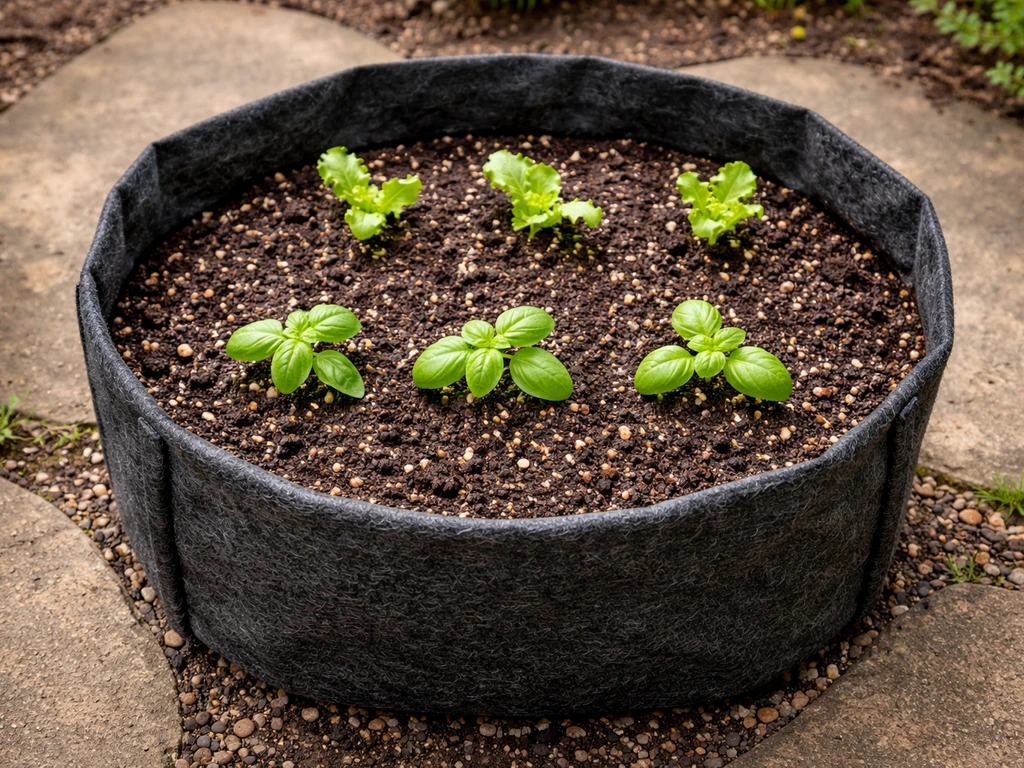
Grow Bag Instructions: Step-by-Step Setup and Planting Guide
Step-by-step grow bag instructions: choose size and medium, prep, plant, water, manage drainage, and troubleshoot issues
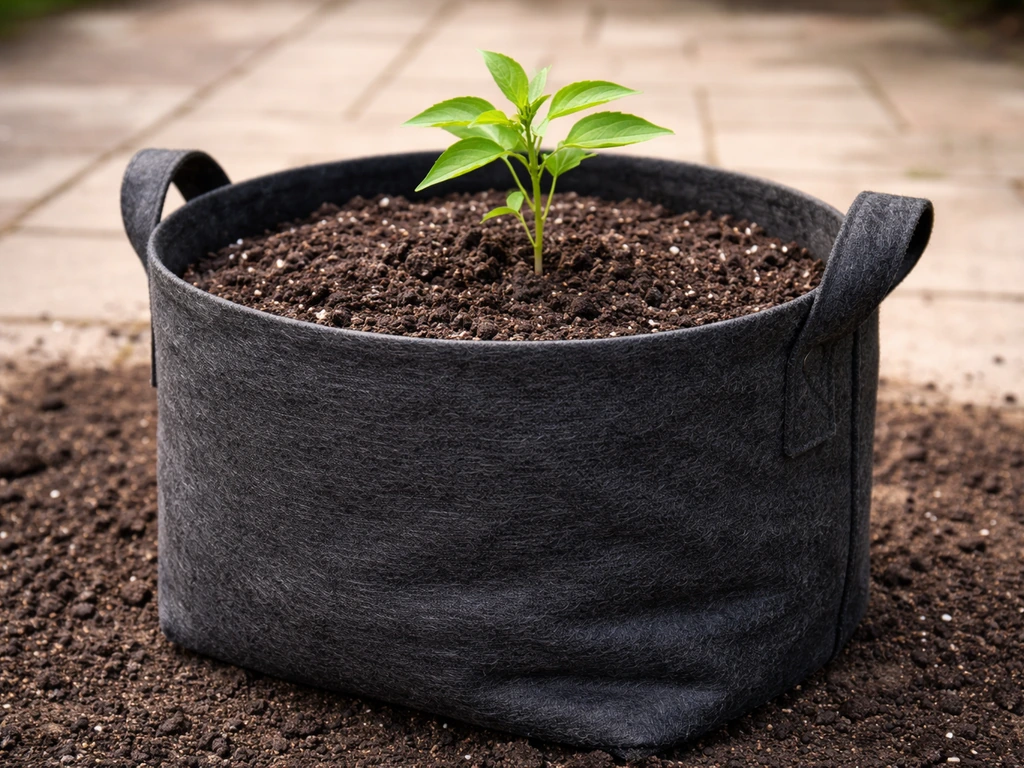
Grow Bag Meaning: What It Is and How to Use One
Get the grow bag meaning and how fabric air-pruning bags work, plus sizes, buying tips, and fixes for common problems.