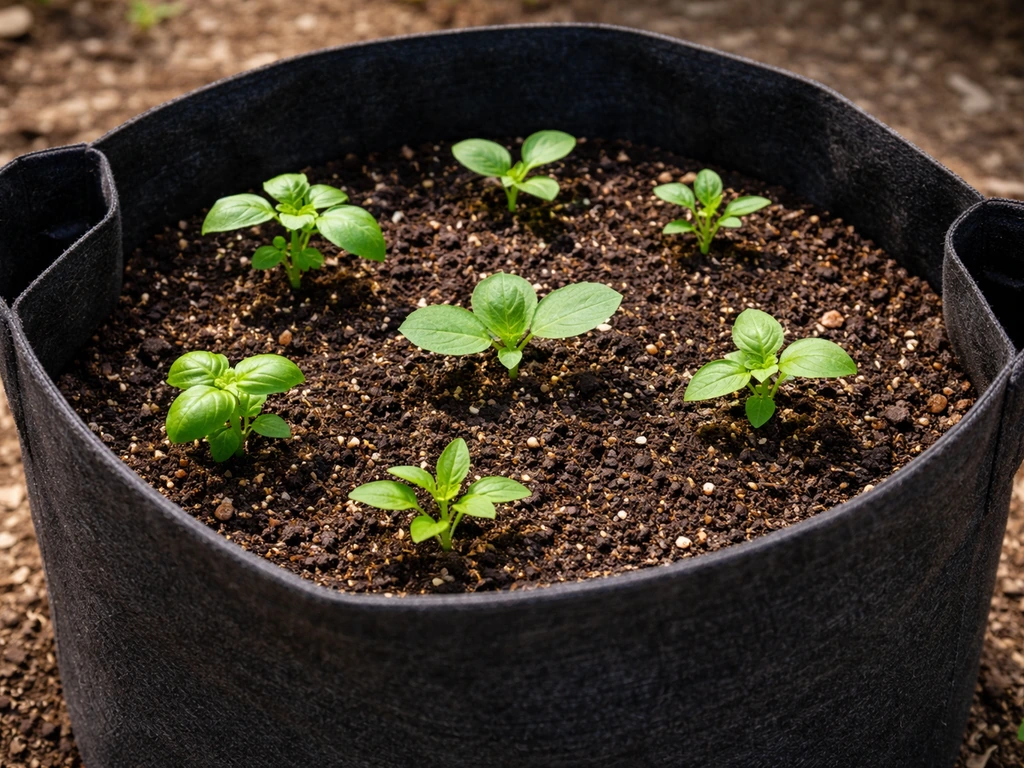
An open-top grow bag is exactly what it sounds like: a fabric container that is open at the top and closed (or semi-closed) at the base, designed to sit above ground and be planted into just like a pot. You fill it with soil, plant your crop, and the breathable fabric walls do the heavy lifting by allowing air to reach the roots from the sides, wicking away excess moisture, and triggering the natural air-pruning response that keeps root systems dense and healthy rather than circling endlessly the way they would in a rigid plastic pot.
Open Top Grow Bags Guide: Setup, Soil, Watering, and Troubleshooting

Marcus Holloway
29 Jun 2026
What open-top grow bags actually are (and when they make sense)
The term 'open top' distinguishes these bags from fully enclosed grow systems, hydroponic net pots, or sealed substrate bags used in commercial mushroom cultivation. An open-top grow bag is an above-ground fabric container you plant into from the top, manage like a traditional pot, and move around your garden, patio, or grow room as needed. The open top gives you full access to the root zone for planting, feeding, top-dressing, and harvesting.
They make the most sense when you want the benefits of fabric growing (air pruning, better drainage, temperature moderation) without committing to an in-ground or semi-buried setup. If you have poor native soil, a paved patio, limited space, or you want to grow the same spot season after season without soil fatigue building up, open-top fabric bags are a genuinely practical solution. They also work well when you need to move plants indoors for frost protection or to chase sunlight.
Where open-top bags change your management compared to rigid pots is mostly around moisture. The fabric walls breathe, which means water evaporates from the sides as well as the top surface. That's a real advantage in avoiding the waterlogged, oxygen-starved root conditions you get in solid plastic pots, but it also means the bag can dry out faster than you expect, especially on hot or windy days. Once you understand that trade-off, everything else about managing these bags falls into place.
Choosing the right size, fabric, and drainage features
Size: match the bag to the plant, not the shelf
The single most common mistake with open-top grow bags is going too small. A cramped root zone means you water more often, nutrients deplete faster, and plants stress out in hot weather. Use the table below as a practical starting point. These are real-world recommendations, not minimums pulled from a seed packet.
| Plant type | Recommended bag size | Notes |
|---|---|---|
| Herbs (basil, cilantro, parsley) | 1–2 gallon | Can share a single 3-gallon bag for a mixed herb planting |
| Lettuce, spinach, shallow greens | 2–3 gallon | Wide bags work better than tall ones for shallow roots |
| Peppers, bush beans | 3–5 gallon | 5-gallon is the sweet spot for consistent yields |
| Tomatoes (determinate) | 5–7 gallon | Indeterminate types need at least 10 gallon |
| Tomatoes (indeterminate/vining) | 10–15 gallon | Bigger = fewer watering crises in midsummer heat |
| Potatoes | 10–15 gallon | Tall bags let you hill up; wide bags suit shorter varieties |
| Blueberries, dwarf fruit shrubs | 15–20 gallon | Use acidified mix; plan for 3+ year lifespan |
| Dwarf trees, specimen shrubs | 25–45 gallon | Root containment is the main benefit here |
| Mushrooms (substrate bags) | 3–5 lb substrate bag | Fully enclosed design, not open-top; covered separately |
Fabric type: not all grow bags are the same
Most consumer grow bags use either nonwoven polypropylene felt or woven geotextile fabric. Nonwoven felt (the fuzzy kind you see on most branded grow bags like Smart Pots) is thicker, traps more air at the wall surface, and does an excellent job of air-pruning roots. Woven geotextile bags are thinner, sturdier when full of wet soil, and drain very fast but can be slightly less effective at triggering consistent air pruning across the entire wall surface. For most vegetables and flowers, either works well. For trees and long-term perennial crops where you genuinely want root containment and air pruning to prevent circling, nonwoven felt is the better choice.
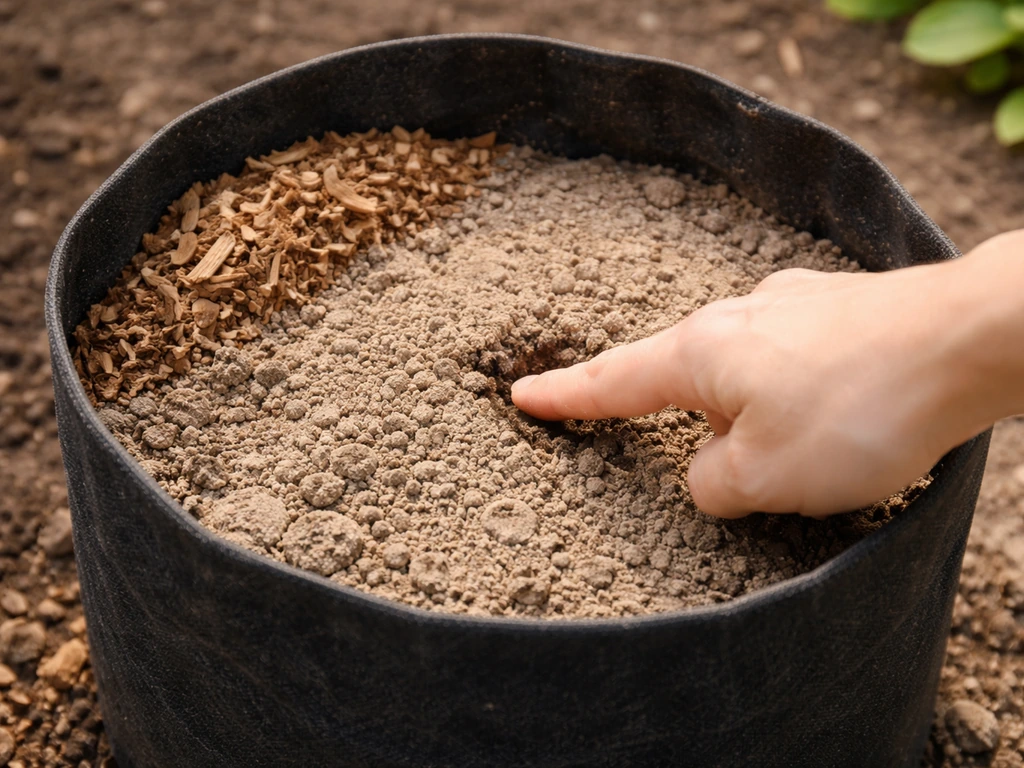
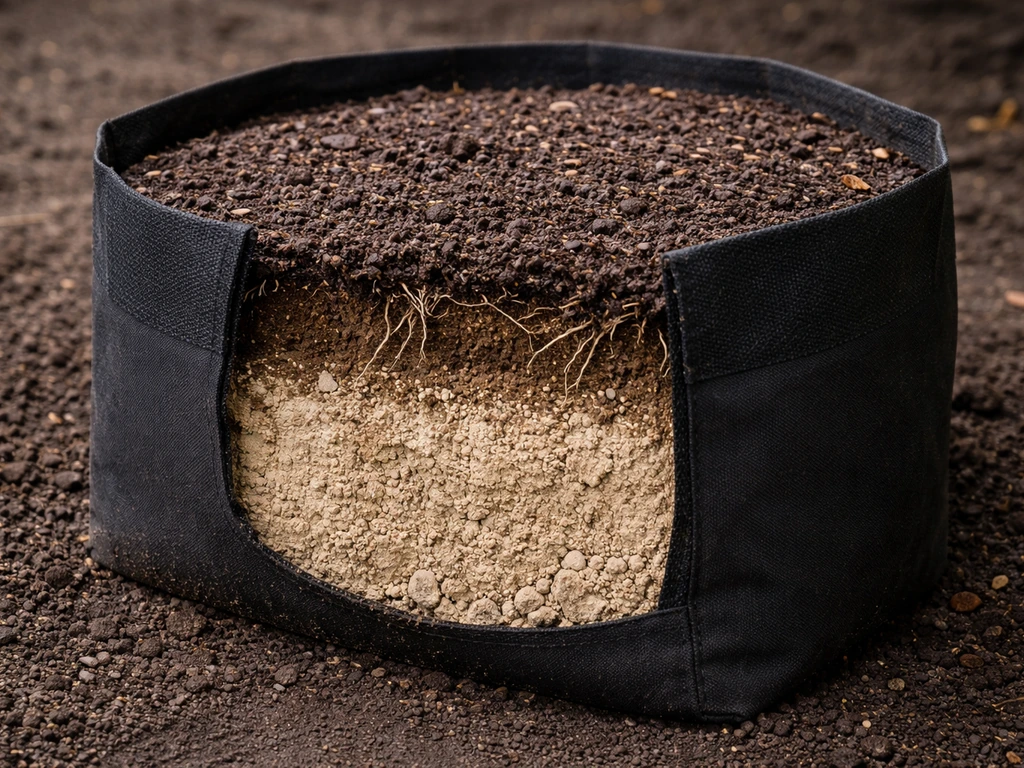
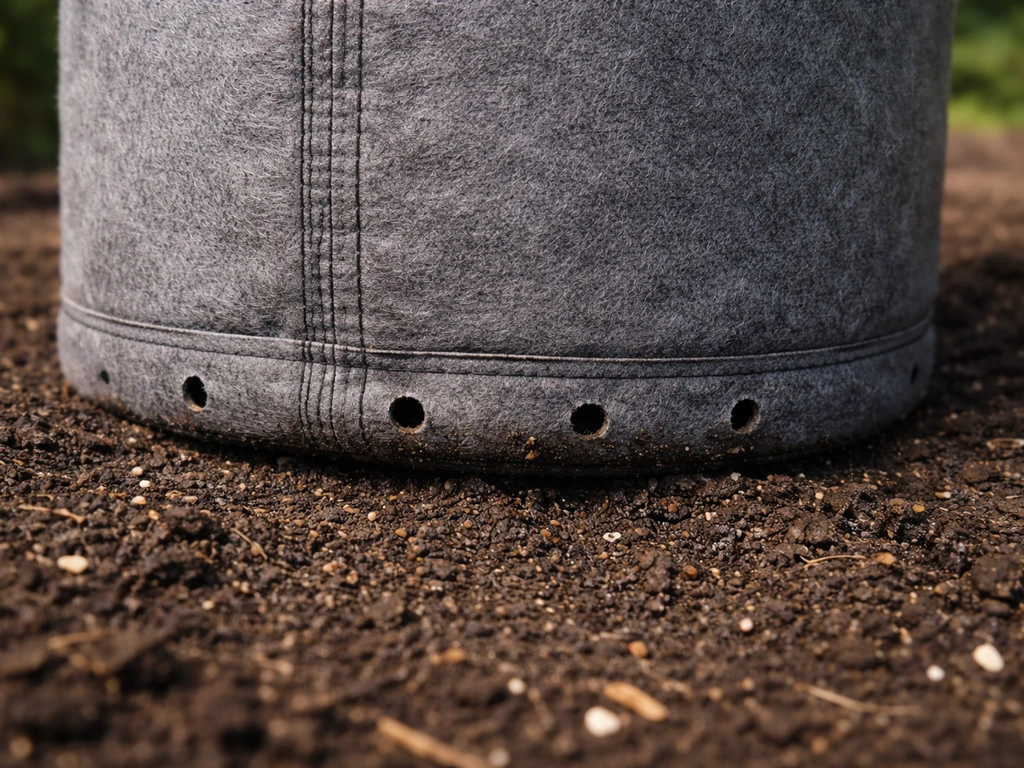
Coco coir open-top bags are a third category worth mentioning. These come pre-filled with a coir substrate blend where the chipped coir fraction sits at the base for drainage and aeration, while the finer peat or coir fraction higher up retains moisture for the root zone. If you go this route, you typically cut drainage slits or holes before use as directed by the manufacturer. If water cannot drain freely, roots can stay saturated and struggle to breathe, which is why drainage holes matter drainage slits or holes. They are popular in controlled greenhouse production for tomatoes and cucumbers, and they work well for home growers who want a ready-to-use, pH-stable growing medium.
Drainage: what you actually need to think about
One of the genuinely useful things about fabric grow bags is that drainage happens through the container walls themselves, not just from a hole at the base. The porous fabric allows excess water to seep out from the sides, which helps prevent the saturated bottom layer you often get in solid pots even with drainage holes.
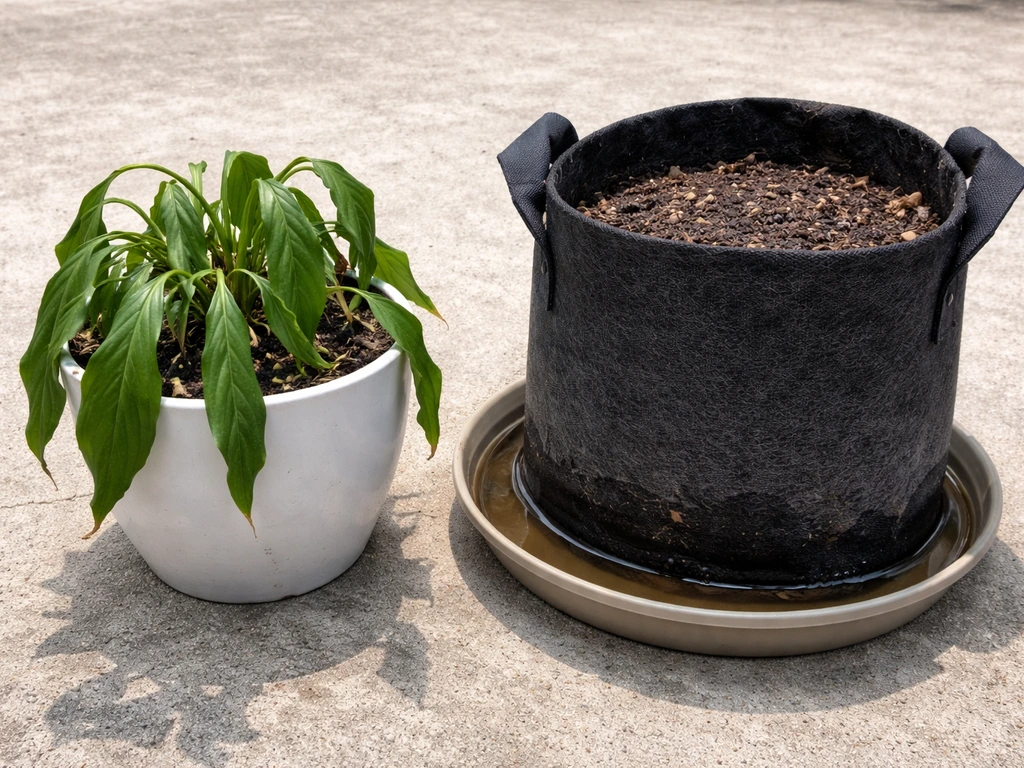
That said, if you are sitting your bag on a solid surface like a patio slab or a drip tray, water can pool underneath and effectively seal off that bottom drainage. To achieve that, it helps to set up your bag so water can escape freely, including proper elevation if you use a saucer or patio surface drainage. Elevating your bag slightly on a plant stand, wire rack, or even a few bricks makes a real difference.
If you are growing in a wet climate or tend to overwater, also check whether your specific bag has a reinforced or sealed base that could restrict drainage.
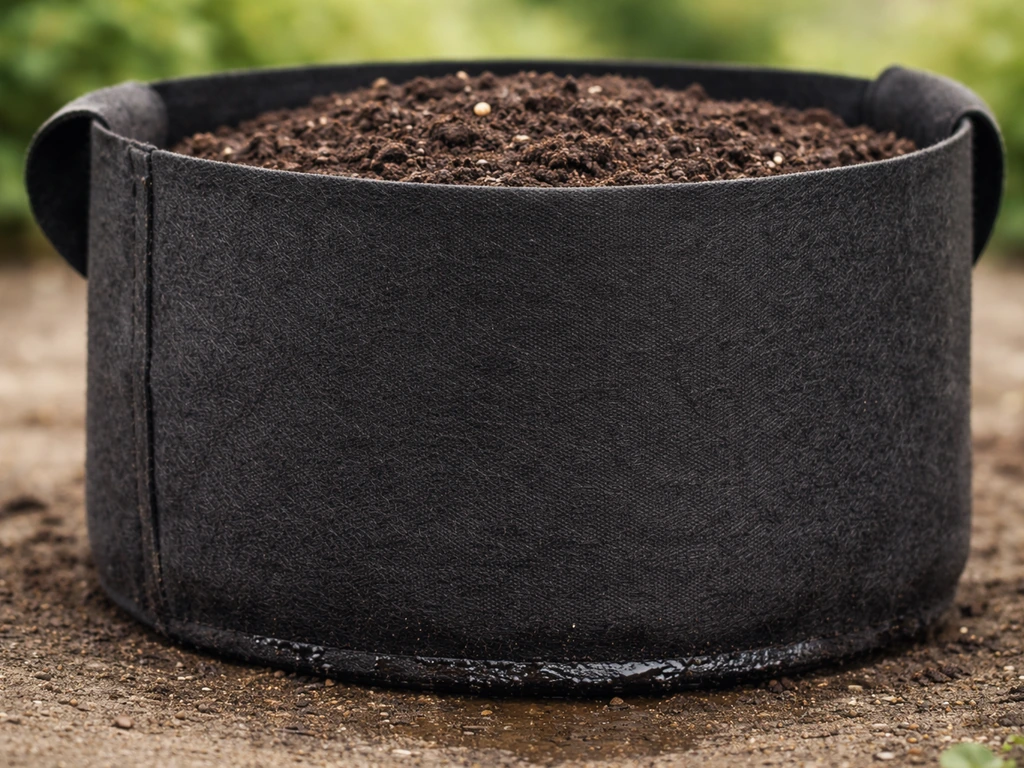
Setting up your bag: soil mix, liners, and filling right
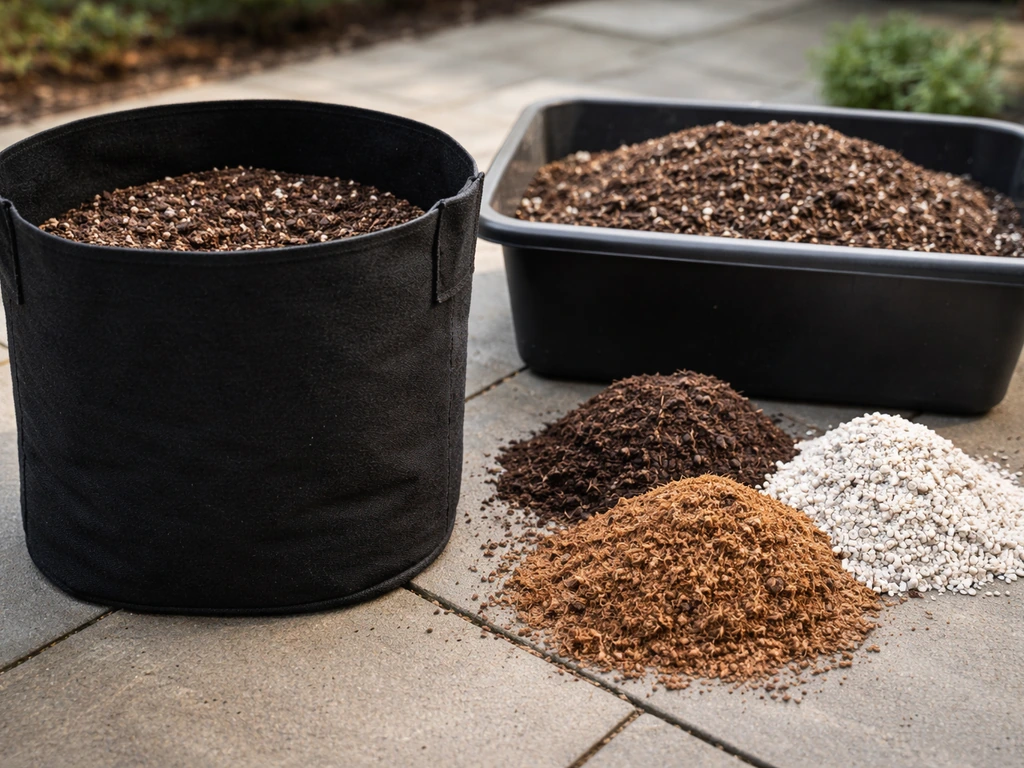
The soil mix that actually works in fabric bags
Do not fill an open-top grow bag with straight native garden soil. It compacts, drains poorly, and quickly turns into a dense plug that suffocates roots. The goal is a mix that holds enough moisture to keep roots hydrated between waterings but drains fast enough that the root zone never stays saturated.
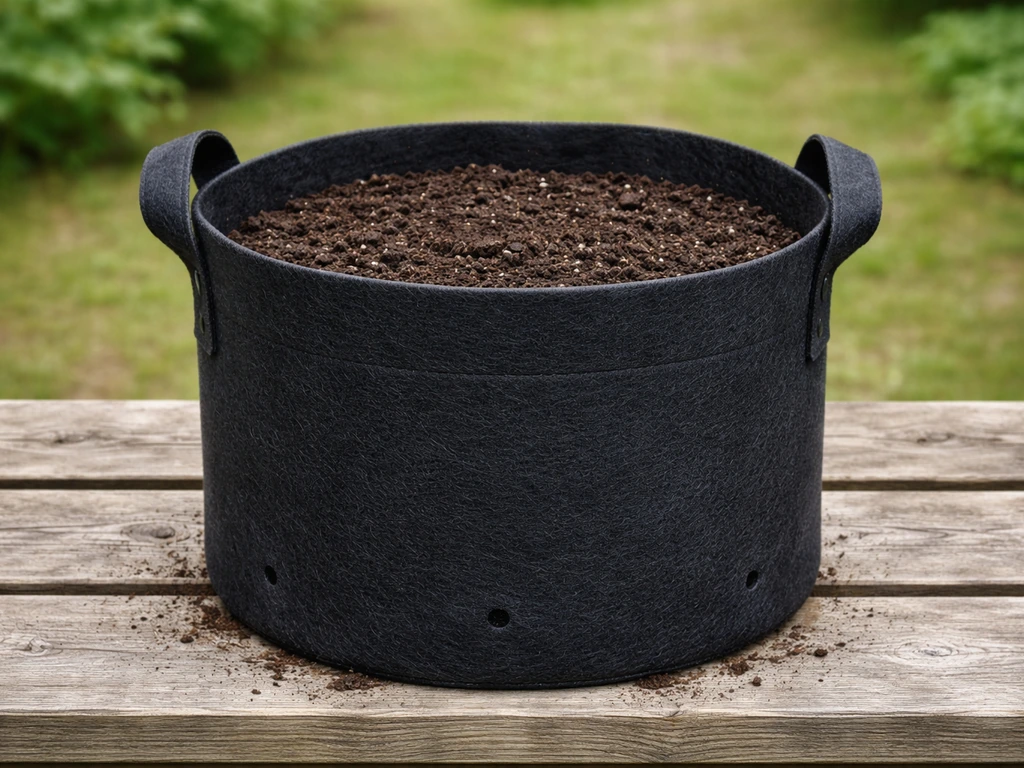
A reliable all-purpose mix for open-top grow bags is: 60% high-quality potting mix (peat or coco coir based), 30% perlite or coarse horticultural grit, and 10% compost or worm castings. This gives you good moisture retention without waterlogging, and the perlite keeps the mix airy even as it settles over a season.
When filling grow bags, focus on getting the right soil level for the plant and leaving room for watering and top-dressing, rather than automatically filling to the very top fill grow bags.
For fruiting vegetables like tomatoes and peppers, bump the compost fraction up to 20% and add a slow-release granular fertilizer at the manufacturer's rate when you fill the bag. For blueberries and acid-loving plants, replace the compost with ericaceous compost and mix in some composted pine bark for extra drainage and the right pH. For trees in large bags, a chunkier mix with more bark and grit holds its structure better over multiple seasons.
Do you need a liner?
Most of the time, no. The whole point of a fabric grow bag is that the breathable wall is doing useful work, and lining the inside with plastic defeats that entirely. There are two exceptions worth knowing.
First, if you are growing in a very hot, exposed location and the bag is drying out so fast that roots are desiccating at the bag wall, a partial liner (plastic on the bottom third only) can slow moisture loss from the base without fully blocking airflow higher up. Do grow bags need holes in the bottom, and how does drainage work if you are using a partial liner?
Second, if you are using a thin or loosely woven bag and your soil mix is fine enough to slowly sift through the fabric, a biodegradable burlap liner on the inside can solve that problem while still allowing drainage and some airflow.
Filling and planting depth
Fill the bag to about 2 to 3 inches below the rim. This gives you a watering reservoir at the top so water soaks in rather than running straight off the surface when you pour. It also leaves room for top-dressing with compost mid-season without spilling over the sides.
When planting, follow the same depth rules you would for any container: most vegetables and flowers go in at the same depth they were growing in their nursery pot, with the exception of tomatoes, which benefit from being planted deep (bury up to two-thirds of the stem for extra root development).
For potatoes in tall bags, start with 4 to 6 inches of mix, plant your seed potatoes, then cover with another 4 inches and continue hilling up as shoots emerge.
Best plants for open-top grow bags
Vegetables
Tomatoes, peppers, potatoes, and leafy greens are the staples of grow bag gardening, and for good reason. These are all crops that respond well to the air-pruned root system you get in fabric bags: denser root mass, better uptake of water and nutrients, and faster establishment. Tomatoes in 10 to 15 gallon bags consistently outperform tomatoes in similarly sized plastic pots in my experience, mostly because the bag never gets that stuffy, waterlogged bottom layer that plastic pots accumulate in wet summers. Cucumbers and zucchini can work in large bags (15+ gallons) but their root systems are aggressive enough that they will max out a bag quickly, so plan to feed them heavily.
Flowers
Annual flowers like marigolds, petunias, zinnias, and dahlias all do very well in 3 to 5 gallon open-top grow bags. The air-pruning effect promotes branching root systems that support heavier flowering. Dahlias in particular benefit from the excellent drainage of fabric bags since their tubers rot easily in waterlogged soil. Perennial flowers are trickier because the bag will need to overwinter, and fabric bags do not insulate roots as well as being in-ground, so in cold climates you may need to wrap or store the bags for winter.
Trees and shrubs
This is where open-top grow bags offer something genuinely different from standard container growing. Large fabric bags (25 to 45 gallons) are used by professional nurseries to grow out trees precisely because the air-pruning prevents root circling, which is the leading cause of long-term tree decline in container-grown specimens.
For home growers, growing a dwarf fruit tree, blueberry bush, or ornamental shrub in a large open-top fabric bag gives you root containment without the circling problem, plus the ability to move the plant if needed. The trade-off is that large bags in exposed positions dry out fast, so plan for consistent irrigation.
Also know that the bag itself will degrade over 3 to 5 years depending on UV exposure, so you will eventually need to repot into a fresh bag or in-ground.
Mushrooms
It is worth briefly addressing mushrooms here because grow bags are common in mushroom cultivation, but the style used is fundamentally different from the open-top vegetable bags this article covers. Mushroom cultivation bags are typically heat-sealable polypropylene bags that are fully enclosed after filling with sterilized substrate. They are not breathable fabric bags and they are not open at the top during colonization. If you are looking for mushroom-specific bag guidance, that is a different setup entirely from what is covered here.
Watering, feeding, and managing heat and moisture
How often to water
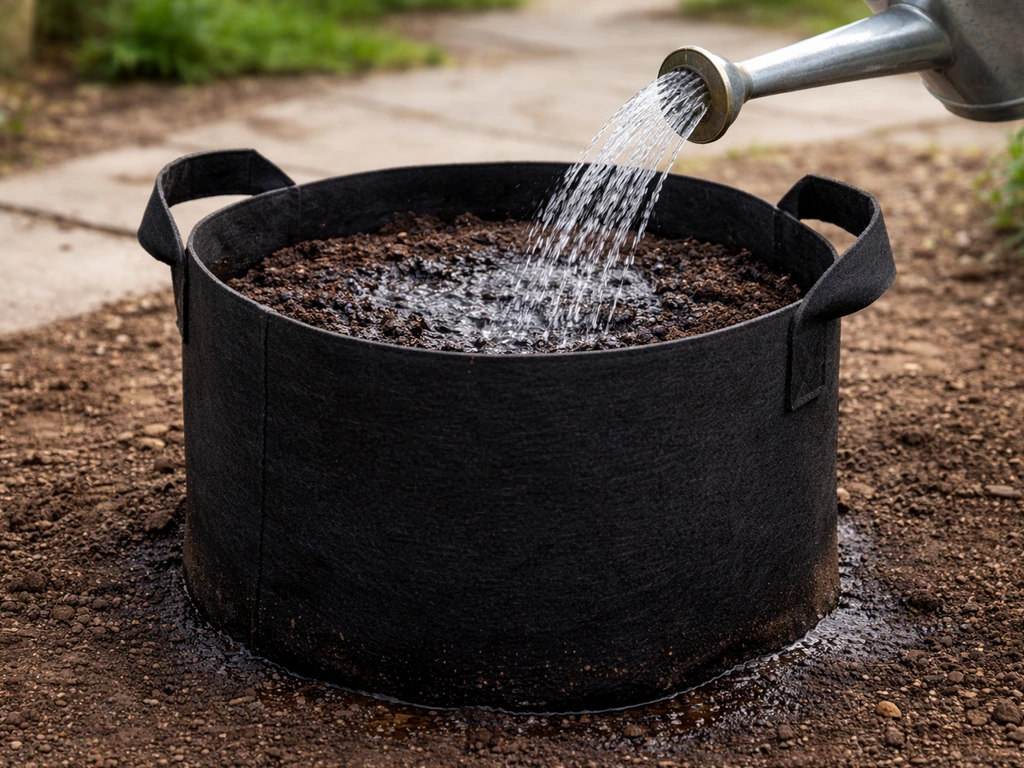
Fabric grow bags typically need watering more often than equivalent-sized plastic pots, sometimes significantly more during hot weather. The breathable walls lose moisture through evaporation on all sides, which is great for root health but demands more from you as the grower. A general starting point: check soil moisture daily during summer and water when the top inch is dry for most vegetables, or when the top 2 to 3 inches are dry for established shrubs and trees.
The most reliable method is the finger test, but if you have many bags, a cheap soil moisture meter saves a lot of guesswork. A bag that feels noticeably lighter than usual when you lift or tip it slightly is almost certainly dry.
Water slowly and thoroughly until water begins to seep from the sides and base of the bag. This ensures the entire root zone gets wetted rather than just the top layer. Shallow, frequent watering encourages roots to stay near the surface where they are most vulnerable to drying out. Deep, thorough watering drives roots downward and into the bag walls where air-pruning occurs.
Feeding: nutrients leach faster in fabric bags
Because fabric bags drain so well, water-soluble nutrients pass through more quickly than in a closed plastic container. This is not a problem if you account for it. Start with a good compost-enriched mix at planting, use a slow-release granular fertilizer worked into the top layer at planting time, and then supplement with a liquid feed every one to two weeks once plants are actively growing and fruiting.
A balanced liquid feed (like a 5-5-5 or 10-10-10 diluted to label rate) works well for leafy growth; switch to a lower-nitrogen, higher-phosphorus and potassium formula once flowering and fruiting begin. For long-season crops like tomatoes, top-dressing with a thin layer of compost or worm castings once mid-season helps replace what has leached through.
Managing heat and evaporation
Dark-colored fabric bags absorb heat in full sun, which can warm the root zone more than plants prefer on very hot days. If your bags are in a location that gets intense afternoon sun and you notice wilting even in well-watered plants, try wrapping the outside of the bag with burlap or a light-colored fabric cover, or move the bags to a spot with afternoon shade during the hottest weeks. Mulching the top surface of the bag with a 1 to 2 inch layer of straw or wood chip also slows top-surface evaporation significantly and keeps the root zone cooler. Saucers are sometimes used under grow bags to catch runoff and provide a small water reserve, though this needs to be managed carefully to avoid waterlogging the base of the bag.
Pruning, root management, and keeping plants stable
Air pruning in practice
When roots reach the breathable fabric wall, the dry air at the surface stops their growth and triggers the plant to produce more lateral root branches behind the pruned tip. This is the air-pruning process that makes fabric bags genuinely better for root health than rigid containers. The practical outcome is a denser, more fibrous root system that fills the bag more evenly and takes up water and nutrients more efficiently.
You do not need to do anything to encourage this; it happens automatically as long as the bag walls are breathable. What you should know is that when you do transplant or repot a plant from a fabric bag, the root ball will look different from what you expect: less of a solid compacted ball, more of a dense fibrous mass. That is actually ideal for transplant success.
Keeping tall plants stable
Tall plants in grow bags, especially tomatoes and climbing beans, can become top-heavy. The soft, flexible walls of a fabric bag do not anchor a stake the way a rigid pot does, so the stake can lean or pull through the fabric. The most reliable fix is to use a tomato cage that surrounds the bag rather than staking into it, or to tie your stake to a nearby fence, trellis, or purpose-built frame.
For very tall plants, placing the bag inside a second outer container (a larger fabric bag or even a simple wire cage) adds lateral stability. Filling the bag firmly at planting, rather than loosely, also helps the root zone develop enough mass to anchor the plant from below.
When and how to transplant
Transplanting from a fabric bag is easier than from a rigid pot. You can loosen the sides by squeezing and flexing the bag, then either tip the root ball out gently or, for very large bags, cut the bag away entirely. Because air pruning has eliminated root circling, you rarely need to loosen or score the root ball before transplanting, which means less transplant stress. For annual crops you will just clear out the bag at the end of the season. For trees and perennial shrubs that you want to move up a size, do it in early spring before active growth begins, and water the new bag thoroughly immediately after.
Troubleshooting the most common open-top grow bag problems
Bag drying out too fast
This is the most frequent complaint, especially in summer. If you are watering daily and the bag still feels bone dry by evening, the fix is usually one or more of: mulch the surface, move to a less exposed location, add a partial liner on the lower half of the bag interior (not full lining), switch to a drip irrigation system on a timer, or go up one bag size so there is more soil volume acting as a water reservoir. Coco coir in the mix also retains moisture more effectively than straight peat without compromising drainage.
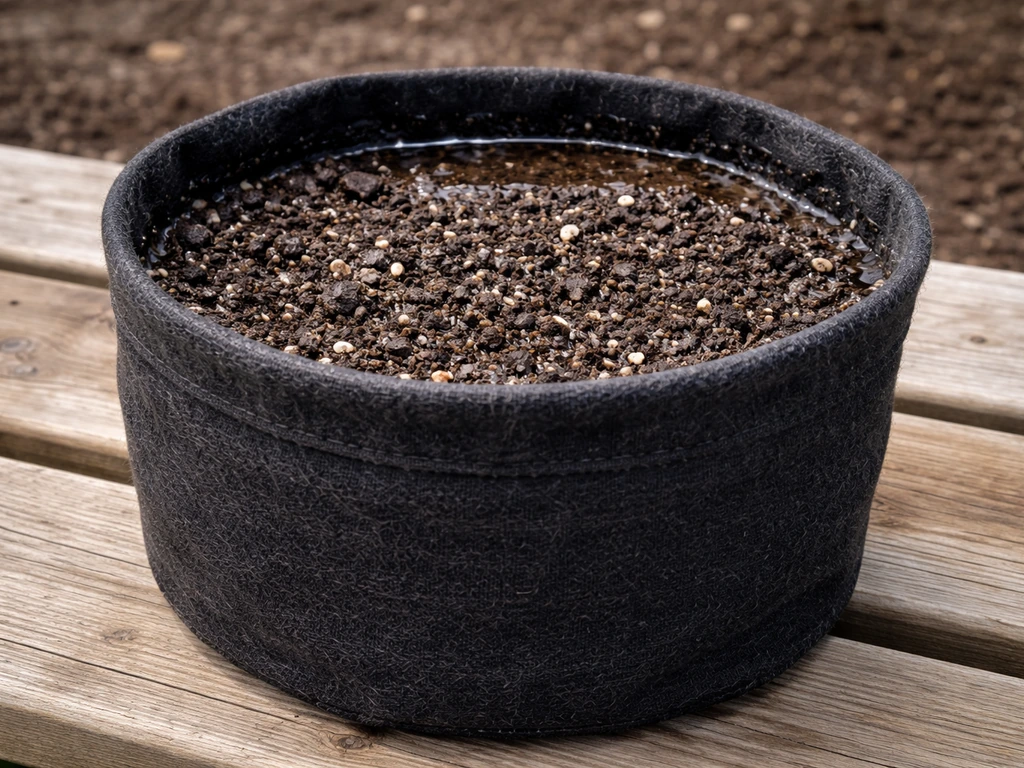
Overwatering and waterlogging
Yes, you can overwater a fabric grow bag, especially if it is sitting in a saucer that retains water or on a flat surface with no airflow underneath. Signs are yellowing lower leaves, a sour or swampy smell from the soil, and a bag that feels heavy but has wilting plants. The fix is to elevate the bag, remove any standing water from the saucer, and let the bag dry out before watering again. If your mix was not porous enough at the start, you can work perlite into the top few inches as a temporary improvement, but the real fix is a better mix next time.
Mold, algae, and fungal issues
The damp fabric exterior of grow bags can develop green algae, white mold, or surface fungal growth, especially in shaded, humid conditions. This is mostly cosmetic and does not directly harm plants, but heavy mold on the exterior can sometimes indicate that airflow to the root zone is being restricted. Improve spacing between bags, avoid splashing water onto bag walls when watering, and make sure bags are not in permanently shaded, damp locations. For persistent issues, a diluted hydrogen peroxide solution sprayed on the exterior can knock back fungal and algal growth without harming roots.
Nutrient deficiencies mid-season
If plants that were growing well suddenly show yellowing leaves, stunted growth, or poor fruiting after midsummer, nutrient depletion from leaching is the most likely cause. The solution is immediate: start a weekly liquid feed at the recommended rate and top-dress with a thin layer of compost. For persistent yellowing that does not respond to general feeding, check the specific deficiency pattern. Yellow between the veins on older leaves usually points to magnesium deficiency, which is very common in grow bags; a diluted Epsom salt solution (1 tablespoon per gallon of water) applied as a soil drench or foliar spray can correct it quickly.
Uneven moisture through the bag
If the top of the bag is wet but roots at the sides or base are dry, or vice versa, the culprit is usually a compacted or hydrophobic soil layer that has developed mid-season. Water channels around it rather than through it. Fix this by using a chopstick or thin dibber to make several vertical channels through the soil from the top surface, then water slowly. Adding a wetting agent (a few drops of dish soap or a commercial surfactant) to your watering can occasionally helps rehydrate hydrophobic soil. Preventing the problem long-term means using a mix with enough perlite that it resists compaction from the start.
Pests
Open-top grow bags do not create a pest-free environment, but they do reduce a few soil-borne pest problems compared to in-ground growing. Vine weevil, fungus gnats, and root aphids are the most common root-zone pests in fabric bags. Fungus gnats are almost always a sign of overwatering or a mix that stays too wet at the surface; letting the top inch dry out between waterings breaks their breeding cycle. For vine weevil, beneficial nematodes watered into the bag in late summer are an effective organic treatment. For foliar pests (aphids, spider mites, whitefly), the same treatments you would use on any container-grown plant apply: insecticidal soap spray, neem oil, or introducing predatory insects if you are growing at scale.
One last practical note: at the end of each season, rinse and dry your fabric bags thoroughly before storing. Mold and salt deposits build up in the fabric after a full growing season, and storing damp bags leads to breakdown of the fabric. A quick scrub with diluted white vinegar and a full dry in the sun extends bag life significantly, often getting you three to five seasons from a quality bag.
FAQ
How do I know what size open top grow bag to choose for my crop beyond the usual “gallon” label?
Use mature plant needs, not transplant size. As a rule of thumb, if you expect heavy fruiting (tomatoes, peppers, eggplant), size up so the bag can hold a stable wet-dry cycle in your climate, because fabric bags dry faster than plastic. If you are in hot, windy, or very sunny conditions, add one size tier compared with a mild patio setting.
Should I pre-soak an open top grow bag before planting or transplanting?
Yes, especially with coco coir mixes that can repel water when dry. Fill or wet the bag fully first and let it drain so the mix settles and you do not end up with dry pockets that later “channel” during watering.
Can I reuse the soil in open top grow bags from last season?
You can partially reuse, but expect depleted nutrients and possible compaction. Best practice is to refresh by removing the top 1 to 2 inches, mixing in new potting mix plus compost, and checking drainage by doing a slow-water test. If you had persistent nutrient deficiencies or heavy pest issues, start with fresh mix.
What’s the best way to water open top grow bags if I can’t be there daily?
Use slow, thorough watering plus a system that matches fabric evaporation. A drip line on a timer is usually more reliable than a burst sprinkler, and mulch on the bag surface helps cut evaporation. If you miss a day, expect a deeper dry-down and water more thoroughly, not more frequently at the surface.
Is it safe to use a saucer or drip tray under an open top grow bag?
It can work, but only if you prevent standing water. Elevate the bag so runoff can escape, empty the tray after watering, and avoid leaving the base sitting in a wet puddle, which defeats side drainage and can lead to heavy damp conditions.
My bag dries out quickly on one side, what causes that and how do I fix it?
Uneven drying often happens when wind, sun, or irrigation hits one side more strongly, or when the soil has settled unevenly. Rotate the bag every few days, ensure the watering soaks the full perimeter, and if one area stays dry, poke several vertical channels there and water slowly through the channels.
Can I top-dress mid-season without messing up watering or soil level?
Yes, but keep it shallow and controlled. Add a thin layer (about 0.5 to 1 inch) rather than filling toward the rim, then water slowly so the compost layer integrates without running off. If you consistently top-dress heavily, plan on reducing fertilizer needs later because nutrients will leach faster in these bags.
How do I prevent nutrient burn or salt buildup in open top grow bags?
Avoid frequent strong liquid feeds when the bag is drying slowly due to shade or low airflow. Stick to label dilution and, every few weeks, do a “flush” by watering thoroughly with plain water until a good amount drains through the fabric walls, then return to your regular feeding schedule.
Do open top grow bags need fertilizer if I used compost at filling time?
Usually yes, because compost and slow-release granules cannot cover the full season for heavy feeders. For leafy crops, supplemental liquid feed can be less frequent early on, then increase once growth accelerates. For fruiting crops, plan on more potassium and phosphorus once flowering starts, because fabric bags can leach nutrients faster.
Why do my leaves look healthy but I have poor flowering or fruit set in an open top grow bag?
Common causes are inconsistent moisture (especially drying too much between waterings), nitrogen imbalance, or root restriction from a too-small bag. Ensure the bag never dries past the point where the top 1 to 2 inches remain dry for long stretches during flowering, and consider switching from high-nitrogen feed to a more balanced or bloom-oriented formula at that stage.
How should I trellis or stake tall crops without damaging an open top grow bag?
Use structures that do not rely on pushing stakes into the fabric. A tomato cage around the bag works well, or tie stakes to a fence or frame. For very tall plants, add lateral stability with an outer container or support ring, and keep the bag filled firmly at planting to improve anchoring.
What’s the best way to transplant from an open top grow bag to the ground or a larger container?
Squeeze and flex the fabric to loosen the roots, then gently lift. You usually do not need to aggressively break the root mass because air pruning produces a dense fibrous system. Water immediately after transplanting, and keep the plant out of harsh midday sun for a couple of days if possible.
Can I grow blueberries or other acid-loving plants in open top grow bags long-term?
Yes, but you need ongoing pH management. Use an ericaceous compost and consider adding composted pine bark for structure, then monitor with a simple soil pH check if you see leaf yellowing. If water quality is alkaline, you may need more frequent adjustments or an acidifying approach suited to your conditions.
How can I reduce pests like fungus gnats and vine weevil in open top grow bags?
For fungus gnats, let the top inch dry between waterings, and avoid keeping the bag surface constantly damp. For vine weevil, prevention and timing matter, beneficial nematodes are most effective when applied at the right late-summer window. For general pest control, avoid splashing soil onto the bag walls, because debris and humidity can increase problems around the root zone.
How do I store open top grow bags between seasons without shortening their life?
Rinse off soil, then dry completely before storage, especially if they were in humid conditions. If you notice salt crusts or persistent residue, a diluted vinegar wipe followed by full sun drying helps prevent fabric breakdown and reduces mildew the next season.
Next Articles
Do You Fill Grow Bags to the Top? Correct Fill Level
Learn the right fill height for fabric grow bags, avoid overfilling or underfilling, and plant at the right depth.
Do Grow Bags Need Holes in the Bottom? How to Decide
When to add drainage holes to fabric grow bags, how many to cut, and what to do if they stay too wet.
Do Grow Bags Leak Water? Causes and Quick Fixes
Learn if fabric grow bags leak, why seepage happens, and quick tests and fixes to stop runoff and protect roots.