Fill a fabric grow bag with a well-draining potting mix, plant at the correct depth for your crop, water more frequently than you would with a plastic pot, and feed with a balanced liquid fertilizer every one to two weeks. That's the core of it. The rest is dialing in the details for your specific plant, your space, and your climate, and that's exactly what this guide covers from start to finish.
How to Grow Plants in Grow Bags: Setup, Care, and Troubleshooting

Marcus Holloway
15 Jun 2026
Choosing the right fabric grow bag
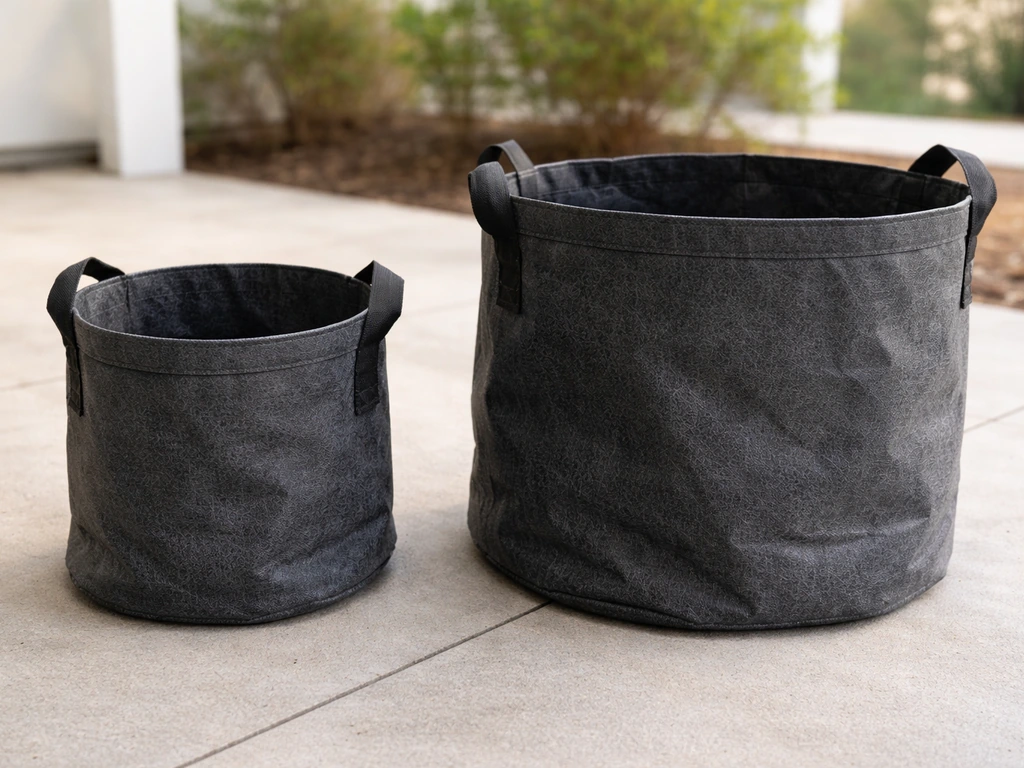
The single biggest mistake beginners make is buying a bag that's too small. Grow bags are sold by volume, usually in gallons or liters, and sometimes by diameter and height. A retailer product page for black fabric grow bags lists multiple grow bag sizes by volume, including 2, 5, 7, 10, 25, and 50 gallons [sold by volume, usually in gallons](https://pepperjoe.
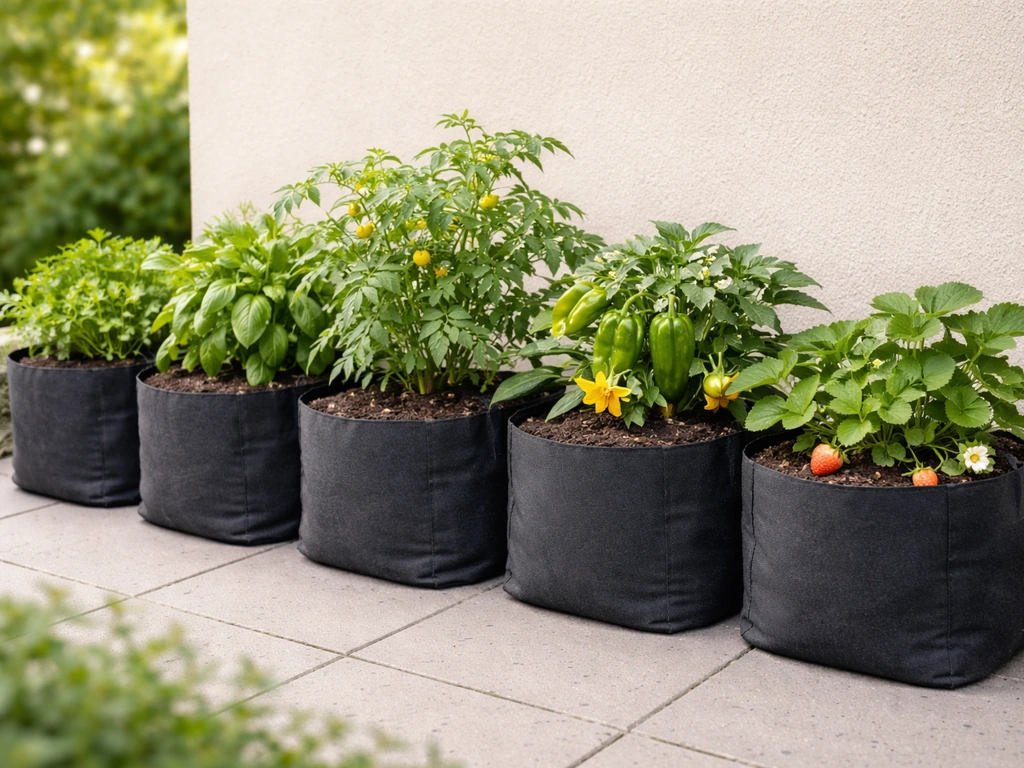
com/products/grow-bags-2-to-50-gallon-black). A 2-gallon bag suits a single herb plant. A 5-gallon bag handles one tomato or pepper in a pinch, though 10 gallons gives it real room to perform. Leafy greens and radishes are happy in 1 to 3-gallon bags.
Dwarf fruit trees need at least a 25-gallon bag, and many growers push to 50 gallons for long-term production. As a rough guide: if you're unsure, go one size up.
| Plant Type | Recommended Bag Size | Notes |
|---|---|---|
| Herbs (basil, mint, parsley) | 1–3 gallons | One plant per bag; mint benefits from isolation |
| Leafy greens (lettuce, spinach) | 1–3 gallons | Can cluster 2–3 plants per bag |
| Peppers, cucumbers | 5–10 gallons | 10 gallons gives better root room and moisture retention |
| Tomatoes (bush or indeterminate) | 10–20 gallons | Bigger bags mean less watering and better yields |
| Potatoes | 10–20 gallons | Tall bags allow hilling; look for bags with a side flap |
| Dwarf fruit trees | 25–50 gallons | Go larger for multi-year growing |
| Mushrooms | Substrate bags (filter patch) | Purpose-made grow bags differ from container bags |
| Flowers (annuals) | 3–7 gallons | Hanging grow bags work well for trailing varieties |
Material matters too. Most fabric grow bags are made from nonwoven polypropylene felt, which is breathable, reusable, and promotes air pruning at the root tips. Thicker felt (around 300g/m² or more) holds its shape better and lasts longer outdoors. Thinner bags are cheaper but can collapse when dry and degrade faster under UV exposure. For trees or any multi-season crop, invest in a heavy-duty bag. Round bags are the standard and work for almost everything. Rectangular or trough-style bags are useful for rows of herbs or greens. Potato bags with a side access flap let you harvest early potatoes without uprooting the whole plant.
Setting up your grow bags
Picking the right spot
Place your bags before filling them. Once a 20-gallon bag is full of damp compost, moving it is a two-person job. On hard surfaces like patios or concrete, put a saucer or tray underneath if you're worried about drainage staining, but don't let the bag sit in standing water. On grass or soil, bags will wick moisture from the ground, which actually helps in dry conditions. Indoors, use a waterproof tray and check that your floor can handle the weight. A 25-gallon bag filled with moist growing medium can easily top 50 kg (110 lbs).
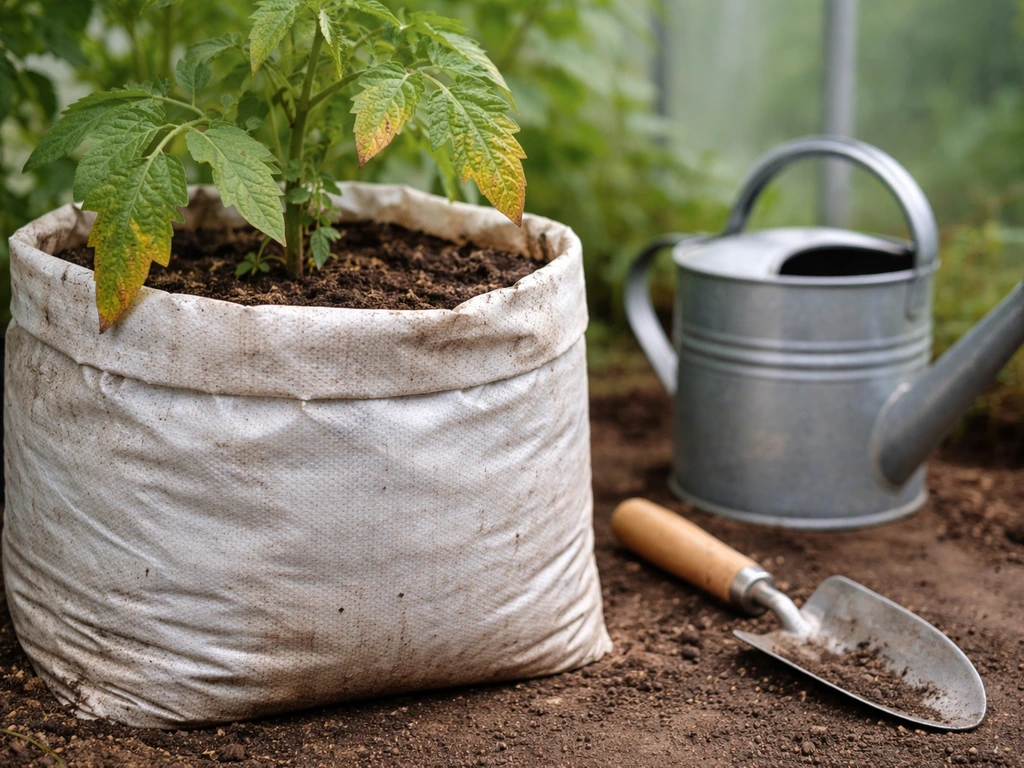
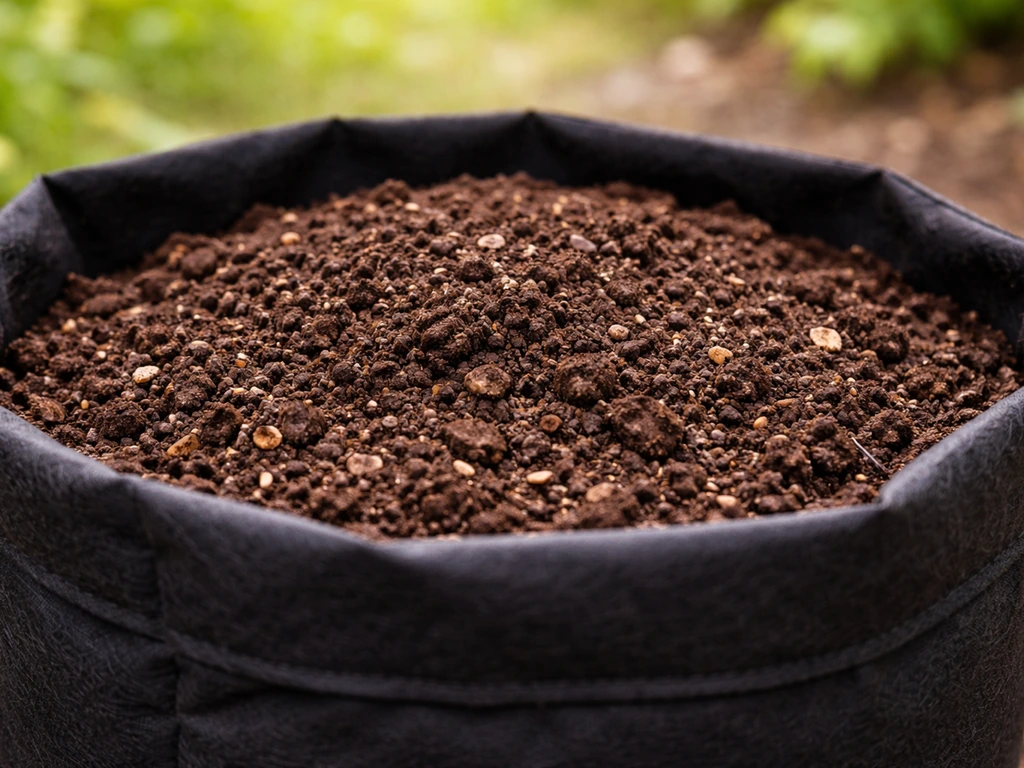
The right soil mix
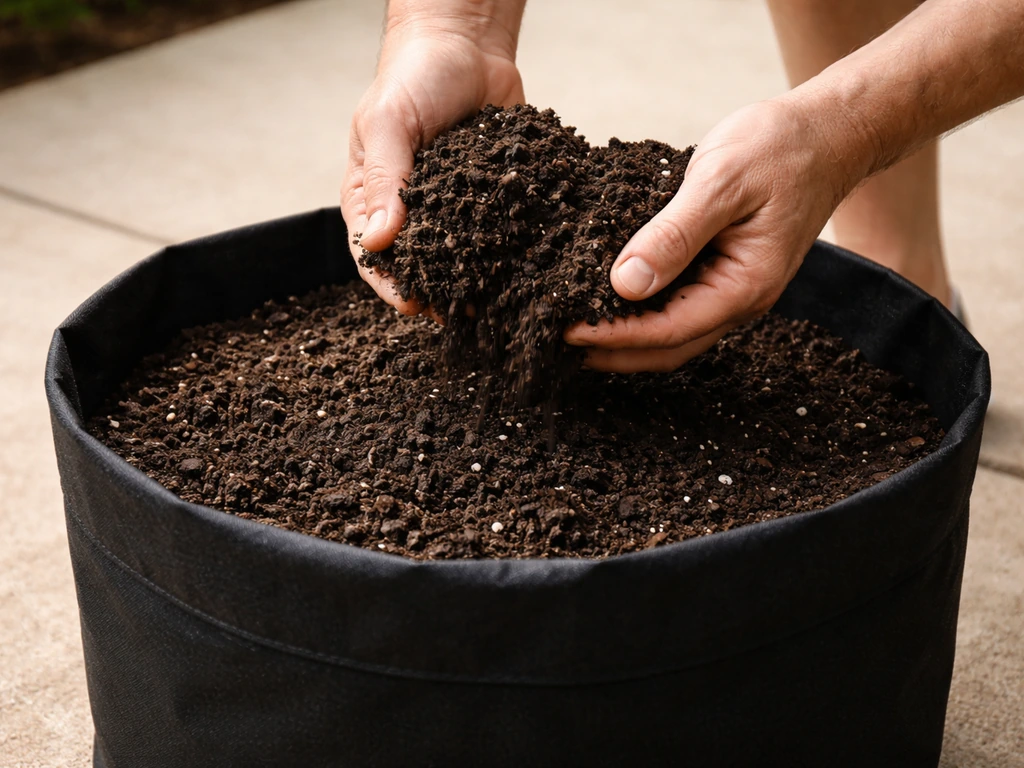
Don't fill grow bags with garden soil. It compacts badly in containers, drains poorly, and invites soil-borne disease. The go-to mix for most crops is roughly 60% good quality peat-free compost, 30% perlite or coarse grit, and 10% worm castings or well-rotted organic matter. The perlite is non-negotiable because fabric bags rely on drainage and aeration to work properly. Without it, even the breathable walls can't compensate for a dense, waterlogged medium. For acid-loving plants like blueberries, swap some compost for ericaceous compost. For mushrooms, this changes entirely, as mushroom grow bags are filled with a sterilized substrate like supplemented sawdust or straw, not potting mix.
Filling and stabilizing the bag
Fill the bag to about 2 inches below the rim. This leaves room for watering without runoff spilling over the edge and gives the media space to settle. Firm the mix gently with your hands but don't compact it. If the bag feels floppy or tends to tip, set it inside a slightly larger pot or ring it with a circle of stones. Some growers use Velcro straps or zip ties to cinch the top edge into a more rigid collar. It sounds fussy, but a bag that keeps tipping wastes your time.
Planting in grow bags
Seeds vs. seedlings
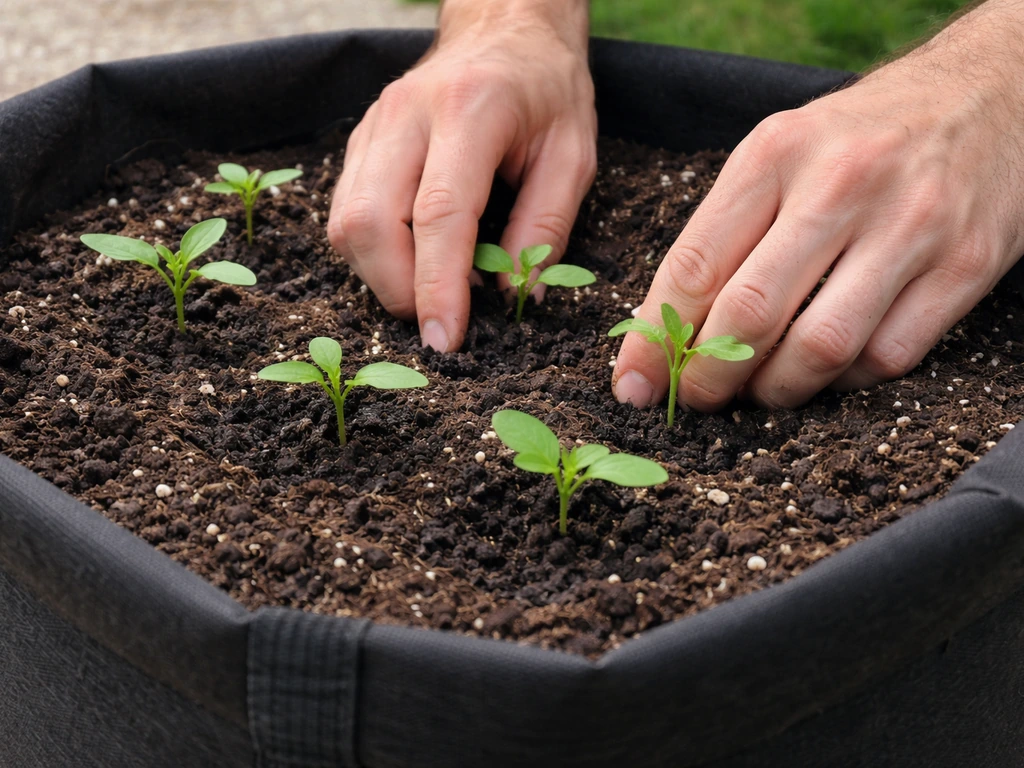
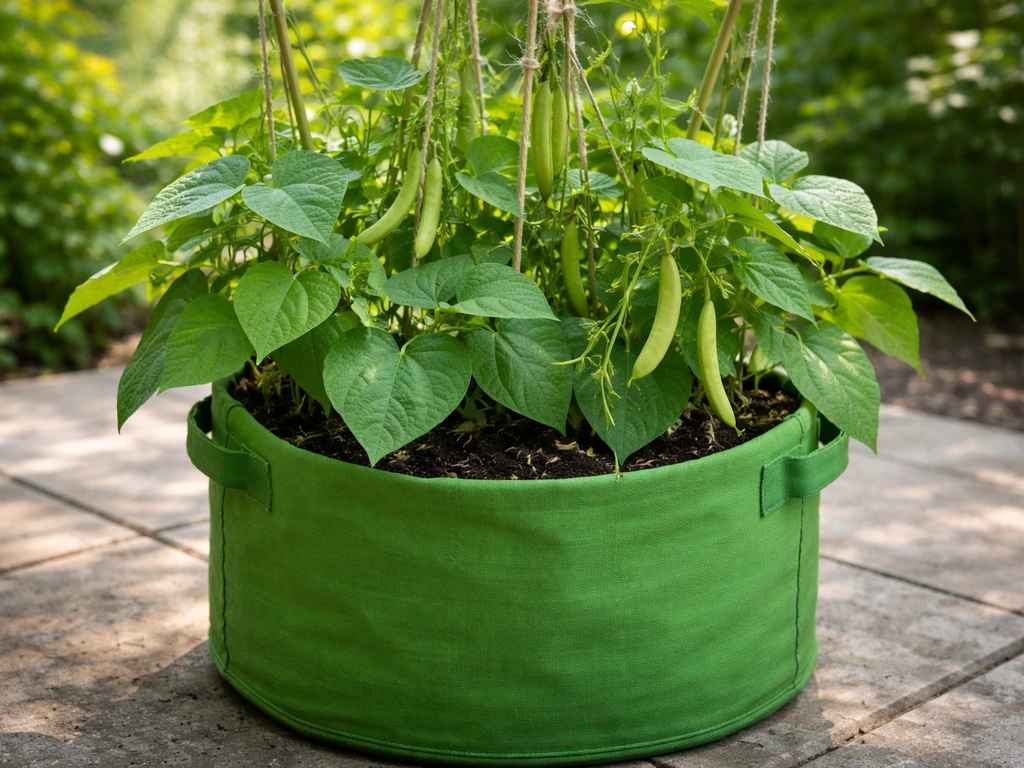
Both work fine in grow bags, but seedlings give you a head start and let you be more precise about spacing. Start seeds in trays or plug cells first for crops like tomatoes, peppers, and brassicas. Direct sow into the bag for fast growers like radishes, lettuce, peas, and beans, as they don't transplant as happily and germinate quickly enough that starting them separately isn't worth the effort.
You can also direct sow green beans into a grow bag, making them one of the easiest bean options for this setup can you grow green beans in grow bags. If you're direct sowing, keep the surface of the bag consistently moist until germination. Fabric bags dry out faster than plastic pots, so germination can fail if you skip a day or two of watering in warm weather.
Depth and spacing
Follow the same planting depths you'd use in the ground. Tomatoes are an exception: bury the stem deeper than you normally would and it'll throw out extra roots along the buried section. For spacing, think of each grow bag as its own raised bed. One tomato or pepper per 10-gallon bag, two or three herbs per 3-gallon bag, and for greens you can go fairly dense since you'll be harvesting outer leaves rather than uprooting the whole plant. Overcrowding isn't just a yield problem in grow bags, it also restricts airflow and raises humidity around the foliage, which feeds fungal issues.
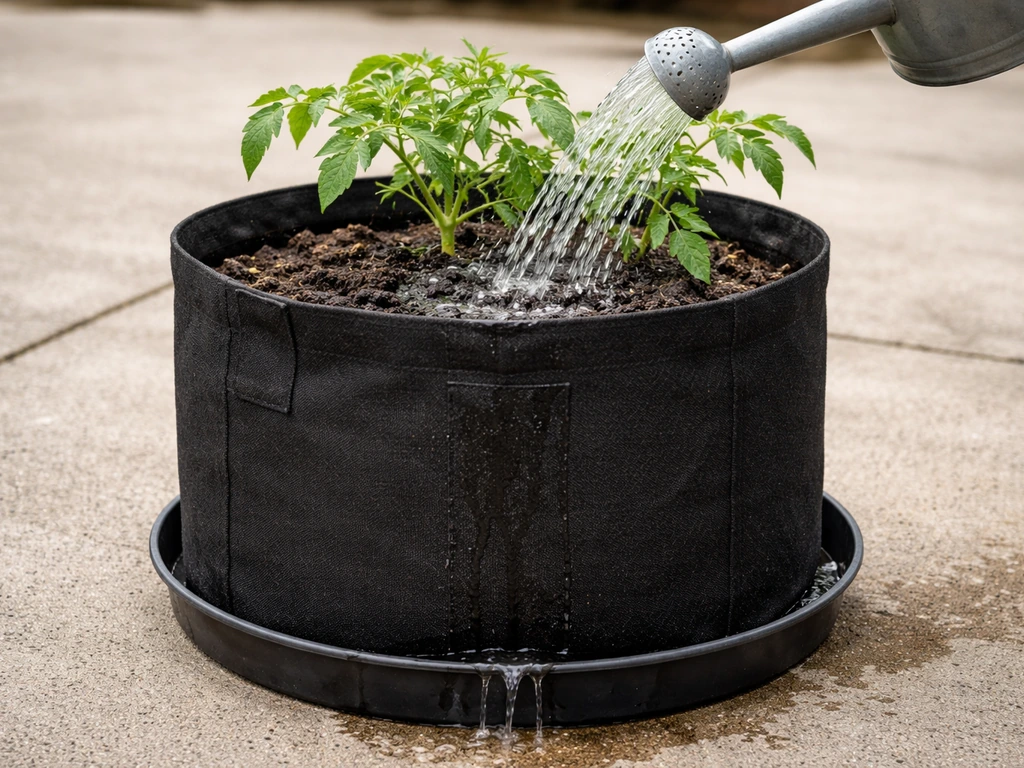
Watering and fertilizing routines
Fabric grow bags dry out significantly faster than plastic or ceramic pots because water evaporates through the sides as well as the surface. In warm weather, a 10-gallon bag with a tomato plant may need watering once or even twice a day. The finger test is your best friend here: push your finger 2 inches into the mix. If it's dry at that depth, water thoroughly until you see it draining from the base. Don't just wet the surface. Consistent deep watering is what prevents nutrient lockout and uneven root development.
Watering schedule
- Check soil moisture daily in warm or sunny conditions, every other day in cool or overcast weather
- Water slowly and thoroughly until runoff appears at the base, then stop
- Avoid surface-only watering, it encourages shallow roots and leaves deep roots dry
- In hot spells, consider a drip irrigation system or self-watering insert to maintain consistency
- Mulching the surface with bark or straw cuts evaporation noticeably, especially for large fruit bags
Fertilizing
Because grow bags are watered so frequently, nutrients flush out of the mix faster than in ground soil. Start with a pre-enriched potting mix or add slow-release granules at planting. Then from about four weeks in (or once you see strong leaf growth), switch to a liquid feed every one to two weeks. For leafy crops, use a nitrogen-heavy feed. For fruiting plants like tomatoes, peppers, and cucumbers, switch to a high-potassium feed once flowers appear. A balanced 20-20-20 liquid fertilizer works well for most herbs and ornamentals. Don't overfeed: more fertilizer is not better and salt build-up from overfeeding is one of the top causes of grow-bag crop failure.
Sunlight and temperature control
Outdoor setups
Most fruiting vegetables want at least 6 to 8 hours of direct sun. One of the best advantages of grow bags over raised beds is that you can move them as the season changes. In early spring, position bags against a south-facing wall to catch reflected heat and protect from late frosts. In peak summer, shade-sensitive crops like lettuce can be shifted to a spot with afternoon shade to prevent bolting.
Dark-coloured bags absorb heat, which warms roots and speeds early-season growth but can stress plants in midsummer. On very hot days (above 35°C/95°F), move bags if you can, or shade the bag itself without shading the plant using a light fabric wrap or placing adjacent pots to block direct sun on the bag's sides.
Indoor setups
Indoors, fabric grow bags work well in grow tents or near bright south-facing windows. For herbs and greens, a sunny windowsill plus a basic LED grow light is usually enough. For fruiting crops indoors, you'll need a proper full-spectrum LED setup positioned about 30 to 60 cm above the canopy. Temperature indoors is more stable, which actually makes grow bags easier to manage. Keep roots above 15°C (59°F) for most crops. Avoid placing bags directly on cold concrete floors in winter as this chills the root zone significantly. A simple piece of insulation board underneath makes a real difference.
Managing pests, diseases, and root health
Air pruning and root health
The main reason growers switch to fabric bags is air pruning. When roots reach the breathable wall of the bag, they're naturally pinched off by air exposure rather than circling endlessly as they do in plastic pots. This triggers the plant to grow more lateral roots, producing a dense, fibrous root system that absorbs water and nutrients more efficiently. To keep this working properly, make sure your growing medium stays aerated. If it compacts over time (common with peat-heavy mixes), gently loosen the surface with a fork or add a layer of fresh perlite-rich mix to the top.
Airflow and disease prevention
Good airflow around and between bags prevents the humid, stagnant conditions that fungal diseases love. Space bags so leaves aren't touching neighbouring plants. Remove dead or yellowing foliage promptly. Powdery mildew and botrytis are the most common issues in densely planted grow-bag setups. If you're growing outdoors, natural wind usually handles airflow. Indoors, a small oscillating fan running for a few hours a day does the job and also strengthens stems.
Pest management
Grow bags don't magically repel pests, but the controlled growing environment does make monitoring easier. Check the underside of leaves weekly for aphids, spider mites, and whitefly. Outdoor bags can attract slugs, especially when the bag is sitting on damp ground. Copper tape around the base of the bag helps. For soil-based pests like fungus gnats (common indoors), let the top inch of medium dry out completely between waterings. Sticky yellow traps catch adults while you address the root cause, which is almost always overwatering.
Crop-specific care
Vegetables
Tomatoes, peppers, and cucumbers are the grow-bag classics for good reason: they respond extremely well to the warm, well-drained root environment. Use a minimum 10-gallon bag, stake early (before the plant needs it), and switch to a high-potassium liquid feed once flowering starts. Potatoes need a tall bag so you can earth up the stems as they grow. Beans and peas can be direct-sown into 5 to 10-gallon bags and may need a cane support. Leafy greens are the easiest category and do well even in small bags on a kitchen windowsill.
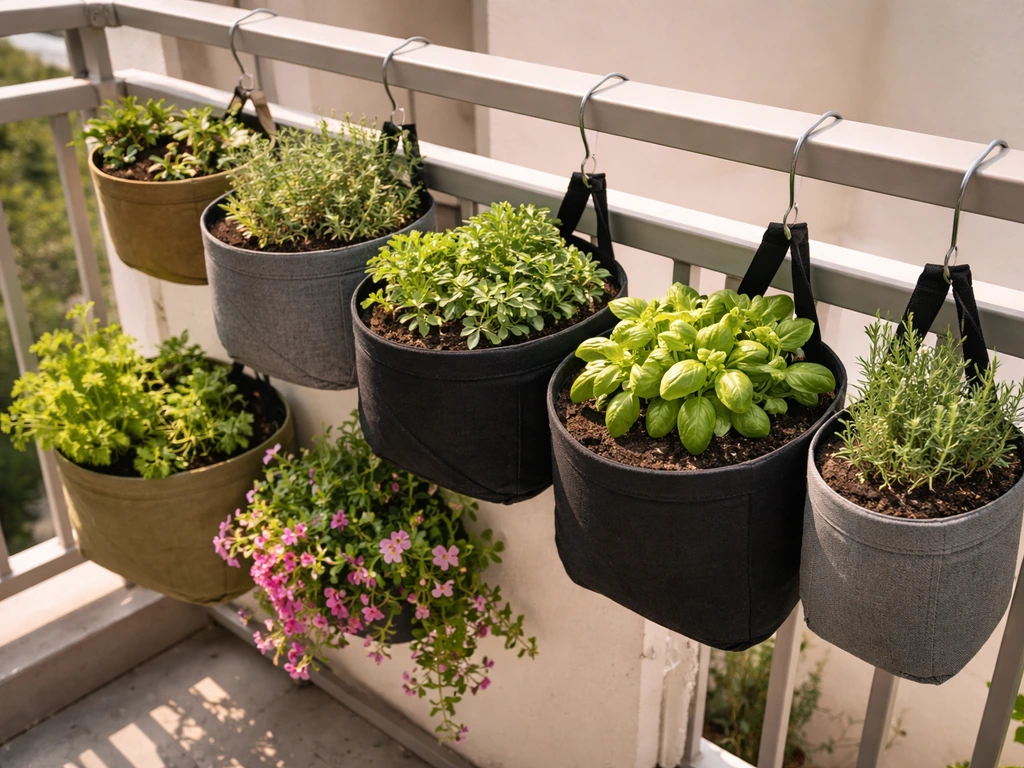
Flowers
Annual flowers like petunias, fuchsias, and nasturtiums thrive in 3 to 7-gallon grow bags, including hanging grow bags designed for trailing varieties. Feed with a phosphorus-rich fertilizer to encourage blooming rather than leafy growth. Deadhead regularly to extend the flowering period. Perennial flowers in grow bags need repotting every one to two years as roots fill the bag.
Dwarf trees and fruiting shrubs
Dwarf apple, pear, citrus, and fig trees work surprisingly well in large grow bags (25 to 50 gallons), which is actually one of the more underrated uses of fabric containers. The key differences are that you need to top-dress with fresh compost each spring, water much more frequently than you expect (trees in large bags still dry out faster than in-ground trees), and bring tender species like citrus indoors when temperatures drop below 5°C (41°F). Large bags also need a sturdy base since a top-heavy tree in a floppy bag is a recipe for tip-overs.
Mushrooms
Mushroom grow bags are a completely different category. These are heat-sealable polypropylene bags with a filter patch, filled with sterilized substrate (usually hardwood sawdust, bran, or straw), inoculated with mushroom spawn, and sealed to colonize. They're not container growing in the same sense as the rest of this guide. If you're interested in growing oyster, shiitake, or lion's mane mushrooms, you're looking for a different process entirely, one focused on sterile technique, colonization times, and fruiting conditions rather than soil, sunlight, or watering schedules.
Troubleshooting and maximizing yields
Bag drying out too fast
If you're watering once a day and the bag is still bone dry by evening, try mulching the surface (2 to 3 cm of bark or straw reduces evaporation significantly), adding water-retaining gel crystals to the mix at filling time, or upgrading to a thicker, heavier-grade bag. You can also try grouping bags together so the sides shade each other. If the problem is chronic, drip irrigation on a timer is the most reliable fix.
Bag collapse and instability
Bags collapse when the medium dries out completely or when the bag is overfilled and becomes top-heavy. Keep the medium consistently moist enough to hold its shape. For tall or top-heavy plants like staked tomatoes, tie the stake to a fixed structure rather than relying on the bag to anchor it. If your bag is visibly floppy even when moist, it's probably a lower-grade bag: worth replacing before it fails mid-season.
Nutrient lockout
If leaves are yellowing despite regular feeding, or you see brown leaf tips with a dry, crispy texture, nutrient lockout is likely. This happens when salt builds up in the medium from repeated fertilizer applications. Flush the bag thoroughly with plain water (run it through until it flows freely from the base) to clear the salt build-up. Then wait a day before resuming feeding at half the normal concentration. Going forward, water with plain water between every second feed to prevent salt accumulation.
Slow growth or poor yields
If plants are alive but just not performing, run through this checklist before assuming the worst. Is the bag big enough? Undersized bags restrict root development and limit yield dramatically. Is it getting enough direct sun? Is the watering consistent or patchy? Is the feed appropriate for the stage of growth (nitrogen for leafy growth, potassium for fruiting)? Most underperforming grow-bag setups can be traced back to one of these four variables. Fix the most obvious one first, give it a week, and reassess.
Compacted or waterlogged medium
If water pools on the surface and takes a long time to drain, your mix has compacted. Gently aerate the top few inches with a fork. If it's consistently waterlogged despite aeration, the perlite ratio was probably too low from the start. In this case, the best fix is to carefully remove the plant, refresh the medium, and replant with a better-draining mix. It's extra work but far better than leaving roots sitting in wet, anaerobic conditions where rot is inevitable.
FAQ
Can I use tap water for grow bags, and what if my plants show salt or nutrient issues?
Usually yes. The safest approach is to stop fertilizing for a short period, water thoroughly to leach salts (until excess drains freely), then restart feeding at half strength once you see new healthy growth. If you flush and there is no improvement after about a week, it may be a root or drainage issue rather than fertilizer imbalance.
How do I know when to water my grow bags, and how can I avoid overwatering?
A simple way to tell is to lift the bag (or feel its weight) and do the 2-inch finger check. If the top looks dry but the mix below is still wet, wait. If both are dry, water deeply until you see drainage from the base. Avoid quick “spritzing” because it only wets the surface and leaves deeper roots under-watered.
Can I top off or replace some of my potting mix with garden soil later in the season?
As a rule, don’t. Fabric bags rely on loose, aerated mix for root health. If you want to tweak the mix, the best fix is to adjust the perlite or coarse grit amount and refresh the top layer rather than packing in more compost. Garden soil compacts quickly in containers and can suffocate roots even if it looks okay at first.
Do grow bags need a different watering schedule in winter or during cold snaps?
It depends on your climate. If your growing bag sits outdoors, you may need to water more often as temperatures rise, but you should not keep it permanently saturated. In cold weather, decrease watering frequency and ensure good drainage, because slow drying plus cool temperatures increases rot risk.
Should I use a tray under a fabric grow bag, and can water collect underneath?
For most crops, aim for stable moisture rather than constant wetness, but the key is draining. Make sure the bag sits on a tray only if it can’t stain surfaces, and never allow the bag to sit in collected runoff. If you use saucers, empty them after watering.
Can I mulch a grow bag to reduce watering, and what mulch should I use?
Yes, but don’t treat it like a raised bed. Even if a plant is established, fabric bags can dry quickly, so mulch mainly helps slow evaporation from the top. Keep mulch a couple of centimeters away from stems to reduce rot risk, and don’t add heavy mulch that blocks water penetration.
What’s the smallest grow-bag size that can work for fruit trees, and do I still need to bring them indoors?
Typically, only if your variety truly fits. Dwarf fruit trees need very large bags and, more importantly, consistent top-dressing and frequent feeding. If you choose a smaller tree or a compact cultivar, consider training techniques (like a pruned central leader) and plan for winter protection indoors or with insulation.
My leaves are yellowing even though I fertilize, how do I figure out whether it’s nutrient deficiency or something else?
If leaves look yellow while soil moisture seems fine, check for salt buildup first. Flush with plain water, then resume feeding at half strength. Also confirm light is sufficient, because inadequate sun can mimic nutrient issues. If only older leaves yellow and growth is slow, nitrogen is a common culprit.
What should I do if a tall or staked plant keeps tipping or the grow bag collapses?
If the bag tips, it is usually a support and bag-structure problem. Stake the plant early, tie the stake to a fixed structure (like a post or rail), and consider using a larger bag or rigid collar. If the bag collapses even when moist, replace it with a thicker, heavy-duty bag grade.
How much spacing do I really need between grow bags to prevent fungal problems?
Don’t rely on the usual “raised bed spacing” alone. In grow bags, dense planting can create a humid microclimate, even outdoors. If foliage is touching neighboring plants or you see recurring mildew, thin out early, increase spacing, and ensure bags have airflow between them.
Can I use slow-release fertilizer in grow bags instead of regular liquid feeding?
Yes for many crops, but use the right feeding cadence. If you switch from liquid fertilizer to slow-release granules, you often need less frequent liquid feeding, and overfeeding can happen if you combine both heavily. Follow label rates, and if you keep seeing brown tips or leaf burn, reduce fertilizer frequency or switch to a lighter regime.
My plants are alive but not growing well, what should I troubleshoot first?
Start by checking whether the roots can access the full volume. If the bag is too small for the crop’s expected size, yield will suffer regardless of care. Then verify direct sun hours and confirm watering is reaching 2 inches down. Finally, match fertilizer type to growth stage, leafy growth usually needs more nitrogen than fruiting stage.
When should I repot or refresh a grow bag for perennial plants?
Repotting is often unnecessary for annuals, but for perennials it usually is. A good trigger is when roots fill the bag tightly, growth slows, or water runs through too quickly. For perennials mentioned in the guide, plan on refresh and repotting on schedule (roughly every one to two years) rather than waiting until the plant is stressed.
Can I grow the same crops in grow bags indoors as I do outdoors, and what changes most?
Yes, but you may need extra support for stability and better environmental control. Outdoors, wind can dry fabric bags faster than expected, and indoors, light intensity and temperature affect growth. Use the same drainage and watering principles, then adjust fertilizing and lighting to match how quickly the plant is actually growing indoors.
Next Articles
What to Grow in Hanging Grow Bags: Best Plant Picks
Best plants for hanging grow bags: beginner crops, herbs, vegetables, flowers, mushrooms, plus care tips for watering an
Best Beans to Grow in a Bag: Top Varieties and How-To
Top bush and pole bean picks for fabric grow bags plus planting, care, feeding, pest tips, and harvest timelines.
Best Soil for Grow Bags: Mix Recipes and How Much to Add
Best soil for grow bags: mix recipes, how much to add by bag size, and vegetable tweaks for strong drainage and yield.