If you've picked up a Levington Tomorite Peat Free Deep Planter, you're working with a 46-litre compost-filled bag that's already enriched with Tomorite plant food and designed to grow up to three tomato plants through the season. The setup is simpler than a traditional container grow because the growing medium and baseline feed are already sorted. What you need to get right is the planting method, watering routine, and top-up feeding schedule after the built-in nutrients run out around week eight.
Tomorite Grow Bag Instructions: Step by Step Tomato Guide

Marcus Holloway
3 Jun 2026
What "Tomorite" actually means on the label

There are two things sold under the Tomorite name that confuse people. First, there's Levington Tomorite Concentrated Tomato Food, a liquid fertiliser you dilute and apply to any tomato plant. Second, there's the Levington Tomorite Peat Free Deep Planter, which is a ready-to-use compost-filled growing bag that's pre-loaded with that same Tomorite plant food. Most people searching for "Tomorite grow bag instructions" have bought the second one, the ready-filled planter. This guide covers that product end-to-end, but also explains how to use the liquid concentrate correctly once the built-in feed runs out.
Tomorite is a Levington (ICL) brand, and it's one of the most widely recognised tomato feeds in the UK. The grow bag version is peat free, holds around 46 litres of compost, and is sold in a 3-plant size. It works equally well for other fruiting vegetables like peppers and aubergines, but the instructions on the label are optimised for tomatoes.
Unboxing and setting up before you plant
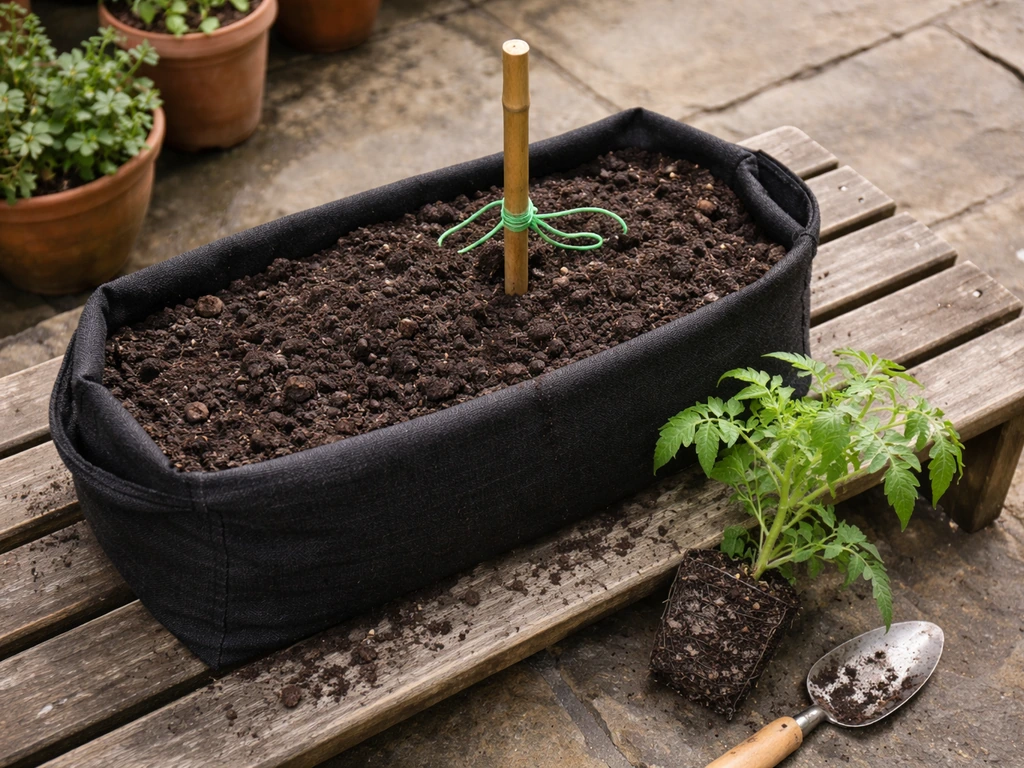
The bag arrives compressed and settled from transport, so the first thing to do is give it a good shake and knead it from the outside to break up any compacted lumps. This is listed on the product instructions as the first step, and it genuinely matters because compacted compost creates air pockets and uneven moisture distribution once you water in.
Choose your final position before you open the bag properly. A 46-litre filled compost bag is heavy and awkward to move once plants are in it. Lay it flat if you're using the traditional grow-bag method, or if the bag has a deep-planter design with structural sides, stand it upright according to the panel markings. Tesco's product listing specifically mentions "end panels" that guide placement when you're only planting two plants rather than three, so check which panels to cut or fold back based on your plant count.
You don't need to add extra compost or soil to a Tomorite Deep Planter because the growing medium is already included. If you're using a separate fabric grow bag and filling it yourself, choose a good peat-free multipurpose or tomato-specific compost. Avoid garden soil, which compacts badly in containers and reduces the air-pruning benefit that fabric bags offer.
Step-by-step planting: seeds vs transplants, depth, and spacing
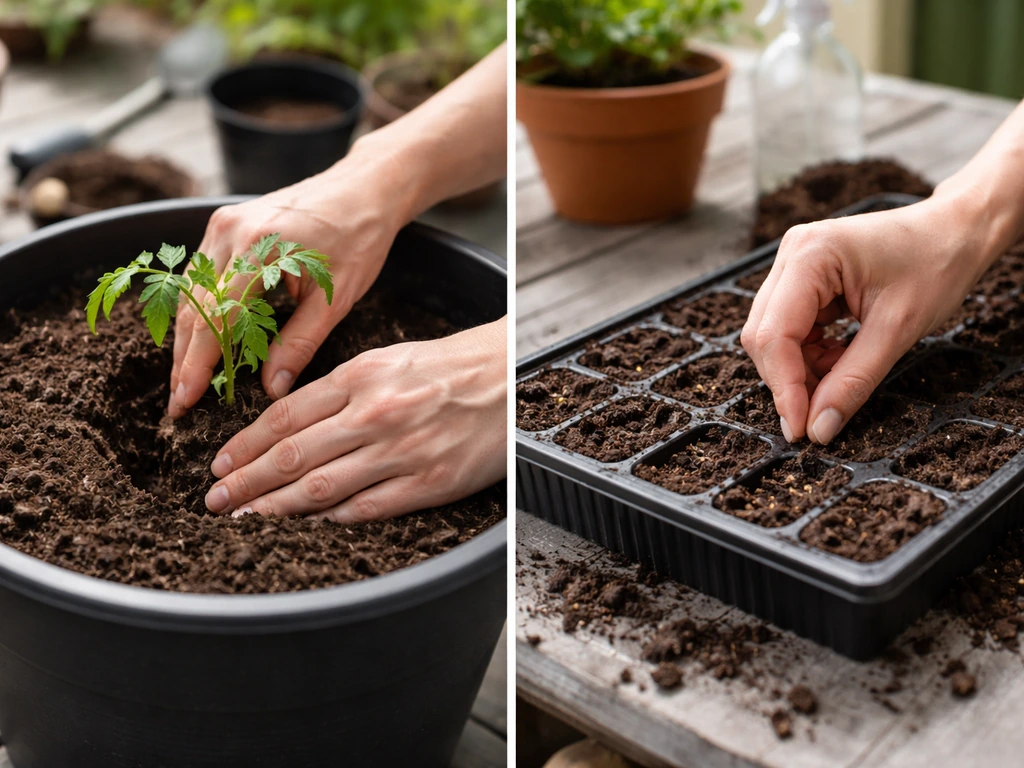
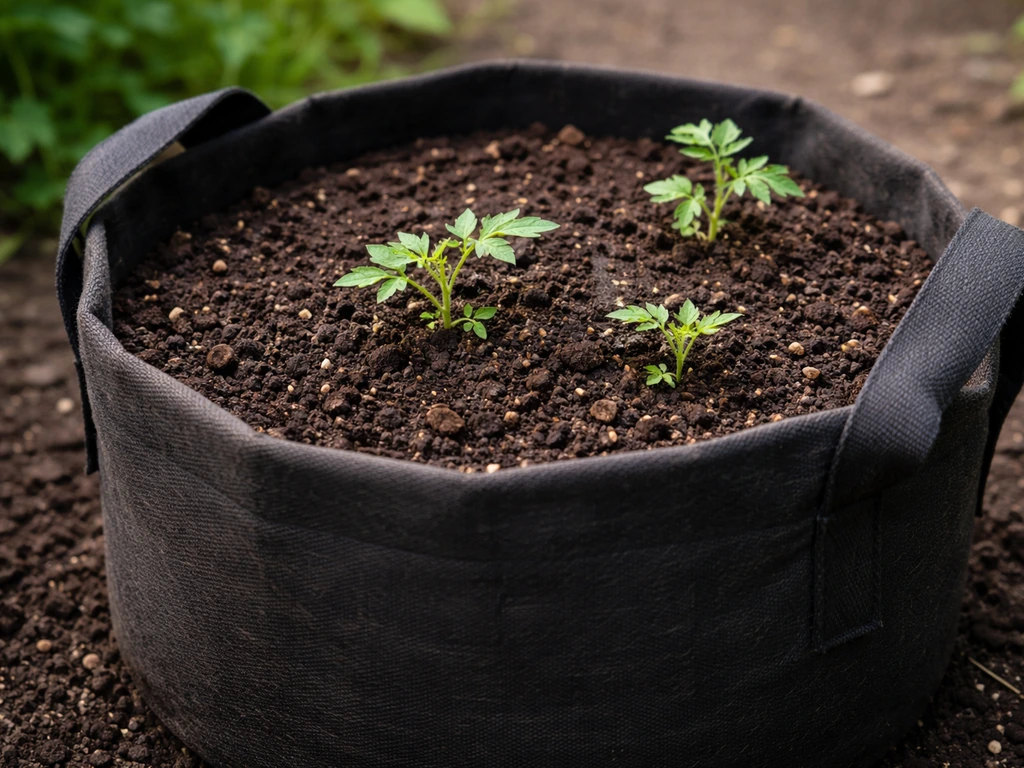
The Tomorite Deep Planter is designed for transplants, not seeds. By the time you're planting into a ready-filled bag, you should already have young tomato plants that have been hardened off over seven to ten days (gradually exposed to outdoor conditions). Sowing tomato seeds directly into a grow bag is possible but inefficient; the bag's built-in feed window starts the moment the compost is exposed, so you want plants in as early as conditions allow.
One important timing note from the Tesco product page: delay planting tomatoes until the first flower truss opens. This ensures plants are mature enough and not going into a check (growth stall) from being planted too early in cool weather.
- Shake the sealed bag firmly to loosen compost, then knead from the outside to break up any clumps.
- Position the bag in its final growing spot in full sun, sheltered from strong wind.
- Cut planting holes according to the panel markings: three holes for three plants, two holes using the end panels if planting two plants.
- Dig a planting pocket in each hole deep enough to bury the tomato stem up to just below the lowest set of leaves. Tomatoes root along buried stems, so plant deep.
- Set the transplant in, firm gently around the root ball with your hands, and close the compost around the stem.
- Water in immediately with approximately 6 litres of water spread evenly across the bag. This is the manufacturer's specified initial watering volume.
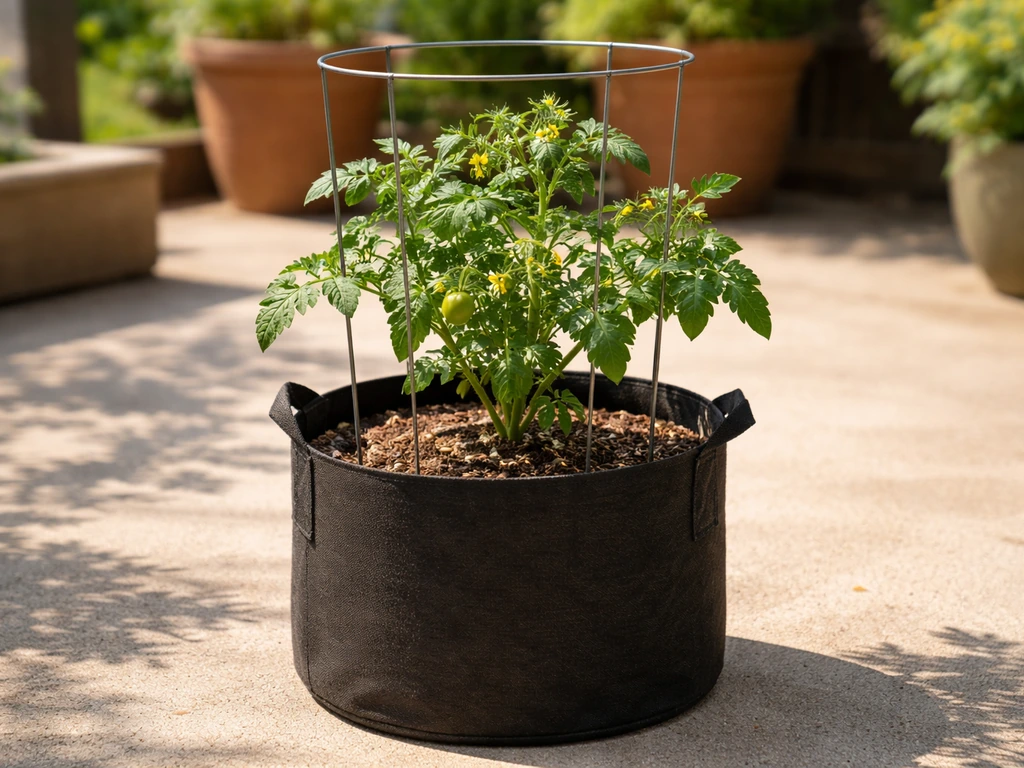
- Insert a cane or stake through the bag and into the ground (or use a tomato support cage) straight after planting, before roots develop and before the plant gets heavy.
Spacing is built into the planter: three plants per 46-litre bag gives each plant roughly 15 litres of root space, which is workable for cordon (indeterminate) and bush varieties. If you're growing large indeterminate varieties like Moneymaker or similar, two plants per bag will give better results and reduce competition.
Watering in a fabric grow bag
Fabric grow bags dry out faster than plastic pots or standard grow bags. The breathable walls allow moisture to evaporate from all sides, not just the surface, which is great for root health but means you need to water more frequently than you'd expect. In warm summer weather, that can mean watering once or even twice a day.
The best check is to push your finger 3 to 4 cm into the compost. If it feels dry at that depth, water thoroughly until you see a little drainage. For a 46-litre Tomorite bag with three plants in mid-summer, that's typically 6 to 9 litres per watering session. Consistent moisture is essential for tomatoes: irregular watering causes blossom-end rot and fruit splitting, both of which are frustrating and avoidable.
- Water in the morning so foliage dries during the day, reducing disease risk.
- Avoid wetting leaves directly: aim water at the compost surface around the base of stems.
- Never let the bag dry out completely. Peat-free compost in particular can become hydrophobic once bone dry and will channel water around the root zone rather than through it.
- In hot, sunny or windy conditions, check moisture levels twice a day.
- A drip irrigation system or self-watering tray underneath the bag is worth considering for anyone who travels or forgets to water.
Overwatering is less common with fabric bags than with plastic containers because the breathable walls help prevent true waterlogging, but consistently saturated compost will still suffocate roots. The goal is moist, not sodden. If water sits on the surface for more than a few seconds before soaking in, the compost may be compacted or hydrophobic; loosen the top layer gently with a fork and water more slowly.
Feeding and soil amendments
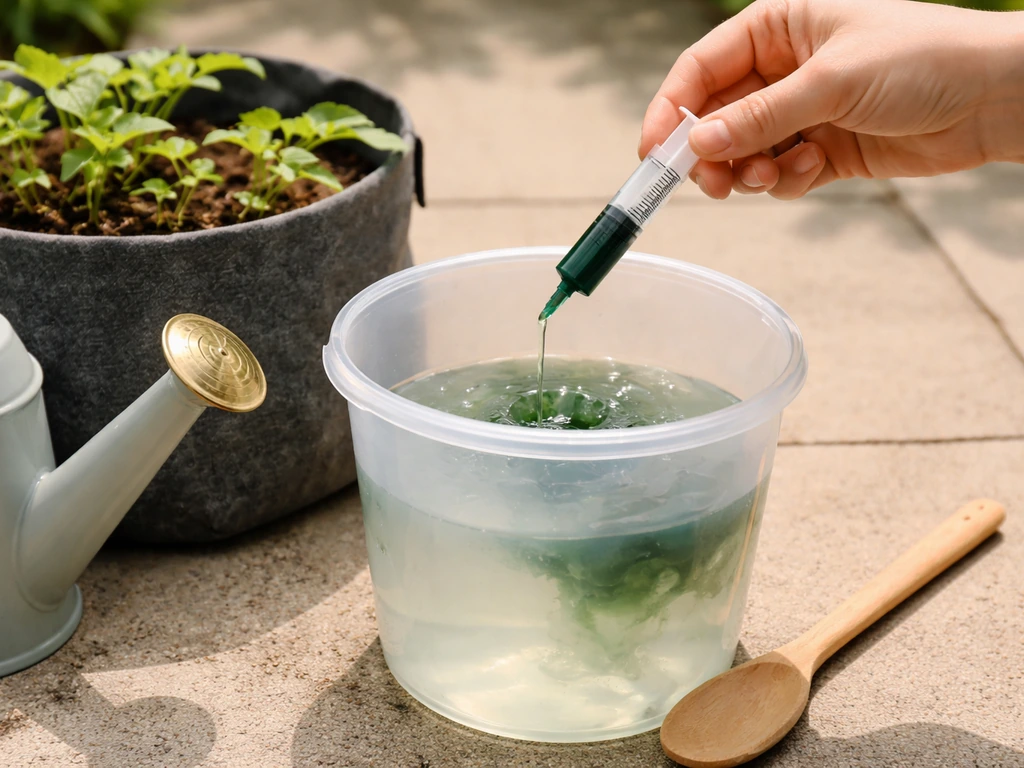
The Tomorite Deep Planter blank" rel="noopener noreferrer">feeds plants for up to 8 weeks from planting without any extra fertiliser needed. If you want a broader look at choosing and using these types of containers, this guide on the best tomato grow bags covers the main factors to consider Tomorite Deep Planter. After that, the built-in nutrients are largely depleted and you need to start supplementing with liquid feed, ideally Tomorite Concentrated Tomato Food, though any high-potassium tomato liquid feed works.
The manufacturer's dosing for Tomorite liquid concentrate in grow bags is 20 ml of concentrate diluted in 4.5 litres (1 gallon) of water per bag. Some label versions specify 1.5 litres of diluted feed per plant, applied weekly. Feed from week eight onwards, or earlier if you see signs of nutrient deficiency (yellowing lower leaves, pale overall colour, slow growth).
| Stage | Action | Timing |
|---|---|---|
| Planting | No extra feed needed, Tomorite nutrients already in compost | Week 0 |
| Establishment | Water only, no liquid feed | Weeks 1 to 8 |
| Active growth and fruiting | Weekly liquid feed: 20 ml Tomorite concentrate in 4.5 L water per bag | Week 8 onwards |
| Heavy cropping | Continue weekly feeding; increase to twice weekly if plants look hungry | Mid to late season |
Tomatoes are heavy feeders once they start fruiting. Don't skip the liquid feeding phase thinking the bag's built-in nutrients will last the season; they won't. If you notice fruit failing to set or plants looking pale after week eight, feeding more consistently is usually the fix. Avoid high-nitrogen feeds at the fruiting stage: nitrogen pushes leafy growth at the expense of fruit. Tomorite's high-potassium formula is specifically balanced for tomatoes in fruiting mode.
Light, temperature, and placement
Tomatoes need a minimum of six to eight hours of direct sun per day to crop well. In the UK, that means a south or southwest-facing spot against a wall or fence is ideal; the wall retains heat and creates a microclimate that extends the effective growing season. Avoid north-facing positions or spots shaded by trees and structures.
Temperature matters more than most growers realise. Tomatoes stop setting fruit when night temperatures drop below about 10 degrees Celsius or when daytime temperatures exceed 30 degrees Celsius for extended periods. In the UK, that upper limit is rarely an issue, but late spring and early autumn nights can be cold enough to stall fruiting. If you're growing on a patio, fabric bags on a hard surface absorb reflected heat from paving, which helps. In greenhouses or polytunnels, Tomorite bags thrive because conditions are more consistently warm.
- Place bags against a south-facing wall or fence for maximum warmth and light.
- Avoid exposed, windy spots: wind accelerates moisture loss from fabric bags and can snap stems.
- If growing outdoors, harden off transplants for 7 to 10 days before planting into the bag.
- For cordon varieties, fix canes or strings to a wall or stake through the bag to support plants as they grow; do this at planting, not later.
- In cooler regions or for late-season crops, covering plants with fleece on cold nights protects developing fruit.
Troubleshooting common problems
Yellowing leaves
Lower leaves yellowing early in the season often signals nitrogen deficiency, especially in peat-free compost. Start liquid feeding earlier than week eight if this appears, or increase feed frequency. If yellowing is between leaf veins (the veins stay green but tissue turns yellow), that's magnesium deficiency, very common in fruiting tomatoes. A foliar spray of Epsom salts (20 g per litre of water) applied directly to leaves every two weeks usually corrects this quickly.
Blossom-end rot
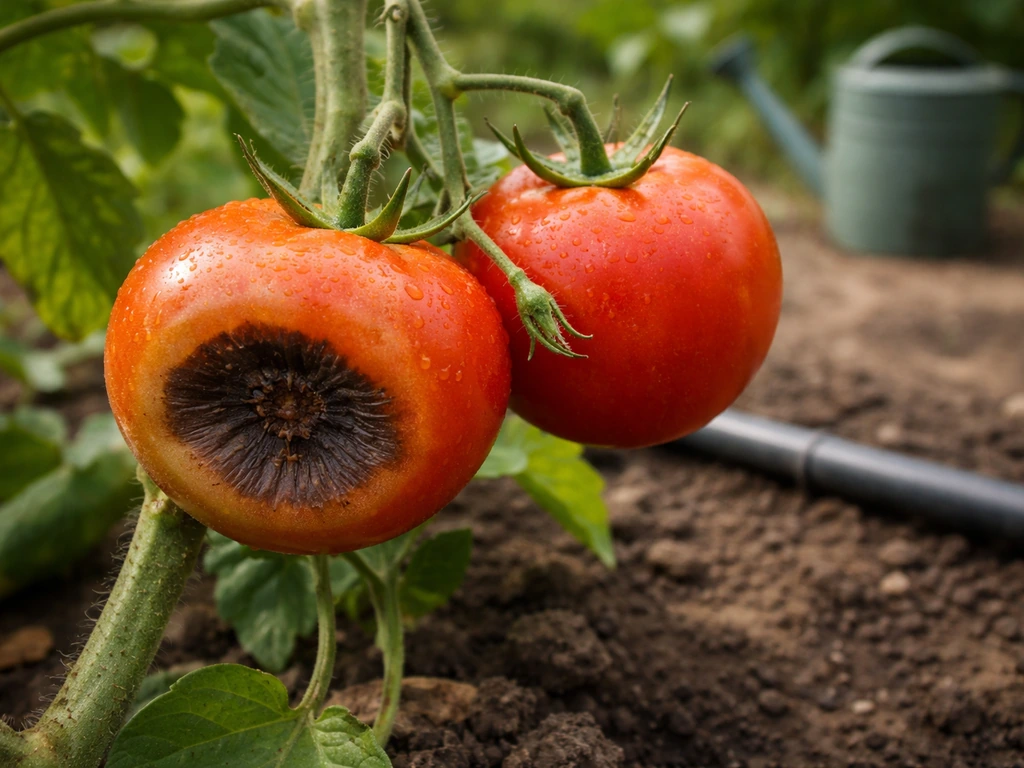
That dark, sunken patch on the bottom of tomatoes is blossom-end rot, caused by calcium deficiency triggered by inconsistent watering, not a lack of calcium in the soil. The fix is maintaining even moisture in the bag rather than adding calcium supplements. If you're allowing the bag to dry out and then flooding it, you're disrupting calcium uptake. Keep watering consistent.
Slow or stunted growth
If plants aren't progressing after planting, the most likely causes in a fabric grow bag are cold soil temperature (bag sited in a shaded or cold spot), waterlogged compost (the bag sitting in standing water), or planting too early before the first flower truss opened. Check placement, check drainage, and if the weather has been cold, be patient.
Root issues and fabric-bag-specific problems
One of the genuine advantages of fabric bags is air pruning: roots that reach the breathable wall stop growing and the plant redirects energy into a denser, healthier root network. That's the system working correctly, not a problem. However, if the bag sits in a tray of standing water, the air-pruning benefit is lost and roots can rot at the base. Keep drainage free and don't let the bag stand in collected water.
Pests and disease
Aphids cluster on new growth and shoot tips: knock them off with a jet of water or use an organic insecticidal soap. Tomato blight (Phytophthora infestans) is the most serious disease risk in the UK; it spreads in wet, warm weather and causes dark blotches on leaves and stems that spread fast. There's no cure once it takes hold. Remove and bag affected material immediately, and avoid wetting foliage when watering. Growing under a clear roof significantly reduces blight risk.
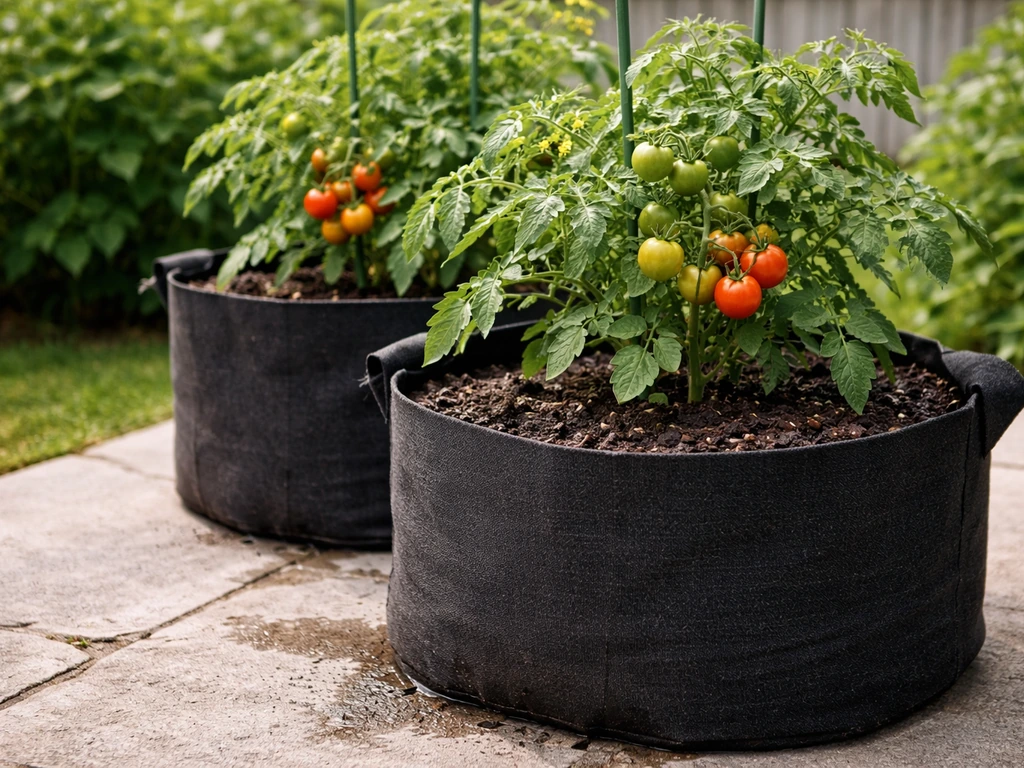
Harvesting and aftercare
Harvest tomatoes when they're fully coloured and come away easily with a gentle twist. Don't wait for every fruit on a truss to ripen before picking: remove ripe ones individually to reduce weight on the stem and encourage the remaining fruits to colour up faster. Towards the end of the season, remove the growing tip of cordon varieties and any leaves shading developing fruit to redirect energy into ripening what's already set.
Once the season ends, clear all plant material from the bag and bin it, don't compost it if there's any sign of blight or disease. The compost inside the Tomorite Deep Planter will be largely spent of nutrients but still usable as a soil improver in borders or raised beds. Don't reuse the same bag of compost for tomatoes the following year, as disease spores (particularly blight) can overwinter in spent compost and infect new plants. This is a standard recommendation for any grow bag used for tomatoes, regardless of brand.
If you're using a separate reusable fabric grow bag (rather than the disposable Tomorite-branded bag), wash it thoroughly after clearing the old compost. Turn it inside out, scrub with a dilute solution of garden disinfectant, rinse well, and let it dry completely before storage. Properly cleaned fabric bags can last three to five seasons. The question of whether to reuse bags for tomatoes specifically comes down to disease history: if the previous crop was clean and healthy, reuse with fresh compost is generally fine.
The Tomorite system is one of the more straightforward ways to get into grow-bag tomatoes because a lot of the guesswork around compost selection and initial feeding is removed. Get the watering right, start liquid feeding after week eight, and put the bag in a genuinely sunny spot and you'll get a solid crop. A gardener's best tomato grow bag kit can help you replicate these steps with the right container and starting supplies for a strong first crop Tomorite system. The choices you make around variety, bag size, and soil mix in your next grow will matter even more as you get more experienced with the method.
FAQ
Can I sow tomato seeds directly into a Tomorite grow bag, or do I need transplants?
A Tomorite Deep Planter is meant for transplants, because the built-in feed starts working once the compost is exposed. If you still want to start from seed, sow in modules first and transplant as soon as seedlings have multiple true leaves and have hardened off for about a week, then plant no earlier than the first flower truss opening to avoid stalling.
Should I add compost to a Tomorite grow bag during the season?
Yes, but do it only when the roots have filled the planter enough that you see clear signs of drought stress despite regular watering, or when plants are massively top-heavy. If you do top-up, use fresh tomato or multipurpose peat-free compost, not garden soil, and keep the fill below the point where it would cover the stem too deeply.
My Tomorite bag seems too wet, how do I fix overwatering?
It can be, especially after a period of drying out. First check whether excess water is draining freely, then feel the compost at 3 to 4 cm depth. If it is wet all day, pause watering and loosen the top layer gently with a fork, then resume with smaller, slower waterings to keep moisture even rather than saturated.
How often should I water a Tomorite grow bag in hot weather?
If the bag is in a sunny, wind-exposed spot, the label watering plan may be too light. Use the finger-depth test, and water when 3 to 4 cm is dry. In hot periods you may need morning and early evening watering, but always water thoroughly each time until you see a little drainage.
Why are my tomato flowers dropping or not forming fruit in the grow bag?
If watering is consistent and blossoms are not setting, the usual cause is cold nights below about 10 C, or prolonged heat above about 30 C. Also check that plants are not too shaded and that you are avoiding high-nitrogen feed after flowering, because that can delay fruit set even when the plants look healthy.
How can I tell whether my yellowing leaves are nitrogen or magnesium deficiency?
If you see yellow lower leaves early, that points to nutrient issues, often nitrogen in peat-free mixes. If yellowing is between the veins later in the season, suspect magnesium. Use the appropriate fix, with Epsom salts only for magnesium-type symptoms, and don’t switch to a heavy nitrogen feed once plants are fruiting.
Is blossom-end rot in a Tomorite grow bag fixed by adding extra calcium?
For blossom-end rot, changing to a calcium supplement rarely solves it. The practical fix is to restore steady moisture. Water on a consistent routine, avoid letting the compost dry out fully, and when rain or missed waterings happen, gradually re-wet rather than flooding.
My tomatoes are not growing well after planting, what should I check first?
If the plants look stuck after planting, check three things first: the bag position for cold exposure, whether drainage is working (no standing water under the bag), and whether you planted before the first truss was open. Cold soil is common on patios, even when air temperatures seem fine, so warming the area can help.
What are the best ways to prevent tomato blight in wet UK conditions?
To reduce blight risk, avoid wetting foliage, water the compost not the leaves, and space plants so air can move. In a humid spell, remove and bag any suspect leaf growth immediately. Growing under a clear cover helps because it keeps foliage drier.
When should I start harvesting, and do I need to wait for an entire truss to ripen?
Harvesting frequently improves results. Pick ripe fruits individually, especially those fully coloured, because leaving overripe tomatoes on the truss can slow ripening of others. Near season end, remove the growing tip on cordon types and clear leaves shading developing fruit so energy goes into ripening.
Can I reuse the compost or the bag for tomatoes next year?
Yes, but only reuse if the previous crop was completely healthy. Clean the reusable fabric bag thoroughly and do not reuse spent compost for tomatoes again, because disease spores can persist. If you had blight or other disease, dispose of everything and don’t reuse the compost.
Next Articles
Gardener's Best Tomato Grow Bag Kit: Setup and Care Guide
Set up and care for a gardener's best tomato grow bag kit with sizing, watering, feeding, training, and fixes.
How Often to Water Tomatoes in Grow Bags: A Guide
Learn how often and how much to water tomatoes in fabric grow bags, plus feeding timing and quick troubleshooting.
Best Soil for Tomatoes in Grow Bags: Mix Recipes
Best grow-bag tomato soil mixes with exact ratios, amendments, and filling tips plus feeding and troubleshooting for hea