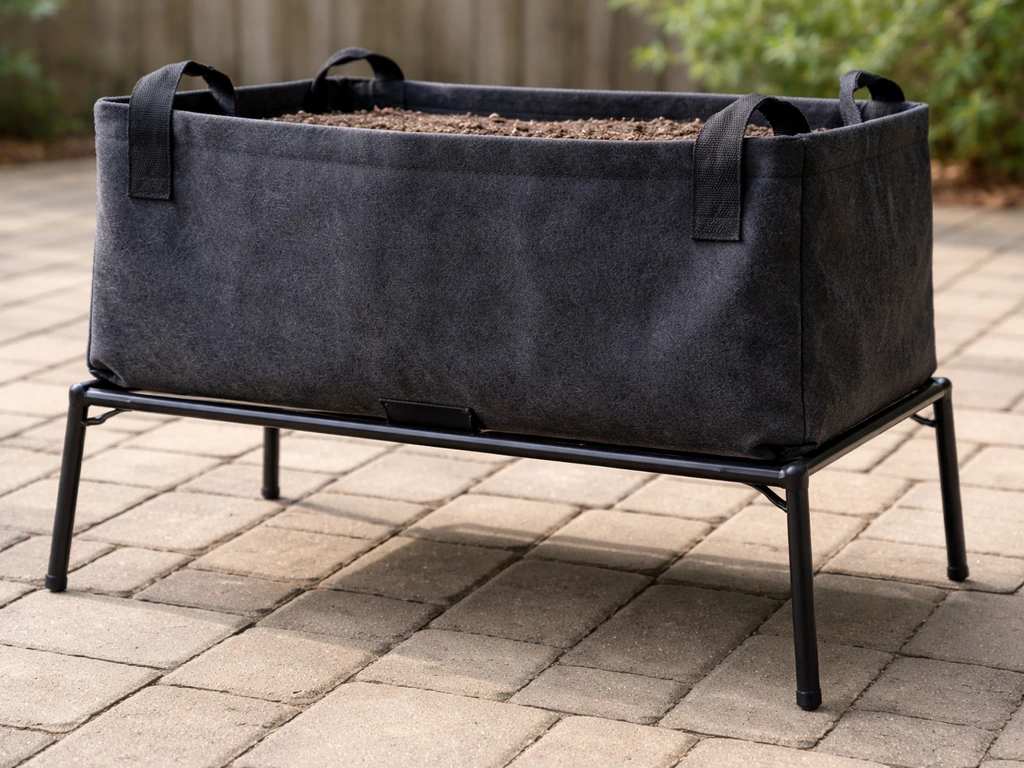
Keeping fabric grow bags off the ground is one of the simplest things you can do to protect your plants. Raise them at least 5 to 10 cm (about 2 to 4 inches) using bricks, wooden pallets, wire racks, or purpose-built pot stands, and you'll immediately improve drainage, cut pest pressure, reduce mold risk, and get better air circulation around the roots. If you're looking for a quick fix today, a set of bricks or a cheap wire cooling rack under the bag will do the job in minutes.
How to Keep Grow Bags Off the Ground: Practical Tips

Marcus Holloway
5 Jun 2026
Why grow bags shouldn't touch the ground
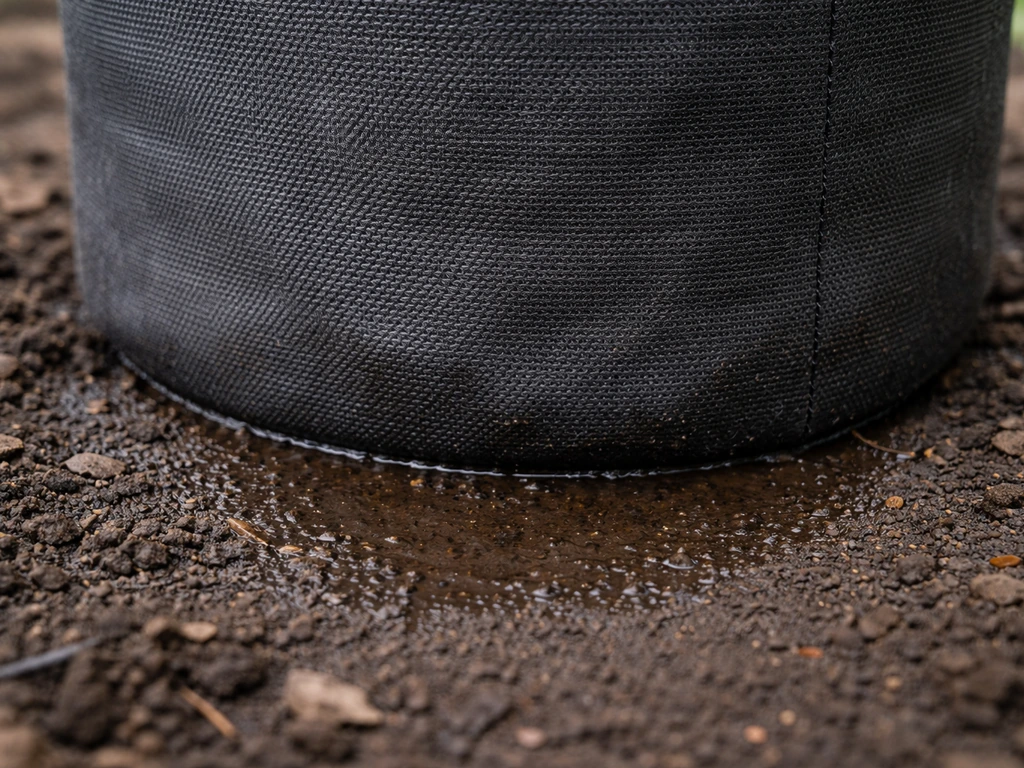
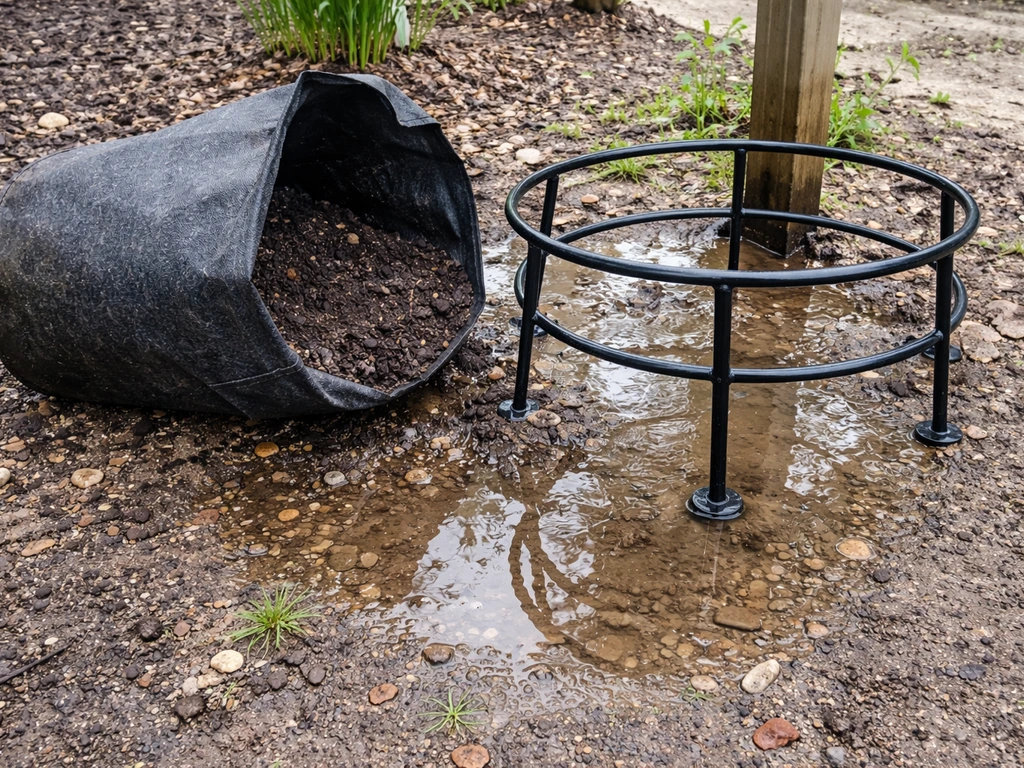
The whole point of a fabric grow bag is that the porous walls and base allow air to reach the roots and excess water to drain freely. When the bag sits flat on solid ground, you lose both of those benefits at once. The drainage holes (or the permeable fabric base) get pressed against a hard surface, slowing or blocking water escape. That trapped water displaces the air in the soil's macropores, and roots depend on that oxygen. Research from UC IPM is direct on this: aeration deficit in the root zone can cause root asphyxiation, and feeder roots are especially sensitive. Once oxygen is cut off, roots can die quickly, and root rot fungi like Fusarium and Phytophthora move in fast. You'll first notice stunted growth, yellowing, and wilting even though the soil looks wet. That wet-but-wilting pattern is the classic sign that roots are suffocating, not thriving.
There's also the wicking problem. When wet soil inside a bag sits directly on a damp surface, capillary action can pull moisture from the ground back up into the growing medium, keeping it wetter than you intended. That's the opposite of what you want. And on a purely practical level, damp fabric pressed against soil or concrete stays wet for a long time, which degrades the fabric faster and creates an inviting environment for fungus gnats, slugs, and snails. Elevation solves most of these issues at once.
Quick fixes you can do today
You don't need to spend much money or wait for a delivery to get your bags off the ground. These are the fastest under-bag solutions you can put in place right now.
- Bricks or pavers: Stack two or three standard bricks under each bag to lift it 5 to 10 cm off the surface. Space them so they support the base without covering the center, keeping airflow underneath. This is the most common recommendation from UK grow-bag guides and it works perfectly well.
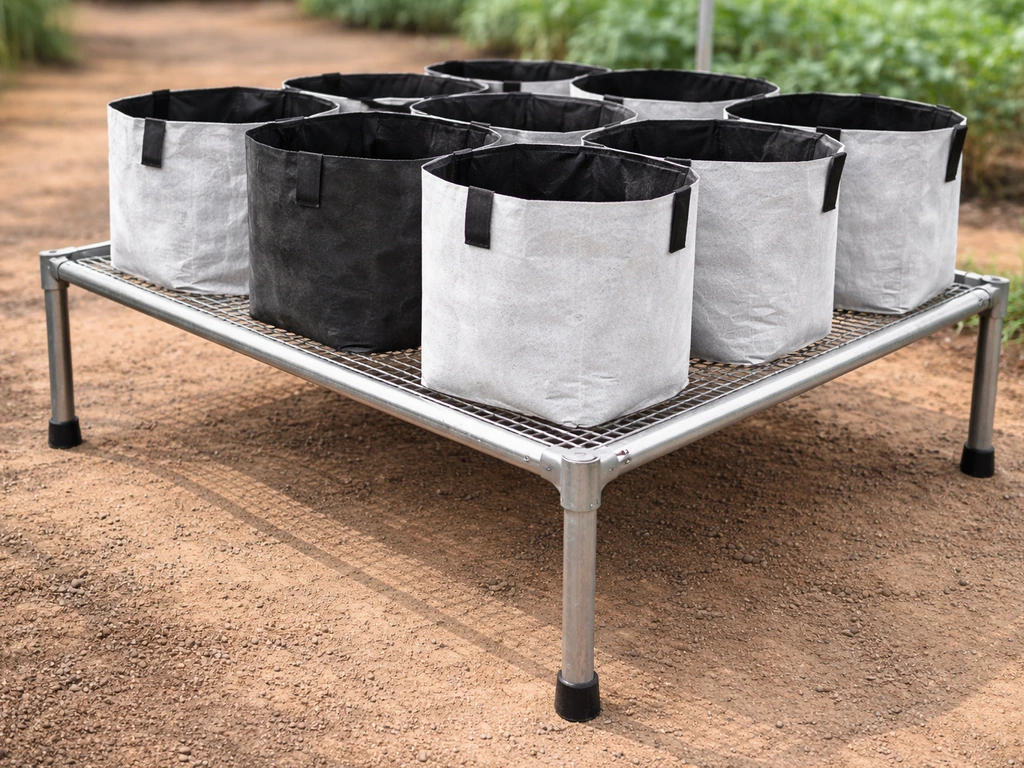
- Wire cooling racks: A large kitchen wire rack or a section of wire shelving creates an open platform that lets air circulate freely under the entire bag base. It's especially good for smaller bags (under 20 liters) where you want maximum air contact with the fabric.
- Wooden pallets: For larger bags or a row of bags, a standard wooden pallet is ideal. Large grow bags are commonly placed on pallets in commercial setups specifically for drainage and air-pruning of roots. Pallets are usually free or very cheap, and one pallet can handle several medium-sized bags at once.
- Pot feet or risers: Small terracotta, rubber, or plastic pot risers push the bag up just enough to create a drainage gap. You need at least three per bag to keep it stable. These are great for patios and balconies where aesthetics matter.
- Plastic shelving sections: A cut piece of plastic shelf grating (like you find in closet organizers) gives a grid surface that supports the bag while leaving most of the base exposed to open air.
Any of these will work as a same-day fix. The goal is simply to create a consistent gap between the bag's base and the ground so water drains freely and air can circulate underneath.
Best stand and rack options for stability and airflow
If you're setting up a more permanent grow bag garden, it's worth investing in proper stands or racks. The right stand does two things: holds the bag stable in wind and on uneven ground, and keeps the bag's base fully open to air. Here's how the main options compare.
| Support Type | Best For | Stability | Airflow | Cost |
|---|---|---|---|---|
| Metal pot stand (ring style) | Single bags, patios, balconies | Good (bag sits in ring) | Excellent (open base) | Low to mid |
| Wooden pallet | Multiple bags, yards, raised setups | Excellent (wide base) | Good (gaps in slats) | Free to low |
| Wire rack or shelf grating | Small to medium bags indoors or on patios | Moderate (needs flat surface) | Excellent (fully open) | Low |
| Tiered plant stand | Small bags, herbs, balconies | Good | Good | Low to mid |
| Custom timber frame (DIY) | Large bags, heavy crops like tomatoes or trees | Excellent | Excellent (fully open underneath) | Mid |
| Brick or paver stack | Any bag size, quick setup | Good if evenly placed | Good | Very low or free |
For heavier plants, think carefully about load. A 45-liter grow bag filled with wet soil and a mature tomato plant can weigh 30 to 40 kg or more. Ring-style pot stands rated for flower pots won't handle that. For large, heavy bags, pallets or a DIY timber frame are the safest options. For smaller herb or flower bags (10 to 15 liters), almost any stand will do.
On balconies, stability in wind is a real concern. Low-profile stands that sit the bag close to the ground with a wide base are better than tall narrow stands. You can also secure bags to a railing or wall bracket with a simple bungee cord or plant tie if gusts are frequent.
Ground barrier strategies that still allow drainage
Sometimes you can't raise the bag significantly, or you just want to protect the bag's fabric base from direct contact with wet soil, grass, or dirty concrete without adding much height. Ground barriers can help here, but the key is using materials that don't block drainage.
- Coarse gravel or pea gravel: Spread a 5 to 8 cm layer of gravel where the bag will sit. Water drains straight through, the bag base doesn't sit in moisture, and air can still move through the gravel layer. This works well in yards and on patios.
- Landscape fabric (weed barrier cloth): A single layer under the bag keeps the fabric base from direct contact with wet soil or grass. It's permeable, so water drains through. Don't fold or double it up, as that can slow drainage. Cut it large enough that runoff doesn't pool on top.
- Sand layer: A thin layer of coarse sand behaves similarly to gravel and drains quickly. Works well under temporary setups or in raised bed situations.
- Slatted wooden boards or decking tiles: These sit on the ground and give the bag a raised, open surface. Even 2 cm of elevation from deck tile slats makes a real difference.
One thing to avoid: solid plastic sheeting flat on the ground under your bags. It traps water, prevents any air exchange, and creates a wet, stagnant zone right where you don't want it. If you're using plastic to block weeds, cut it into sections and leave gaps, or switch to permeable landscape fabric instead. The goal is barrier without blockage.
Water runoff management and drainage setup
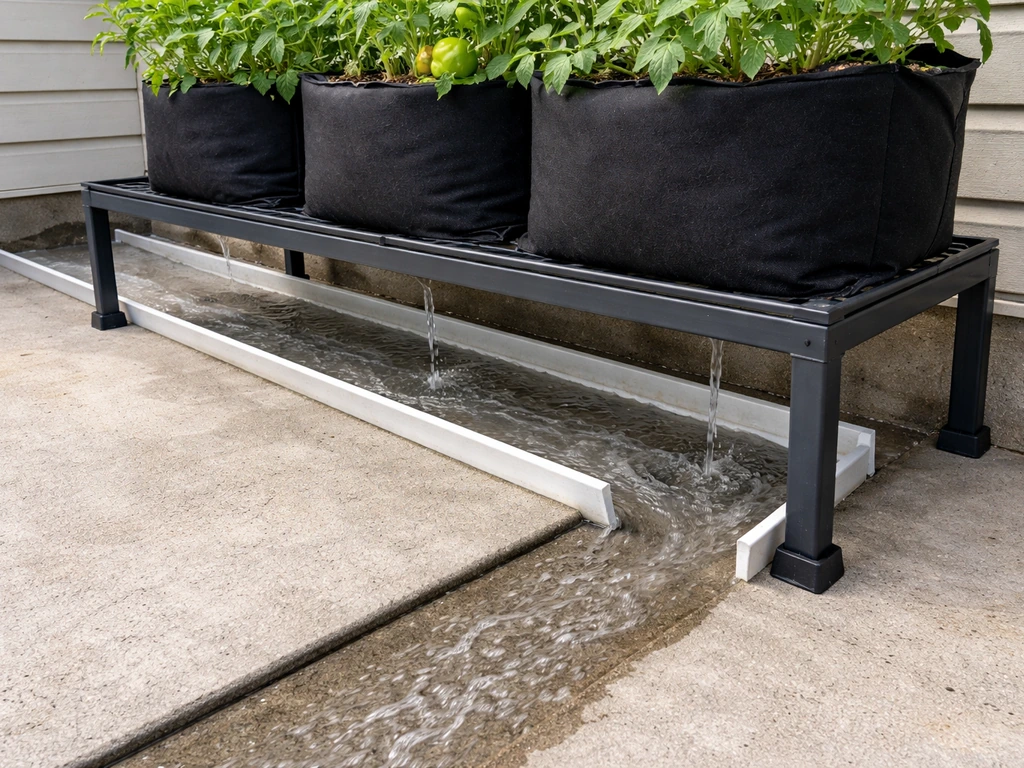
Elevating your grow bags creates a new challenge: water running out of the base needs somewhere to go. If it pools around the base of your stand or pallet, you've recreated the damp conditions you were trying to avoid, and pests like slugs and snails will exploit that wet zone.
The simplest fix on a patio or hard surface is to make sure the entire setup is on a slight slope (even 1 to 2 degrees is enough) so runoff flows away from the bag rather than pooling underneath. On level surfaces, a shallow drainage tray positioned away from the stand can collect water. On balconies, check that your balcony drain isn't being blocked by the pallet or stand, since standing water on a balcony is a real problem both for plants and for the structure.
In yards, runoff from grow bags elevated on bricks or gravel usually soaks into the surrounding ground naturally. If your soil is compacted or clay-heavy, water may sheet off and pool nearby. In that case, a small gravel bed under and around the bag base acts as a sump that gives water time to percolate rather than sitting on the surface.
One thing worth knowing: fabric grow bags are designed to drain aggressively. Manufacturers like Smart Pot specifically note that excess moisture drains efficiently, which is the whole point. If you're finding that water drains too fast and your bags dry out quickly on hot days, the solution isn't to block drainage. It's to water more frequently or to shade the bags during peak afternoon heat.
Choosing the right method for your space, plants, and bag size
The best elevation method for you depends on where you're growing and what's in the bag. There's no single right answer, but here's a practical breakdown.
Patio or hard surface
Pot feet, ring stands, or bricks work great here. Drainage can run off the patio edge or into a drain. Make sure the stand is rated for the weight of your bag, especially for tomatoes, peppers, or other large fruiting crops. For smaller herb bags, a wire rack or tiered stand keeps things tidy and maximizes limited space.
Balcony
Weight and wind are your two constraints. Use lighter potting mixes with perlite or coco coir, choose bags no larger than 20 to 25 liters unless your balcony can structurally handle more, and keep stands low and wide for stability. Pot feet or low platform stands are ideal. Make sure drainage doesn't drip onto a neighbor's balcony below.
Yard or garden bed area
Pallets or a gravel base are your best bet here. You can set up a whole row of bags on one pallet, which makes watering and management easy. If you're growing on grass, a layer of landscape fabric under the pallet stops grass from growing up into the bag base.
Bag size and plant weight considerations
| Bag Size | Typical Plants | Approx. Wet Weight | Recommended Support |
|---|---|---|---|
| 5 to 10 liters | Herbs, lettuce, strawberries | 5 to 10 kg | Pot feet, wire rack, bricks |
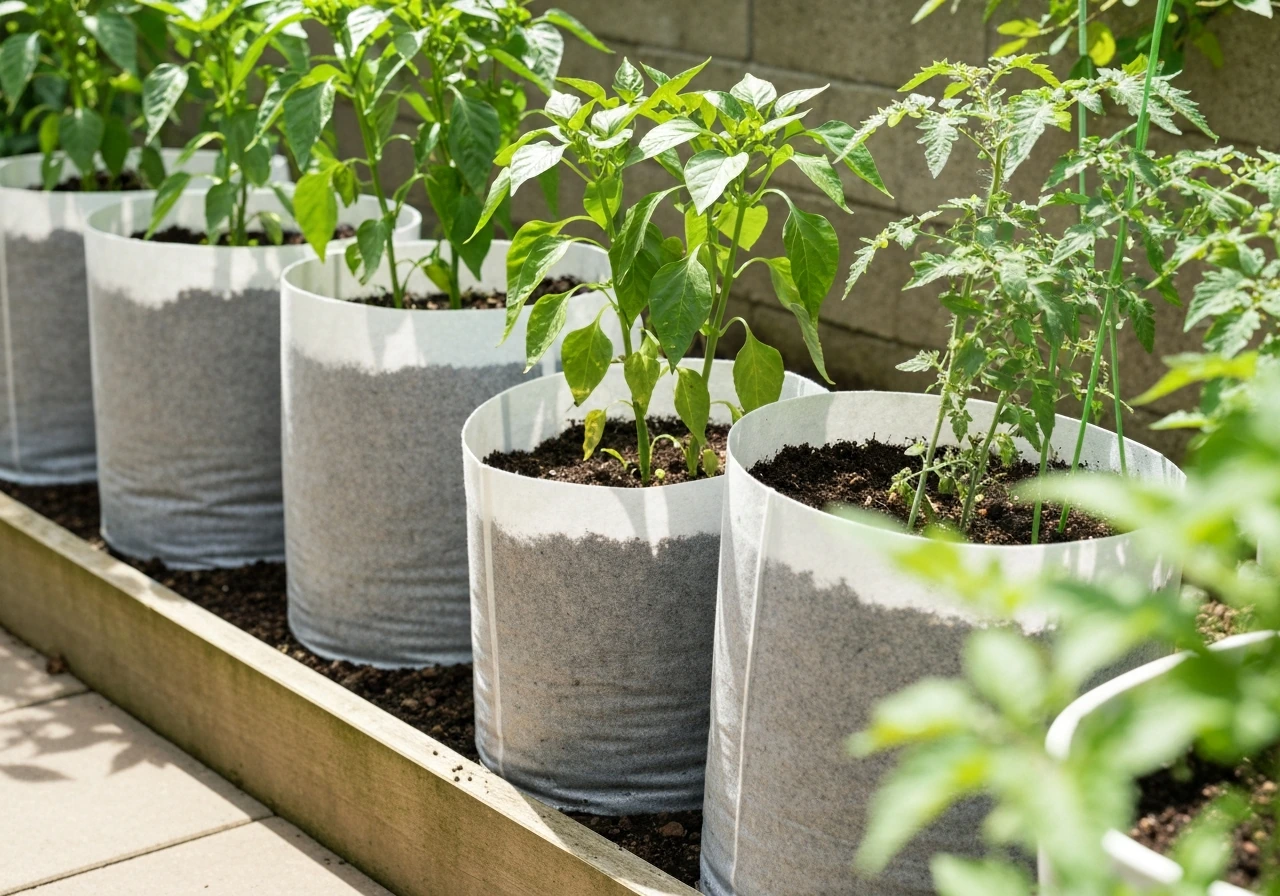
| 15 to 25 liters | Peppers, compact tomatoes, flowers | 15 to 25 kg | Ring stand, pallet section, bricks |
| 30 to 45 liters | Tomatoes, potatoes, squash | 25 to 40 kg | Wooden pallet, timber frame, heavy-duty stand |
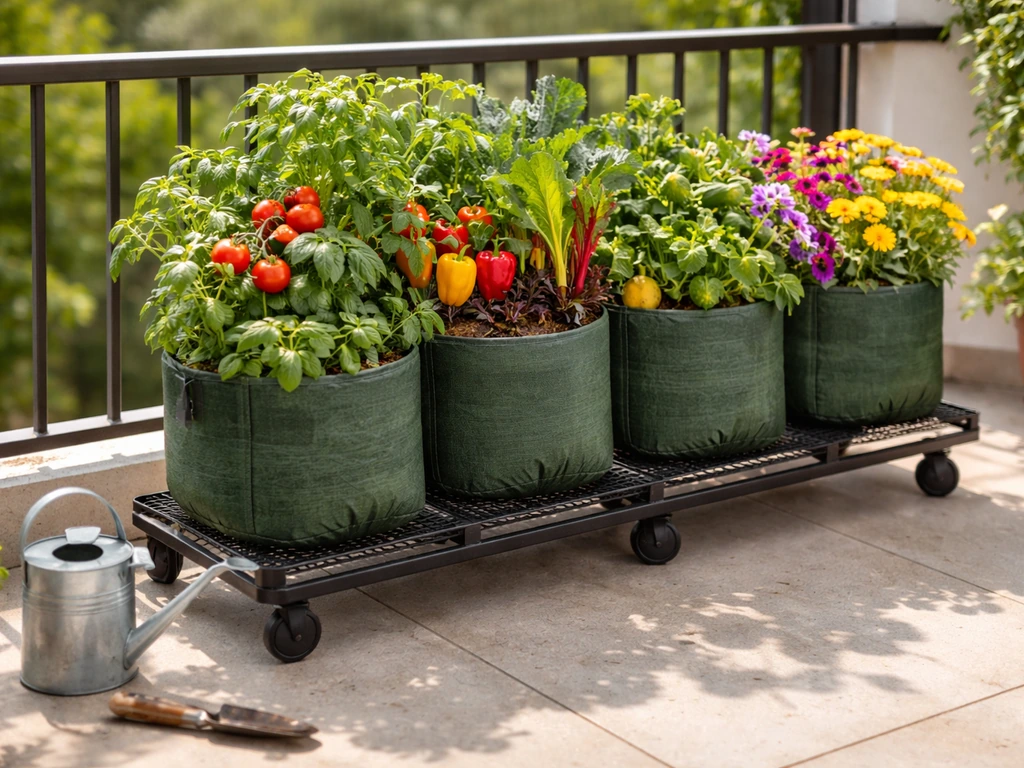
| 50 liters and above | Fruit trees, large shrubs | 40 kg+ | Pallet, reinforced timber frame, wheeled platform |
Troubleshooting common problems
Water is pooling under or around the bag
This usually means either the surface isn't draining away properly or the stand is trapping water. Check that the area under the stand slopes slightly so water runs off. If you're on a completely flat patio, try elevating the front legs of the stand with a thin shim to create a slight tilt. On gravel or grass, the pooling typically sorts itself out once the gravel bed is deep enough (at least 5 cm) to absorb the drainage volume.
Bag keeps tipping over
Tipping is almost always a support surface problem. A bag sitting on three small pot feet on a slightly uneven patio will eventually tip, especially once a top-heavy plant is growing in it. Switch to a ring-style stand that cradles the bag, or move to a flat pallet. For tall plants like tomatoes, stake the plant and tie the stake to a nearby fence or trellis post to keep the top weight from becoming a problem in wind.
Plant is wilting but soil feels wet
This is the classic symptom of root rot or oxygen starvation in the root zone. UC Master Gardeners (Santa Clara County) explain that the way water moves in pots depends on pore-size transfer, including capillary-sized pores pulling water downward and drainage holes that are too large letting potting mix escape blank" rel="noopener noreferrer">UC Master Gardeners of Santa Clara County. Connecticut CES/CAES notes that excess water reduces oxygen availability for roots in flooded or waterlogged conditions, and feeder roots are especially sensitive and may die from blank" rel="noopener noreferrer">oxygen deficiency. If drainage is blocked and roots have been sitting in waterlogged media, you may be dealing with Fusarium or Phytophthora root rot. Gently tip the bag on its side and inspect the roots: healthy roots are white or cream-colored and firm; rotted roots are brown, mushy, and may smell. If you catch it early, remove the affected roots, let the bag drain fully elevated in good airflow, and hold off watering until the top few centimeters of mix are dry. In severe cases you may need to start fresh with new media and a clean bag.
Pests are still getting in despite elevation
Slugs and snails can climb. Elevation reduces pest pressure but doesn't eliminate it, especially if your stand legs touch damp ground. UC IPM research specifically recommends copper screens placed between bench legs and the ground as a barrier that deters slugs and snails from climbing up to pots. Copper tape around stand legs is a practical version of this. You can also use diatomaceous earth sprinkled around the base of the stand. Check under pallets regularly, as the dark damp space underneath is a favorite hiding spot for slugs during the day.
Roots seem to be hitting the bag wall and circling
This shouldn't be happening with fabric bags. The whole point of fabric is air pruning: when roots hit the permeable wall, the exposed tip desiccates and stops growing, which triggers lateral branching instead of circling. If roots are circling, it usually means the bag wall is staying too wet (possibly from sitting against a damp surface) and isn't drying enough to air-prune. Elevating the bag properly so all sides and the base have airflow will fix this. It's one of the reasons elevation matters beyond just drainage.
Whether you're deciding if elevation is worth the effort, figuring out the best method for your specific setup, or shopping for the right stand, the core principle stays the same: a little gap between your bag and whatever's below it makes a significant difference to root health, drainage, and plant longevity. A few bricks or a spare wire rack is genuinely all it takes to get started today. If you want a faster decision, use our guide to compare the best grow bags for terrace garden setups.
FAQ
What height gap is best for preventing grow bags from soaking the base area?
Aim for a consistent gap of at least 5 to 10 cm, and make sure the bottom of the bag is fully suspended. If only part of the base is lifted, water can still wick back under the bag and keep the whole root zone wetter than intended.
Can I use pavers, cinder blocks, or wood spacers under grow bags?
Yes, but avoid anything that creates a water-trapping pocket. Use solid supports that leave open space beneath, and keep the fabric base from contacting bare damp soil. For wood, keep it off direct contact with wet ground as it can rot faster than the bag.
Will gravel under or around the bag replace the need for elevation?
Gravel helps only when water can drain away and air can still reach underneath. It does not substitute for elevation if the fabric base is still pressed flat against soil or concrete. Use gravel to create a percolation area, while still keeping a real gap under the bag.
Should I put a tray under elevated grow bags to stop mess?
Use a tray only if it collects runoff away from the bag so standing water does not pool around the stand legs. If the tray sits directly under the lowest point and can fill, you must empty it regularly to prevent slug and snail activity at the base.
Is landscape fabric under a pallet under grow bags a good idea?
It can be useful on grass to stop regrowth into the bag base. Choose permeable fabric and do not stack solid plastic underneath it, because solid liners can hold moisture and recreate the damp zone elevation is meant to avoid.
How do I stop the bag from tipping when the stand is on uneven patio slabs?
Switch from small point supports to a ring-style stand or a full pallet that cradles the bag. Also check that the stand sits flat, if needed shim one side slightly to create stability rather than leaving a wobble that worsens as the plant gets top-heavy.
My bags dry out too quickly after elevating, what should I change?
Don’t block drainage to fix it. Instead, adjust your watering frequency, mulch the top surface of the mix, and consider shade during peak afternoon heat. If you used a lighter mix after raising, you may also need to increase irrigation or slightly increase the bag size if your setup allows.
What’s the safest way to protect balcony plants from slugs and snails?
Elevation reduces contact but does not fully stop climbing pests. Add a physical barrier at the stand legs, copper tape or copper screens work well, and inspect underneath the stand regularly because the dark damp area can be a daytime hiding spot.
If the plant wilts but the mix looks wet, is that always root rot?
It often indicates oxygen starvation or early root problems rather than simple overwatering. Check the roots for firmness and color, and let the bag drain elevated in good airflow, then hold watering until the top few centimeters dry slightly before making a full diagnosis.
Can I stake tomatoes and still keep grow bags off the ground effectively?
Yes, but tie the stake to a stable nearby structure like a fence or trellis post, not to the bag itself. This prevents the top weight from levering the bag off its supports in wind, and it keeps the elevated base from shifting over time.
Next Articles
Best Soil for Grow Bags: Mix Recipes and How Much to Add
Best soil for grow bags: mix recipes, how much to add by bag size, and vegetable tweaks for strong drainage and yield.
Pros and Cons of Grow Bags for Vegetables and Flowers
Grow bag pros and cons for veg, flowers, trees, and mushrooms: aeration, mobility, and watering plus fixes for common is
Benefits of Grow Bags: A Practical Guide for Home Growing
Discover the benefits of grow bags: better drainage and aeration, healthier roots, easier plant care, and how to choose