
Grow bags do not need to be elevated, but lifting them off the ground even a few inches genuinely improves drainage, reduces pest pressure, protects roots from heat spikes, and makes watering and monitoring far easier. Whether elevation is worth it depends on your surface, your crop, and how much load your space can safely carry. For most home growers on patios, balconies, or terraces, some form of elevation is a low-cost upgrade with real payoffs. For a focused discussion on whether grow bags should be elevated, see should grow bags be elevated.
How to Elevate Grow Bags: Heights, Methods & Safety, Troubleshooting
Marcus Holloway
24 Jul 2026
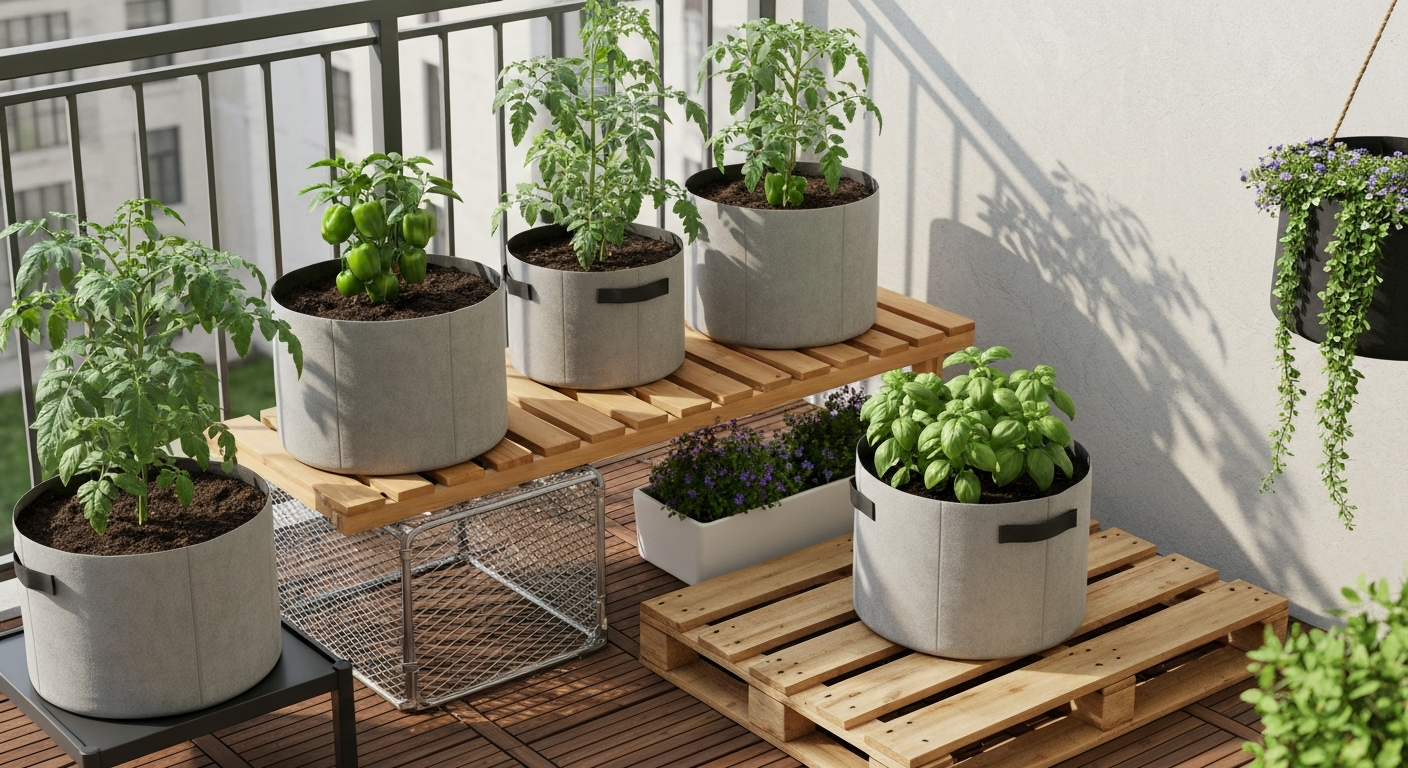
When elevation actually helps
Fabric grow bags are already better draining than solid plastic pots, but what they sit on still matters. A porous bag placed flat on an impermeable surface like concrete or asphalt develops what horticulturalists call a perched water table (PWT): a zone of saturated, poorly aerated medium that sits at the very bottom of the bag because gravity is not sufficient to move water past the surface tension holding it in. Research published in PLOS ONE confirms that placing containers on an open-mesh or permeable platform breaks this capillary hold, reducing the PWT and improving root-zone oxygen levels. Practically, this means your roots get more air at the bottom of the bag, which is where waterlogging is most damaging.
Airflow around the bag walls is equally important. Fabric bags are designed to air-prune roots as they reach the container edge, but that process works best when air actually moves across the surface. Sitting flush on a solid deck traps moisture against the bottom third of the bag and can cause mold, fabric degradation, and root rot. Even a 2-inch gap from a simple wooden slat platform is enough to restore airflow.
Pest control is another strong argument for elevation. Slugs, pillbugs, and some fungus gnats migrate directly from soil to container via the ground contact point. Nursery IPM guidance (including the BC Government Nursery Production Guide) lists elevation alongside gravel pads as a standard cultural control precisely because it breaks that travel path. Soilborne pathogens like Phytophthora are spread significantly through splash and leachate runoff; raising bags off contaminated ground dramatically reduces splash transfer. Commercial nurseries with high-risk crops use bench heights of at least 60 cm (about 24 inches) for this reason.
Root temperature is probably the most underappreciated reason to elevate. N.C. Cooperative Extension research has documented that containers sitting on black asphalt or dark concrete can run 5 to 20-plus degrees Fahrenheit hotter in the root zone than their in-ground counterparts. For most crops, root growth slows noticeably above 35°C (95°F) and tissue damage begins around 40°C (104°F). See research on blank" rel="noopener noreferrer">Elevated root-zone temperature effects (Elevated Root-Zone Temperature Modulates Growth and Quality of Hydroponically Grown Carrots) for species-specific thresholds and notes that containers often run hotter than in-ground soils, pushing root growth declines above ~35–40°C and increasing tissue damage risk. Lifting a bag off a sun-baked patio surface, even onto a simple wooden pallet, reduces that heat soak considerably. Pairing elevation with a light-colored bag amplifies the benefit.
For frost protection, elevation has a more nuanced role. Ground-level cold air pools at the surface on still, clear nights, so raising bags a foot or more can delay or reduce freeze exposure in marginal shoulder seasons. That said, elevated bags also lose heat from all sides, so this benefit is most relevant when your primary concern is cold surface contact rather than ambient air temperature.
Surface protection matters on wooden decks and painted terraces. Wet fabric bags leach tannins and mineral residue that stain and deteriorate wood finishes. Any elevation method, even a simple rubber mat, protects your surface from moisture damage.
When elevation is not worth it (or makes things worse)
Elevation is not free. It adds labor, cost, and complexity, and in some situations it actively works against you. If your bags are on a shaded, well-ventilated surface with good natural drainage, the marginal gain from elevation is small. Garden beds, grass, and gravel pads already provide adequate drainage and some natural insulation, so the PWT and heat-soak problems are largely absent.
In hot, dry, or windy climates, elevation can accelerate moisture loss faster than you can compensate by watering. Fabric bags already lose water through their walls; elevating them exposes more surface area to evaporative airflow. If you are already watering daily on a hot terrace, elevation may push that to twice daily for thirstier crops like tomatoes or peppers. Factor this in before committing.
Stability is a real concern. A 20-gallon bag saturated with potting mix can weigh 250 pounds. Placing that on a tall, narrow stand without lateral bracing is a tipping hazard, especially once a top-heavy plant like a tomato or small tree develops a large canopy that catches wind. Overly tall elevation without adequate support also makes bags harder to move for repositioning or overwintering.
Added labor should not be underestimated. Elevated bags require more frequent watering, are harder to fill initially, and if they are on casters or dollies, need to be restabilized periodically. If you have a large grow-bag setup and limited time, keeping bags on a level gravel pad may be the more practical call.
Recommended elevation heights by crop
Practical elevation height is a balance between drainage benefit, ergonomic access, and structural reality. The table below gives working ranges based on extension guidance and common grow-bag setups. These figures are bag-bottom height above the floor, not the distance from the soil surface to the grower's hands.
| Crop type | Recommended bag-bottom elevation | Notes |
|---|---|---|
| Vegetables (tomatoes, peppers, squash) | 4–12 in (10–30 cm) | Higher end on hot concrete; lower on gravel or wood. Pair with large bags (10–20 gal). |
| Herbs (basil, mint, cilantro) | 4–8 in (10–20 cm) | Shallow roots; drainage benefit outweighs ergonomic need unless accessibility is a priority. |
| Flowers (annuals, trailing varieties) | 6–18 in (15–45 cm) | Hanging or shelf-mounted works well; trailing foliage benefits from display height. |
| Small trees and shrubs | 2–4 in (5–10 cm) | Stability is the main concern; keep low to prevent tipping. Prioritize wide, stable base over height. |
| Mushrooms (e.g., oyster, shiitake bags) | 12–36 in (30–90 cm) | Height aids fruiting body development, monitoring, and humidity management. Keep away from direct sun. |
| Accessible/therapeutic setups | 24–34 in (60–86 cm) to soil surface | NC State Extension recommends 24–30 in for standing users; 27–34 in for full wheelchair access. |
For purely functional drainage on a standard patio, a 2-to-4-inch elevation is enough to break the perched water table and improve airflow. You do not need an elaborate stand for most vegetable setups. Ergonomic access is the only reason to go significantly higher, and if that is your goal, a proper elevated bench with an 8-to-18-inch planting depth is worth planning from the start.
Load-bearing and terrace/roof safety: do the math before you stack
This is the section most home growers skip, and it is the most important one for anyone on a balcony, rooftop, or wooden deck. Saturated potting mix is heavy. A useful rule of thumb: saturated potting mix weighs approximately 12.5 pounds per US gallon. That gives you a 5-gallon bag at around 62 pounds, a 10-gallon bag at 125 pounds, and a 20-gallon bag at 250 pounds, substrate alone. Add the water you just poured in and the weight of the plant, and actual loads run higher. Always choose stands and racks rated at least 25 to 50 percent above your calculated saturated weight.
For balconies and terraces, the key metric is pounds per square foot (psf). Most building codes reference IBC Table 1607.1, which sets minimum live-load design values commonly at 40 to 60 psf for balconies, though local codes vary. To check whether your setup is safe, divide your total saturated bag weight by the footprint area it occupies in square feet. If you are clustering multiple large bags in one zone, that number adds up fast. A single 20-gallon bag in a 2×2-foot footprint is already hitting 62 psf before you factor in the stand, water, or plant weight, which can push above 70 psf.
Before installing a large elevated grow-bag setup on any structural surface, do a quick spot inspection: look for sagging joists, cracked concrete, rusting balcony railings, or any signs of deferred maintenance. If planned saturated loads exceed your local live-load code limit, or if you have any uncertainty about the structure, consult a structural engineer. This is not an overreaction; it is the responsible approach, especially on older buildings where balconies were not designed with container gardening in mind. Spreading load across a larger surface area by using wide platforms or racks distributed along joists (rather than concentrated in one corner) is a practical mitigation.
How elevation changes drainage and watering
When you elevate a grow bag, drainage improves and the bag dries out faster. That means you will water more frequently, not less. On a hot patio in midsummer, a 10-gallon bag with tomatoes might go from needing water once a day to needing it twice. Build this into your routine before it becomes a plant health problem.
Runoff paths matter more once bags are elevated. If drainage falls onto a wooden deck or a neighbor's space below, you need a tray, liner, or drip catchment. Cachepots work for smaller bags, but for anything over 10 gallons the water volume at each irrigation can be substantial. Wide, shallow trays work better than deep ones because standing water in a deep tray can actually re-wet the bag bottom and recreate the PWT you elevated to eliminate. Aim to empty catchment trays within an hour after watering.
One practical adjustment: if your elevated bag is drying out much faster than expected, a layer of coarse mulch (wood chip, straw) across the soil surface reduces evaporation from the top, which is often greater than wall-side moisture loss. This works on any bag but is especially helpful on elevated bags exposed to wind.
For growers using drip irrigation, elevated bags allow gravity-fed drip systems to work more effectively. A reservoir positioned above the bag tops provides consistent pressure without a pump, which is particularly useful on balconies or remote terrace setups without easy hose access.
Ready-made options for keeping grow bags off the ground
There is a wide range of products designed for this purpose, from simple plant caddies to purpose-built grow-bag stands and heavy-duty shelving. For a concise how-to overview, see a practical guide on how to keep grow bags off the ground. Here is how the main categories compare. For help choosing the right container, see our guide to the best grow bags for terrace garden.
| Product type | Typical elevation | Load capacity | Best for | Pros | Cons |
|---|---|---|---|---|---|
| Plant caddies / dollies | 2–4 in (5–10 cm) | 100–300+ lb depending on model | Single bags, small patios, mobility needs | Cheap ($5–$30), adds mobility, low profile | Minimal drainage benefit, cheap plastic can crack under heavy bags |
| Wire/mesh grow-bag stands | 4–10 in (10–25 cm) | 50–150 lb typical | 5–15 gal bags, vegetables, herbs | Good airflow, open base maximizes drainage, stackable | Bag fabric can sag through wide mesh, check mesh spacing |
| Wooden pallet or slat platform | 4–6 in (10–15 cm) | 400–1,000+ lb (full pallet) | Large bags, multiple bags grouped | Inexpensive or free, spreads load, easy to DIY | Untreated wood rots; weight is not evenly distributed if slats are wide |
| Metal-framed bag racks / benches | 12–30 in (30–75 cm) | 200–600 lb (commercial versions) | Multi-bag setups, terrace displays, accessible gardening | Strong, durable, often adjustable | Higher cost ($50–$300+), heavier, may scratch deck surfaces |
| Shelving units (wire or steel) | Variable (shelf height) | 100–400 lb per shelf | Multiple small bags, herbs, mushrooms, flowers | Maximizes vertical space, great for small balconies | Top-heavy risk; anchor to wall; not ideal for very large bags |
| Hanging planters / wall brackets | Off ground completely | 20–60 lb typical | Trailing flowers, herbs, small strawberry bags | No floor space used, excellent drainage and airflow | Very frequent watering needed; weight limit is strict; roots overheat in sun |
| Grow-bag-specific raised bed frames | 8–30 in (20–75 cm) | Varies by model | Dedicated grow bag setups, ergonomic access | Purpose-designed, often include drip trays and handles | More expensive; check bag size compatibility before buying |
Material matters for outdoor longevity. Powder-coated steel resists rust well in most climates but will eventually corrode in coastal or very wet environments; marine-grade aluminum or galvanized steel lasts longer in those conditions. Hardwood platforms (cedar, teak) outlast softwood but cost more. Plastic dollies are fine for small bags but often fail under the weight of saturated 15-to-20-gallon bags, especially if casters are low-grade. When in doubt, overspec the load rating: buy the rack or dolly rated for 300 pounds when your bag will weigh 150.
Simple DIY elevation options with materials and dimensions
Option 1: Cedar slat platform
Cut two lengths of 2×4 cedar as the base runners (length matches your bag diameter plus 4 inches on each side), then screw 1×4 cedar planks across the top with 1-inch gaps between each plank. For a single 15-gallon grow bag, a 20×20-inch platform with 4-inch runner height works well. Total material cost is typically $15 to $25. Sand the edges so the bag fabric does not snag. This is the most common DIY option, it provides good airflow, handles high loads, and the gaps let water drain cleanly.
Option 2: Brick or concrete block risers
Stack two standard 2-inch concrete pavers under each side of the bag for a quick 2-to-4-inch elevation. Use four pavers total (two per side) for a stable base and place a piece of hardware cloth or galvanized mesh on top to provide an open, supportive surface. Total cost is under $10 and requires no tools. The limitation is that it only works well on flat surfaces and is not adjustable.
Option 3: Upcycled pallet shelf
A standard 40×48-inch heat-treated wooden pallet (check for HT stamp, not MB) laid flat gives you a 4-to-6-inch elevation platform that can hold multiple large bags. For a terrace, two pallets side by side support a full vegetable grow-bag layout. Costs nothing if sourced free from local businesses, though be aware they add about 40 to 50 pounds of structural weight themselves. Seal with exterior deck paint to slow moisture absorption and rotting.
Stability, wind, and pest management for elevated bags
An elevated grow bag has a higher center of gravity than one sitting on the ground, so wind and top-heavy plants become more serious hazards. For bags above 12 inches off the ground, check that the support platform extends at least to the outer edge of the bag, or preferably slightly beyond it. A bag overhanging the edge of a stand by more than an inch or two is a tipping risk.
For balcony and terrace setups prone to wind, a few practical anchoring approaches work well:
- Clip or tie the bag handles to the stand frame or a railing using bungee cords or cable ties. This is the simplest and fastest fix.
- Place heavier bags in a low-profile rack or cage stand that encircles the bag, distributing lateral force across the frame.
- Group bags together in a cluster; adjacent bags brace each other against lateral movement.
- For tall plants (tomatoes, peppers), tie canes or support stakes to a railing or wall anchor rather than relying on the bag alone for structural stability.
- Lower bags to the ground or move them indoors if sustained winds above 30 mph are forecast.
For pest management, elevation breaks most crawling pest pathways, but it does not eliminate flying insects or pests that climb vertical surfaces. Wrapping the legs of metal stands with copper tape deters slugs and snails effectively. If you are using wooden platforms on a bed or lawn, check underneath regularly for slugs sheltering in the damp area beneath the platform. Placing a layer of fine-mesh hardware cloth across the bottom of an elevated platform prevents crawling pests from climbing up through the gaps.
Rodents (mice, rats) are more deterred by smooth-surface metal stands than by wood, which they can grip. If rodent pressure is a concern in your garden, a powder-coated steel stand is a practical choice beyond just aesthetic preference.
Quick product-type recommendations by use case
Choosing the right elevation method depends on your surface type, crop load, and how much flexibility you need. Use the recommendations below as a starting point, then adjust based on your specific bag sizes and space constraints.
| Use case | Best product type | Key selection criteria |
|---|---|---|
| Balcony (limited space, weight-sensitive) | Wire mesh stand or wall-mounted shelf bracket | Check load rating vs. saturated weight; spread load across floor joists; avoid clustering large bags in one corner |
| Open patio (standard ground level) | Cedar slat platform or metal bench rack | Focus on airflow and drainage; stability matters less here; choose width to fit your bag diameter(s) |
| Terrace/rooftop garden | Distributed pallet layout or low-profile grow-bag rack | Calculate psf before setup; consult engineer if total load exceeds 40 psf; prioritize load spreading over height |
| Raised garden bed integration | Brick or block risers inside bed frame | Minimal elevation is enough; focus on drainage and pest exclusion rather than height |
| Hanging display (flowers, herbs, strawberries) | Wall-mounted hanging basket bracket or pergola hook | Strict weight limit applies; use only small bags (3–5 gal max); water daily or twice daily in summer |
| Accessible/therapeutic gardening | Purpose-built elevated bench frame at 24–34 in height | Verify ergonomic height for user; allow 18+ in bag depth for vegetables; include drip tray to manage runoff |
| Mushroom bag cultivation | Adjustable wire shelving or dedicated mushroom rack | Prioritize airflow and humidity management over load; keep out of direct sun; ensure you can mist easily |
Troubleshooting common elevation problems
Bag sagging through the stand
This happens when mesh or slat spacing is too wide for the bag size. A 5-gallon bag can sag significantly through a 4-inch grid. Fix it by placing a piece of hardware cloth or a solid tray on the platform surface, or switch to a stand with a tighter mesh pattern. Sagging also accelerates fabric wear at contact points.
Tipping on windy days
The stand is likely too narrow for the bag, or the bag's plant canopy is acting as a sail. Move the bag to a more sheltered position if possible, widen the support base with outrigger legs or a broader platform, and always tie tall plants to a fixed anchor rather than letting them lean on the bag handles.
Poor drainage despite elevation
If water is still pooling in the bag bottom after elevation, the issue is usually the growing medium rather than the support height. Heavy, compacted, or peat-dominated mixes with fine pore structure retain water regardless of elevation. Switch to a lighter soilless mix with perlite at 20 to 30 percent by volume. Elevation helps, but it cannot overcome a poorly chosen medium.
Heat stress despite elevation
If root-zone temperatures are still high after elevating off a hot surface, the bag wall is absorbing direct sun. Shade cloth on the south and west sides of the bag (50 percent shade cloth is usually enough) reduces wall temperature significantly. Light-colored bags or reflective wraps also help. Elevation alone does not fix heat stress from direct solar radiation on the bag walls; it mainly addresses conductive heat from the surface below.
Runoff staining or damaging the surface below
Add a wide, shallow drip tray beneath the stand, empty it within an hour of watering, and seal or paint wooden deck surfaces beneath grow-bag areas at the start of each season. If you are on a high-floor balcony, confirm your drainage setup is compliant with building management rules before installing anything permanent.
FAQ
Do fabric grow bags need to be off the ground?
Not always. Fabric grow bags are designed to drain and breathe on their own, so they will work on the ground. Elevation is beneficial in specific situations (poor drainage surfaces, pest pressure, heat from hot surfaces, pathogen risk, ergonomics) but can be unnecessary or add wind/exposure risks in others. Decide based on site (pavement, balcony, soil), crop sensitivity, and safety limits described below.
When does elevating grow bags help (evidence‑based benefits)?
Elevating helps when you need: improved drainage and reduced perched water at the bag bottom (placing on a permeable support increases drainage), better air circulation and root-zone aeration, lower risk of splash‑borne soil pathogens and easier sanitation, reduced access for crawling pests (slugs/ground beetles), lower root‑zone heat when bags sit above hot surfaces, and improved ergonomics for planting/harvesting. Extension and nursery literature documents these benefits for container production and home growers.
When is elevation unnecessary or potentially harmful?
Unnecessary: when bags sit on well‑draining soil or gravel with little pest/pathogen risk and you don’t have heat/stability concerns. Potentially harmful: raising bags on insecure or windy stands can increase tipping risk; excessive exposure can heat media more if stands place bags in full sun with reflective surfaces; over‑elevation without wind anchoring increases windthrow for tall crops or trees. Also avoid trapping moisture under bags on impermeable stands (use permeable supports or spacers).
Recommended elevation heights by crop (practical guidance)
Use these typical heights: • Low herbs/leafy greens: 2–6 in (5–15 cm) to improve drainage and pest control. • Fruiting vegetables (tomato, pepper), small flowers: 6–12 in (15–30 cm) for better airflow and drainage. • Small shrubs/trees and large tomato bags (10–20+ gal): 12–24 in (30–60 cm) for root cooling and ease of access. • Ergonomic/accessible setups (standing): 24–36 in (60–90 cm) from ground to top of media. • Mushrooms: 0–6 in is usually enough; keep them shaded and humidity‑stable. Adjust by site and weight limits.
How to check terrace/roof/balcony load‑bearing safety
Estimate saturated weight: assume ≈12.5 lb per US gallon of saturated potting mix. Example: 5‑gal ≈62.5 lb; 10‑gal ≈125 lb; 20‑gal ≈250 lb (substrate only). Multiply by number of bags and divide by area to get lb/ft². Compare with local code or typical balcony design live load (common range 40–60 psf). If your planned saturated psf approaches or exceeds design values, consult a structural engineer or reduce number/size of bags. Always include a safety factor (≥25–50%).
How to size stands/racks/casters for load and safety
Choose supports rated above the projected saturated weight plus a safety margin (25–50%). For multi‑bag racks, sum saturated weights and ensure each shelf/support member and its fasteners are rated accordingly. For dollies/casters, pick units with individual caster ratings that, in sum, exceed total load. Verify platform stiffness to avoid sagging. For terraces, distribute loads across the surface rather than concentrating many heavy bags in a small area.
Next Articles
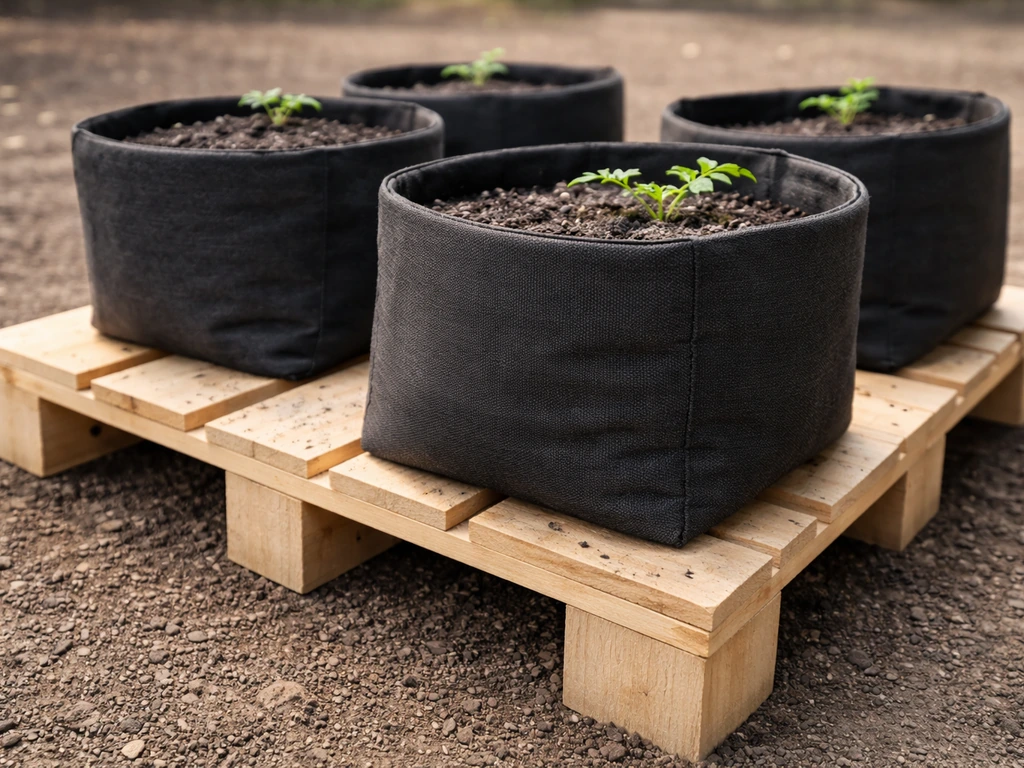
Do Grow Bags Need to Be Off the Ground? A Clear Guide
Learn when grow bags must be off the ground, when it’s optional, and how to set them up for drainage and healthy roots.
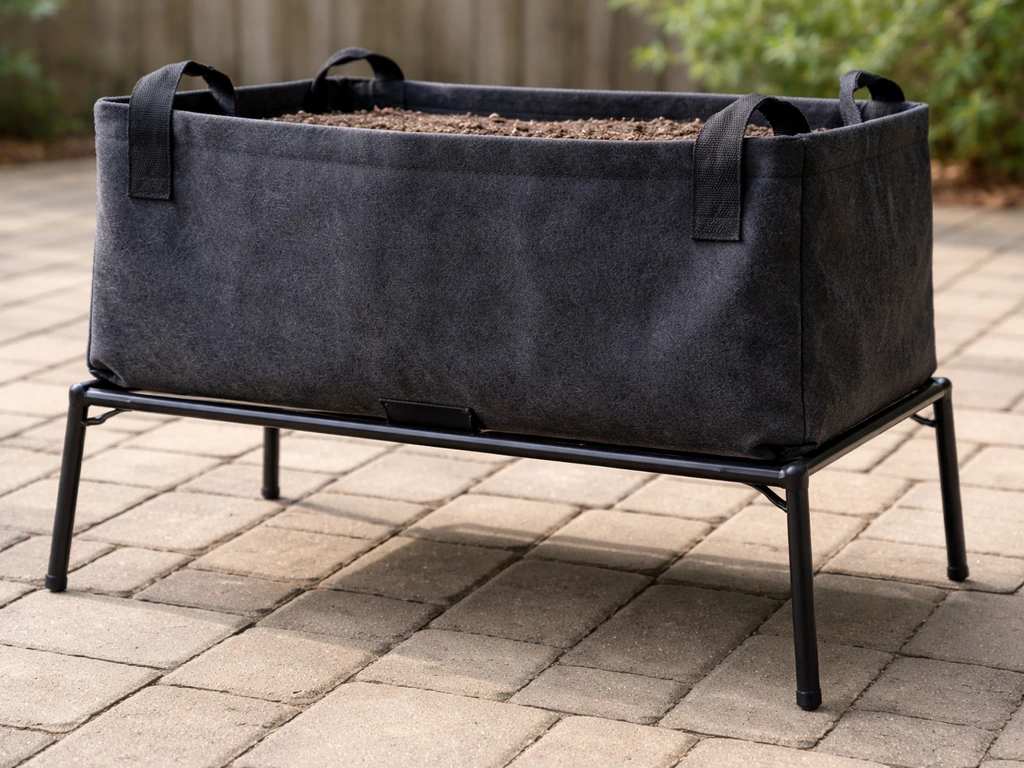
How to Keep Grow Bags Off the Ground: Practical Tips
Practical ways to keep grow bags off the ground using stands, blocks, barriers, and drainage bases to prevent rot and pe
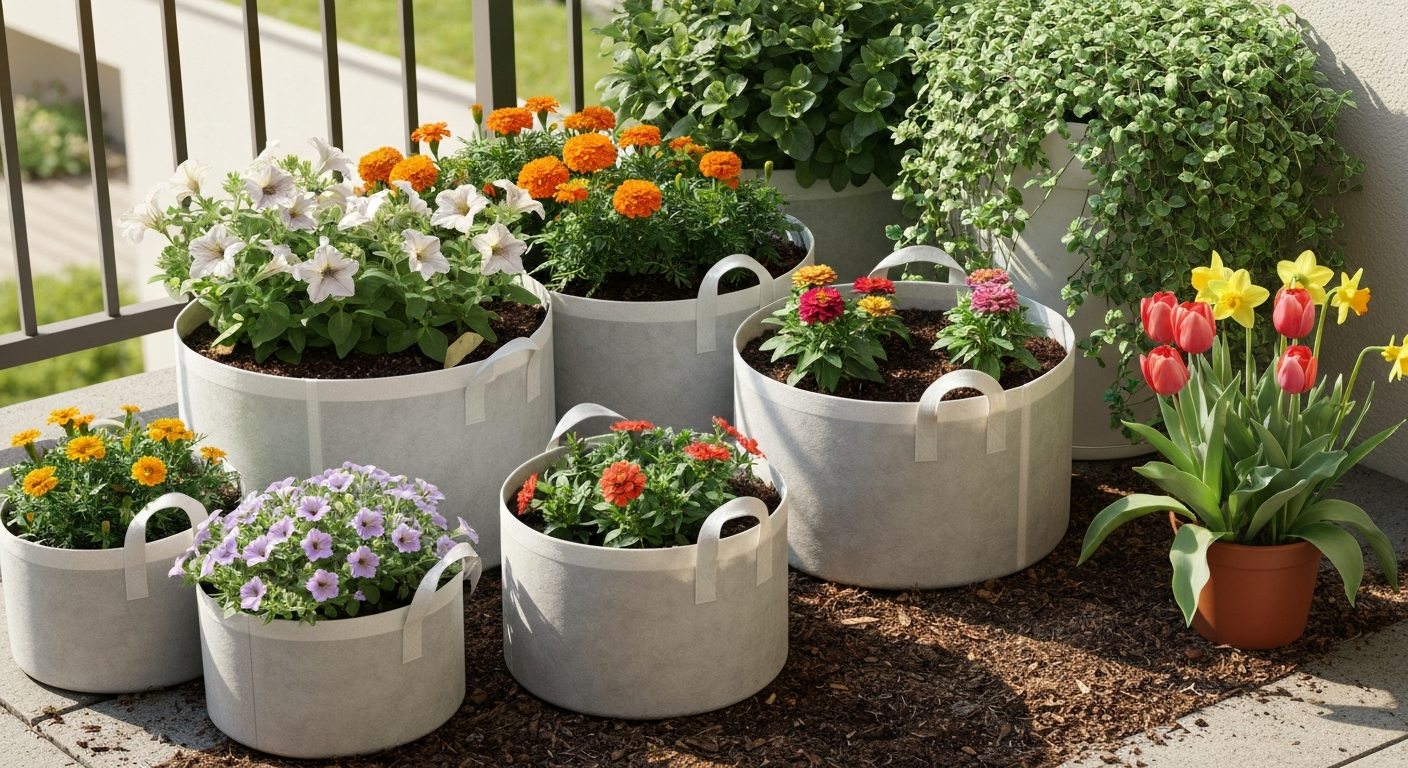
Best Flowers for Grow Bags: Top Picks, Soil & Care Guide DIY
Best flowers for grow bags: top annuals, perennials, bulbs & trailers; soil, fertilizer, planting and care checklists.