For lining or upgrading a grow bag, the best landscape fabric is a nonwoven polypropylene geotextile in the 100–150 g/m² weight range. It drains fast, lets air reach roots, resists rot, and holds its structure season after season. Standard weed-barrier fabric from the garden center works in a pinch, but the cheap woven black plastic variety clogs, overheats, and stunts roots far more often than it helps. Knowing exactly which fabric to buy, how thick it needs to be, and how to cut and install it correctly makes a real difference in how your plants perform.
Best Landscape Fabric for Grow Bags: Buy and Install Guide

Marcus Holloway
5 Jul 2026

What people mean by 'landscape fabric' in a grow-bag context
The term 'landscape fabric' usually refers to a woven or nonwoven textile sold as a weed barrier. In a traditional garden bed that means laying it flat to block sunlight from weed seeds. In a grow-bag context, growers use the phrase differently: they mean any permeable fabric material used to line the inside of an existing bag, build a DIY grow bag, or add a structural insert that improves drainage and root behavior. The goal flips from blocking things out to letting things through, specifically water, air, and roots looking for an edge to prune against.
This distinction matters because a fabric that's great as a weed barrier in a raised bed can be terrible inside a grow bag. Dense woven polypropylene laid flat on soil impedes aeration and eventually contributes to drainage problems, exactly what research critical of conventional landscape fabric has documented. Inside a container, you need a fabric that is permeable enough for water to drain freely and porous enough for oxygen to reach the root zone continuously. That rules out a lot of the cheap stuff at big-box stores.
The best fabric types for grow bags (and what to skip)
Nonwoven spunbond polypropylene: the reliable all-rounder
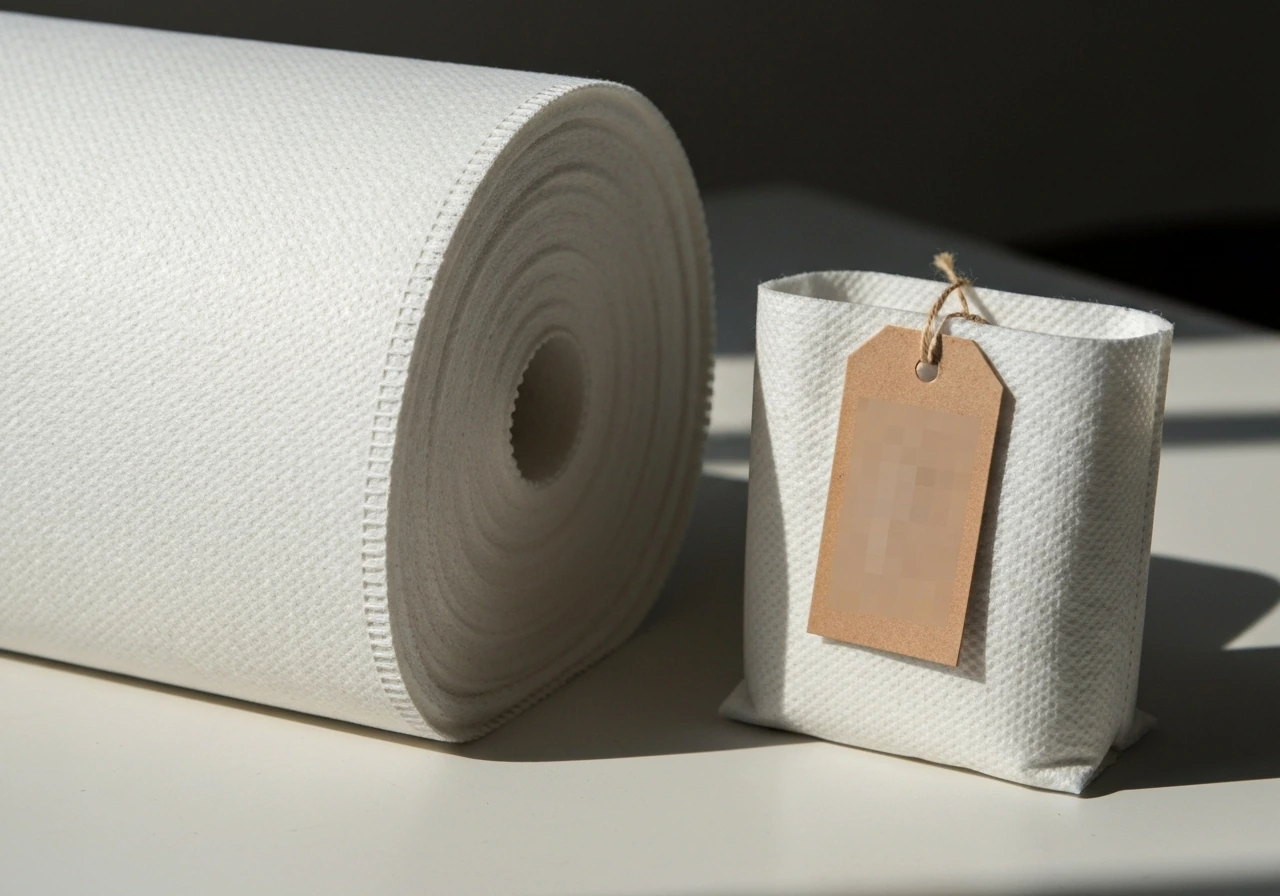
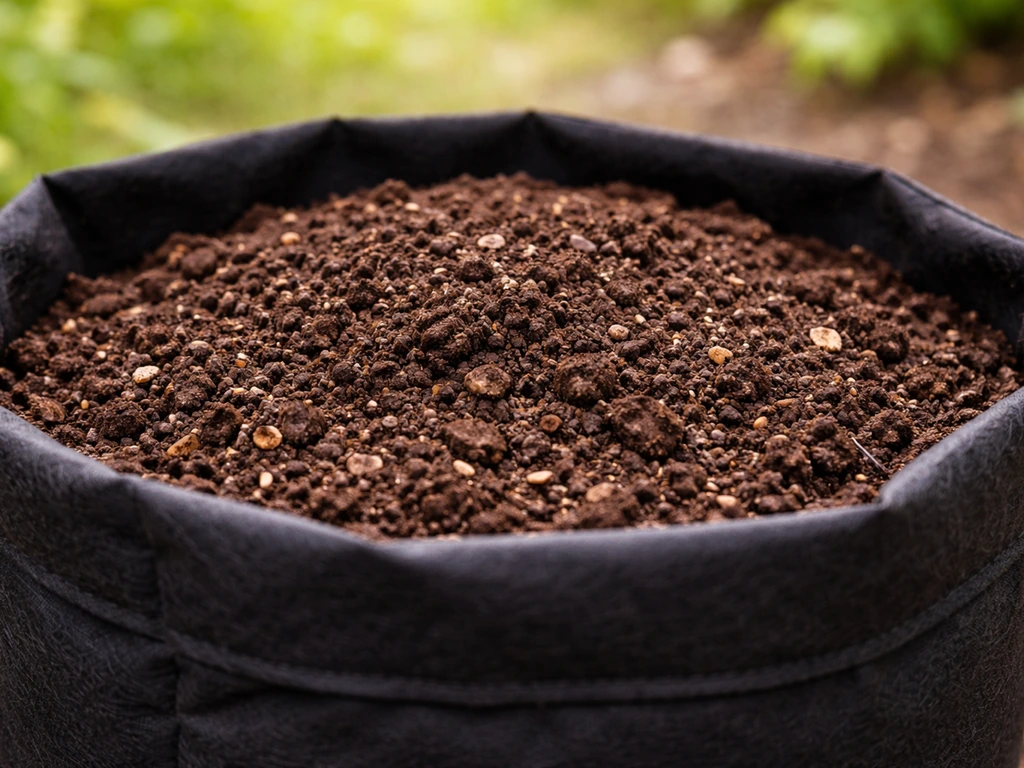
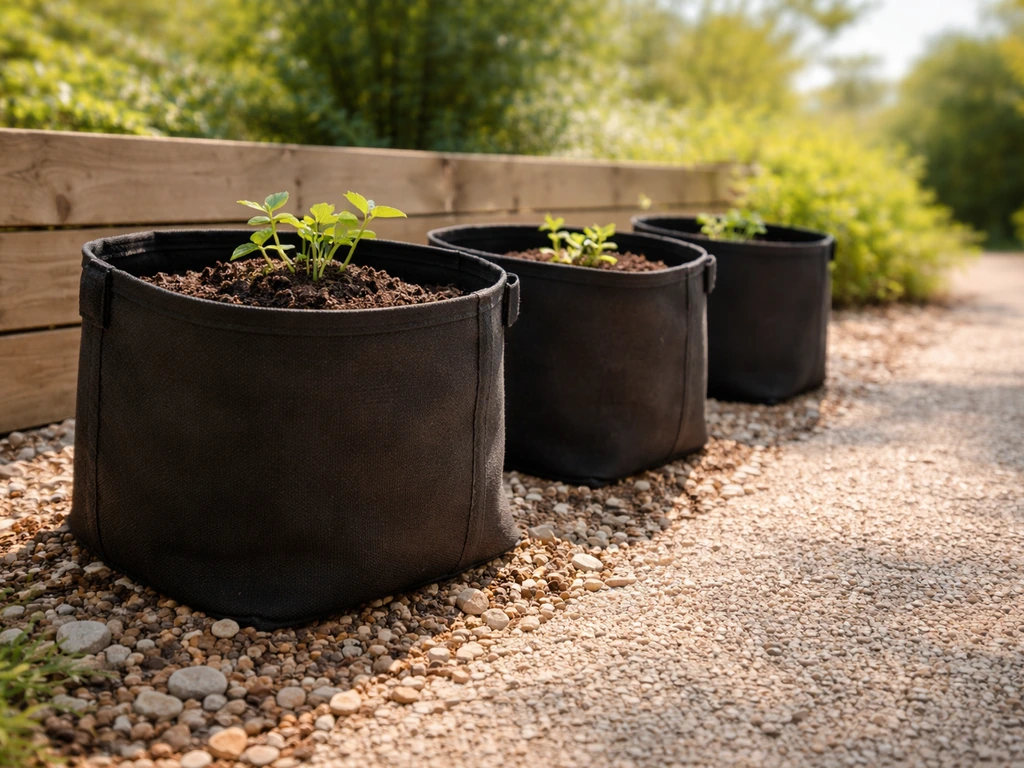
Nonwoven spunbond polypropylene is the material that most commercial fabric grow bags like Smart Pots and Root Pouches are actually made from. It's manufactured by bonding fibers together thermally rather than weaving them, which creates a dense but porous fiber network with a tortuous internal structure. Water passes through the whole surface area rather than only through specific weave gaps, and air can permeate continuously. For lining a bag or making your own, look for rolls sold as nonwoven geotextile or nursery fabric, not standard garden weed barrier. Weights of 100–150 g/m² are the sweet spot: light enough to drain and breathe well, heavy enough to hold shape under a full load of moist potting mix without tearing at the seams.
Woven geotextile: better than weed barrier, but not ideal
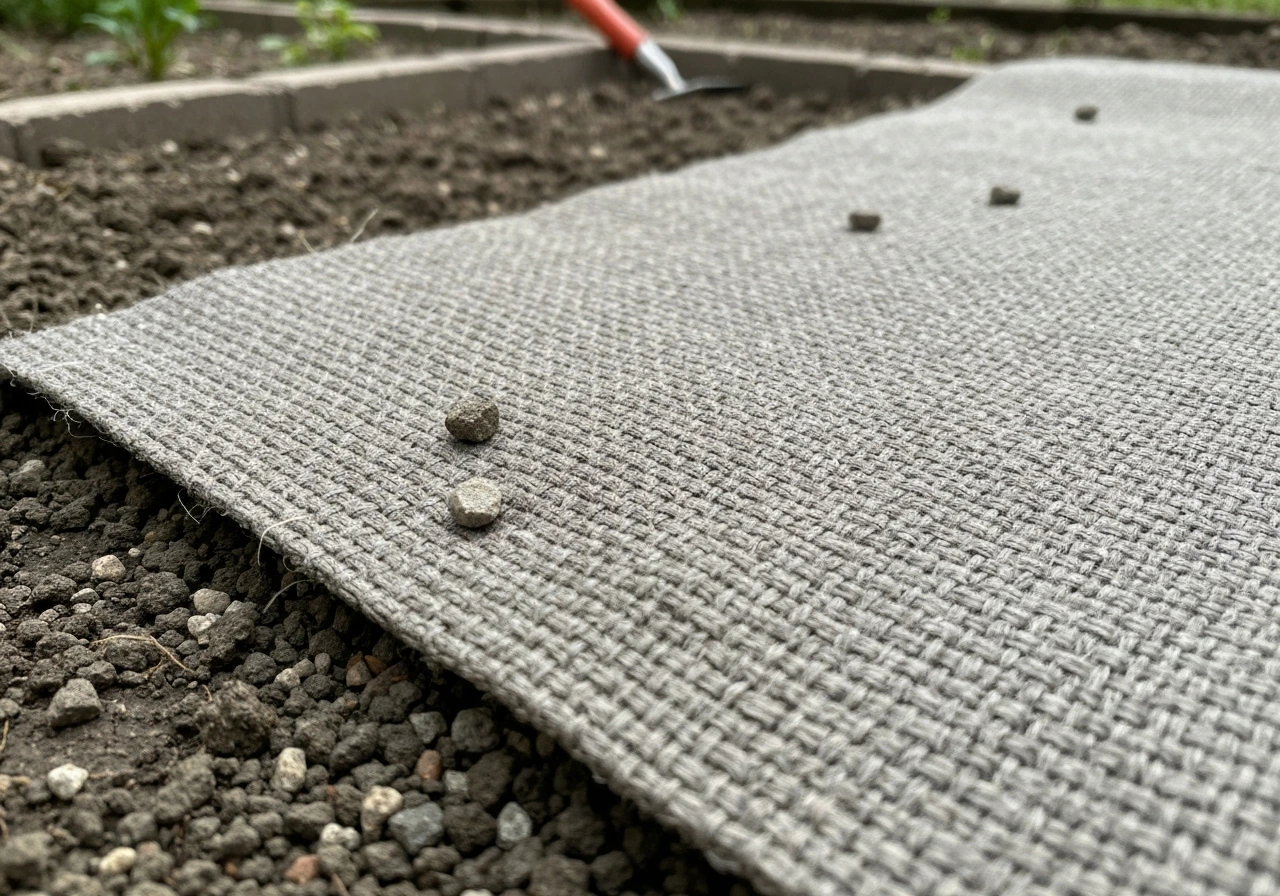
Woven geotextiles are stronger and more puncture-resistant than nonwovens, and they do allow drainage through the weave channels. For outdoor raised-bed liners or ground-contact applications where you need heavy-duty durability, woven fabric makes sense. Inside a grow bag, though, the drainage paths are less evenly distributed, and the smooth surface doesn't encourage the fine-root proliferation that makes fabric containers worth using in the first place. It's an acceptable choice if that's what you have on hand, but nonwoven is better for root development and overall plant performance.
What to avoid
- Cheap woven black polypropylene weed barrier (the thin, crinkly kind): it clogs with fine particles quickly, restricts aeration, and degrades into fragments within a season or two.
- Landscape fabric with UV inhibitors designed for long-term ground cover: these are often treated or coated in ways that reduce porosity and can leach compounds into your growing medium.
- Non-permeable plastic sheeting or pond liner: zero aeration, zero drainage benefit, defeats the purpose entirely.
- Burlap (jute): breathable and biodegradable sounds appealing, but jute breaks down in one season indoors or two outdoors, collapsing structure mid-grow and potentially introducing mold.
- Felt sheets designed for craft use: inconsistent thickness, untested porosity, and dye/chemical unknowns make these a poor choice around edible crops.
Picking the right fabric based on what you're growing
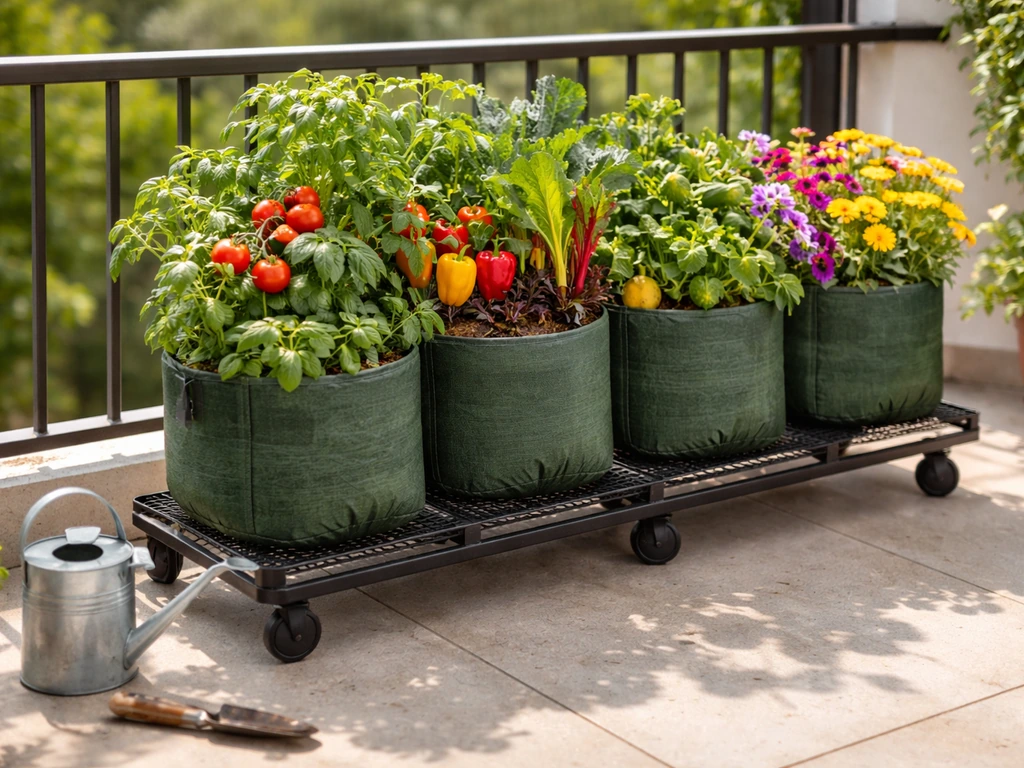
Different plants stress the fabric and growing environment in different ways. A tomato in a 10-gallon bag needs fabric that drains fast and survives daily watering through a hot summer. A shiitake mushroom substrate bag needs fabric that manages moisture retention very differently. Here's how to think about it by plant type.
| Plant Type | Recommended Fabric Weight | Key Priority | Notes |
|---|---|---|---|
| Vegetables (tomatoes, peppers, squash) | 100–120 g/m² | Fast drainage, aeration, air-pruning | High water demand; fabric must drain freely between waterings |
| Root vegetables (potatoes, carrots, beets) | 120–150 g/m² | Structural support, even moisture | Heavier fabric holds shape when you tip the bag to harvest |
| Herbs and flowers | 100 g/m² | Lightweight, breathable | Smaller bags dry quickly; thinner fabric reduces heat buildup |
| Mushroom substrate bags | Polypropylene filter patch or 50–60 g/m² nonwoven | Controlled gas exchange, contamination barrier | Standard landscape fabric is too porous; use mushroom-grade filter patches |
| Trees and shrubs | 150–200 g/m² | Durability, root-pruning, multi-season use | Heavier weight survives repeated handling and outdoor UV exposure |
Mushrooms deserve a specific note here because they're part of this site's audience and their needs are genuinely different. You're not trying to encourage free drainage or air-pruning. You need a fabric that provides a very specific, narrow gas-exchange rate while keeping contamination out. Standard landscape fabric is the wrong tool for mushroom substrate bags. Use purpose-made polypropylene filter patches rated for mushroom cultivation, or a very tight 0.2-micron filter material. If you're growing flowers in grow bags, the priority is similar to herbs: lightweight nonwoven that avoids heat stress at the root zone during summer. If you’re specifically shopping for the best flowers for grow bags, a lightweight nonwoven liner that stays breathable in summer will help plants grow steadily and avoid heat stress at the roots flowers in grow bags.
Thickness, weight, and construction details that actually matter
Fabric weight (measured in grams per square meter, or g/m²) is the most useful number to shop by. It reflects density, thickness, and durability in one figure. Below 80 g/m² and the fabric tears under the weight of moist growing medium, especially at seam points. Above 200 g/m² and you start losing the porosity advantages that make nonwoven fabric worth using at all. The 100–150 g/m² range is well-tested in nursery production and commercial grow-bag manufacturing for exactly this reason.
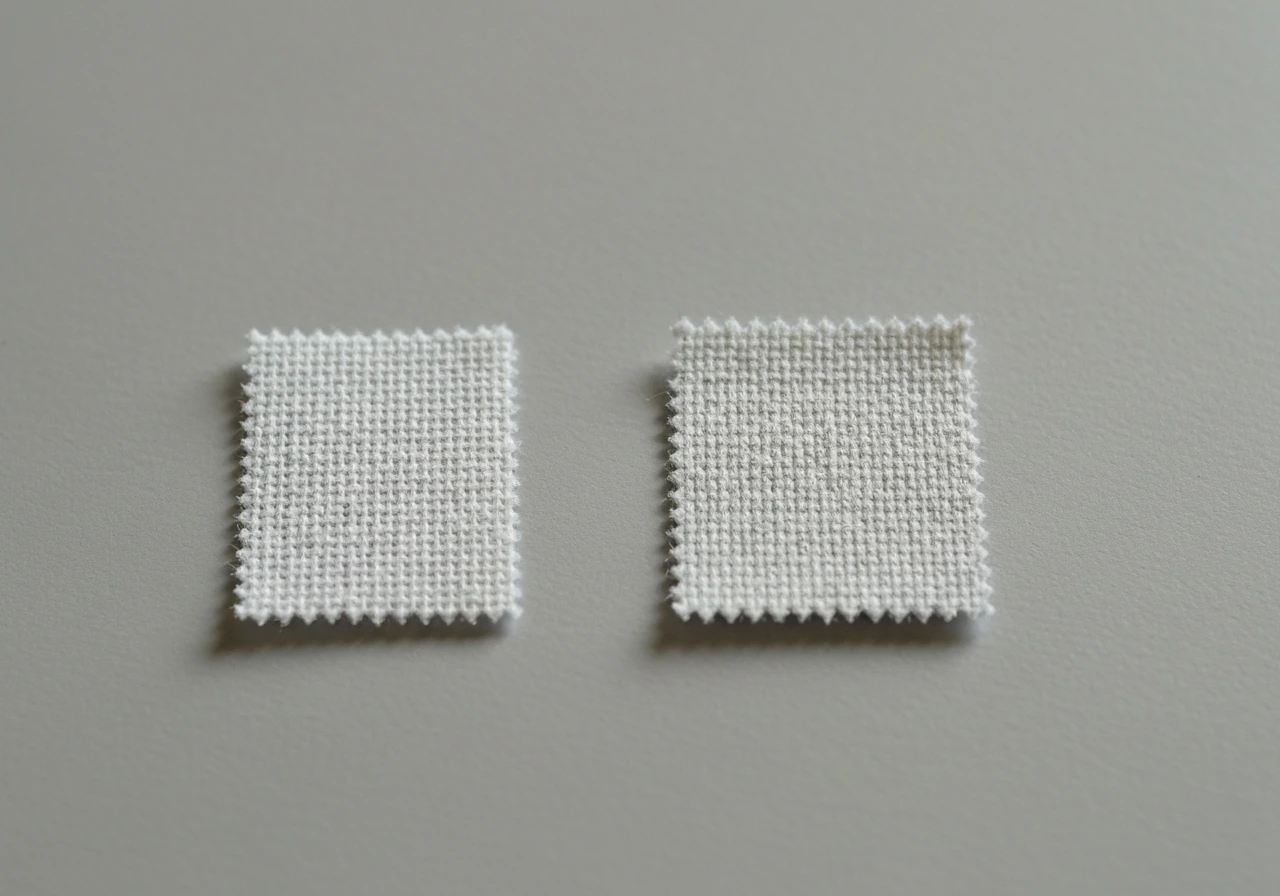
Pore size is the other spec worth knowing. Nonwoven geotextiles used in filtration and drainage applications typically have an apparent opening size (AOS) in the 0.06–0.20 mm range. For grow-bag use you want fabric on the larger end of that range, around 0.15–0.20 mm AOS, so fine potting mix particles don't clog the material over multiple seasons. When shopping for rolls of nonwoven geotextile or nursery fabric, you may see this listed as AOS or O95 on the product spec sheet. If the listing doesn't include it, stick with products from known nursery supply companies rather than anonymous bulk geotextile rolls.
Construction at the seams and edges also matters more than people expect. A fabric liner that tears at the fold line when you're installing it, or frays at cut edges within the first season, will compromise the whole bag. Look for thermally bonded or ultrasonically welded seams rather than stitched ones if you're buying pre-formed liners. If you're cutting your own pieces from a roll, heat-seal the cut edges with a lighter or heat gun to prevent fraying. Polypropylene melts cleanly and seals in a few seconds.
How fabric affects watering, airflow, and heat
Switching to a well-chosen nonwoven liner changes how your grow bag behaves, and if you don't adjust your watering routine you'll either overwater or underwater in the first few weeks. Nonwoven polypropylene at 100–150 g/m² drains significantly faster than the dense low-grade material in many off-brand grow bags. That's the point. But it also means the growing medium dries out faster, particularly around the outer walls where air-pruning happens. For most vegetables in warm weather, plan on watering once daily or every other day rather than every few days. To match that build quality with strong plant results, choose the best fertilizer for grow bags that fits your crop and watering pace. Stick your finger 2 inches into the mix before watering; if it's still moist, wait.
Airflow through the fabric walls is what makes fabric containers worth the bother. Research comparing air-pruning containers to conventional pots consistently shows more root tip development and better fine-root architecture, because every time a root reaches the air gap at the fabric wall it stops elongating and branches instead of circling. A study that compared air-pruning and root-pruning nursery containers (including Air-Pots, Light Pots, Root Pouch Pots, and Smart Pots) also measured effects on biomass, root architecture, and media temperature blank" rel="noopener noreferrer">Research comparing air-pruning containers to conventional pots consistently shows more root tip development and better fine-root architecture. That branching effect creates more surface area for nutrient and water uptake. You get this benefit only if the fabric stays permeable. Clogged or coated fabric eliminates it entirely, which is why fabric quality at the start matters so much. Geotexan notes that geotextile filtration and drainage performance depends on maintaining sufficient permeability versus adjacent soil, since reduced pore openings can limit long-term flow clogged or coated fabric eliminates it entirely.
Heat management is an underrated factor, especially on patios and rooftops in summer. Dark-colored grow bags in direct sun can raise root-zone temperatures significantly, and thick or dense fabric compounds the problem. Lighter-colored nonwoven fabric reflects more solar radiation and transfers heat more slowly. If you're growing in a hot climate or a south-facing location, a white or tan 100 g/m² nonwoven liner inside a dark outer grow bag is a practical way to reduce heat stress without replacing the bag. Pairing good fabric with good mulch on the surface of the growing medium also reduces temperature swings at the root zone.
How to size, cut, and install fabric in your grow bag
Sizing the fabric correctly
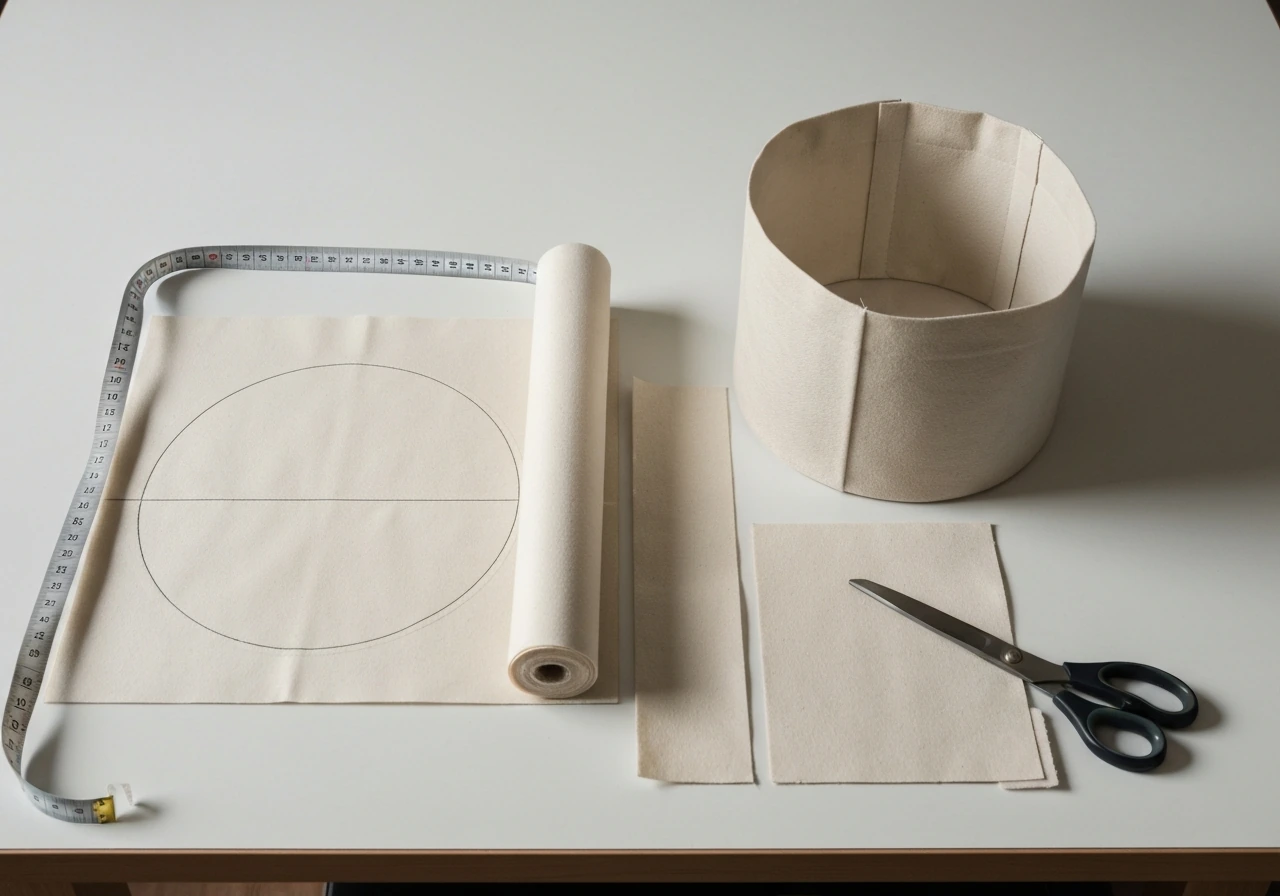
For a circular grow bag, measure the diameter of the bag's opening and the depth. The formula for a simple flat-bottom circle with sides is: cut a circle for the base with diameter equal to the bag's internal diameter, then cut a rectangle for the sides with height equal to the bag's internal depth and length equal to the bag's internal circumference (diameter x 3.14). Add about 1 inch of overlap to the length for seaming. Alternatively, cut a single large circle with radius equal to the depth plus half the base diameter, score fold lines, and snip darts around the edge so the fabric seats flat against the bag's sides without bunching.
For rectangular or square grow bags, a simple box-liner cut works well: measure the internal length, width, and depth, then cut a rectangle that is (length + 2x depth) by (width + 2x depth). Score the corners, fold up the sides, and snip small triangles at the four corners so the fabric folds flat. No gluing needed; the weight of the growing medium holds everything in place.
Installation steps

- Empty the grow bag completely and clean out old roots and debris from the interior walls.
- Cut your nonwoven fabric piece using the sizing method above. Seal cut edges by running a lighter quickly along each edge until the fibers fuse together.
- Drop the fabric into the empty bag and press it firmly against the walls and base, making sure no large air gaps form between the fabric and the bag material.
- If using a base circle plus side rectangle, place the base circle first, then wrap the side rectangle inside the bag with the overlap seam facing the bag wall, not the growing medium.
- Fold the top edge of the fabric liner over the top rim of the grow bag and secure it by folding the bag's own fabric or handle straps over it. This keeps the liner from sinking as you fill the bag.
- Fill with your growing medium in layers, tamping lightly every 4–6 inches to ensure the liner stays seated against the walls without large voids.
- Water thoroughly before planting to check that drainage is working evenly across the base. If water pools in one area, lift the bag slightly and check that the base liner isn't folded under itself.
Adjusting your care routine after installation
After installing a new or upgraded liner, your first week is a calibration period. Water the bag slowly until water drains from the base, then note how long it takes for the top inch of growing medium to dry. In warm weather with a well-draining nonwoven liner, most vegetable bags need water again within 24–48 hours. If the medium stays wet for 3 days or more, the liner may be restricting drainage at the base: check that the bottom fabric is flat and not folded, and that the outer bag's own drainage holes aren't blocked. If the bag dries out in less than 12 hours, either the fabric weight is too low (below 80 g/m²) and the medium is shedding water without absorbing it, or the bag volume is too small for the plant.
Root circling is the other issue worth watching for, especially in the first season with a new setup. If you're noticing stunted growth or the plant looks rootbound despite being in a reasonably sized bag, tip the bag gently and check the base and outer wall. Healthy fabric grow bags show a fibrous, well-branched root mass at the walls rather than thick circling roots. If you see circling, it usually means the liner has degraded or clogged enough to stop the air-pruning effect. Replacing the liner at the start of the next season solves this completely.
Putting it all together: a quick buying guide
If you want the simplest possible answer for today: buy a roll of 100–150 g/m² nonwoven spunbond polypropylene fabric from a nursery supply company or geotextile supplier, not the garden center weed-barrier aisle. Expect to pay around $0.10–0.25 per square foot for decent quality. One 3-foot-wide roll of 50 yards covers a lot of bags and lasts multiple seasons if stored out of UV light when not in use. For trees and shrubs you want the 150–200 g/m² end of the range. For herbs, flowers, and small vegetable bags, 100 g/m² is fine and will drain better in hot weather.
Getting the fabric right is one piece of the overall grow-bag puzzle. The growing medium you choose inside that fabric liner has an equally big impact on drainage and root health, and so does your fertilizer strategy once the plant is established and feeding demand rises. Pairing a well-chosen nonwoven liner with an appropriate potting mix and a sensible feeding schedule is where most experienced grow-bag growers end up after a season or two of trial and error. Start with the right fabric and you'll find everything else easier to dial in from there. A good potting mix is what helps that liner perform, which is why choosing the best soil for grow bags matters as much as the fabric.
FAQ
Can I reuse the same landscape fabric liner for more than one season?
Generally, no. If you use the same liner for multiple seasons, it should still feel intact (no tears at seams, no stiff or coated spots). If roots are circling, drainage stays slow after watering, or the fabric looks clogged or degraded, replace it before the next growing cycle. Even good nonwoven can lose its porosity after UV exposure and repeated saturation-drying cycles.
What if I can only find a different brand or type of landscape fabric, is it still usable?
Yes, but only if it is truly nonwoven spunbond polypropylene or a comparable nonwoven geotextile. Do not substitute random “weed barrier” rolls labeled for ground use if they are woven, coated, or have a very fine filtration rating that can choke airflow. When in doubt, confirm the specs match the 100–150 g/m² target and that AOS is in the approximate 0.15–0.20 mm range.
My grow bag dries out too fast after lining it. What should I change first?
If the bag dries out in under 12 hours repeatedly, increase water-holding without blocking drainage. Practical options are using a slightly more moisture-retentive potting mix, adding a thin mulch layer on top of the medium, or moving the bag out of the hottest direct sun. Avoid switching back to heavy, low-breathability fabric, since that often reduces air-pruning benefits.
How can I troubleshoot slow drainage with a new fabric liner?
If the medium stays wet for 3 days or more, first check installation issues. Make sure the fabric base is flat (not folded) and that the bag’s bottom drainage holes are unobstructed by the liner edge. Also verify the fabric seams and overlaps are not creating a “liner pocket” that traps water. If it still happens, the fabric may be too dense, too fine (AOS too small), or degraded.
Do seams and cut edges affect drainage, or is it mostly about fabric weight?
Yes. Cut seams should be minimal, and folds should not stay under tension. Heat-seal any cut edges, and if you are making side panels, plan overlaps so water can pass through the nonwoven rather than forming a continuous blocked seam line. A tiny seam failure can become a long-term clog point when fine media particles migrate.
Should the liner be replaced between different crops?
For most vegetables and herbs, you can keep the liner installed under the same potting mix through a season. If you are transitioning from a crop that had disease or heavy pests, consider replacing or thoroughly cleaning the liner, because fine root mass and organic residues can harbor problems. At minimum, inspect for residue that makes the fabric look dark, stiff, or unevenly matted.
How tight should the fabric be against the bag, and does bunching matter?
For true grow-bag performance, place the fabric so it lines the inside surface without wrapping and bunching near the base. Bunching creates local thickness, which slows air and water movement. A flat base and smooth side contact are key for consistent air-pruning along the walls.
Does switching to nonwoven fabric change my fertilizer schedule?
Because fabric containers can trigger faster dry-down, fertilizer concentration and timing often need adjustment. If you water more frequently, you may need to use a lighter feeding at each watering (or a consistent scheduled feed) rather than heavy, infrequent doses. If plants look pale or growth stalls, adjust fertilizer upward, but re-check moisture first because nutrient uptake changes with how wet the root zone stays.
What’s the best way to prevent heat stress at the root zone with fabric-lined grow bags?
Yes, especially in hot locations. Use a light-colored (white or tan) nonwoven liner inside a dark outer bag, and consider a surface mulch to reduce temperature swings. Also avoid placing bags directly against hot surfaces like dark metal or bare pavement, since heat can conduct into the base even with good fabric.
Can I use the same best landscape fabric for mushroom substrate bags?
For oyster and other edible mushrooms, do not use the standard grow-bag landscape fabric. Mushroom substrate needs a controlled gas-exchange environment and contamination management, and the article’s recommended approach is purpose-made polypropylene filter patches or equivalent tight filtration. Using weed-barrier or loose geotextile can disrupt the target exchange rate and increase contamination risk.
Next Articles
Best Soil for Grow Bags: Mix Recipes and How Much to Add
Best soil for grow bags: mix recipes, how much to add by bag size, and vegetable tweaks for strong drainage and yield.
Where to Put Grow Bags: Best Location, Sun, Drainage
Find the best spot for fabric grow bags: sun, wind, drainage, spacing, surfaces, and fixes for heat and root-rot issues.
Pros and Cons of Grow Bags for Vegetables and Flowers
Grow bag pros and cons for veg, flowers, trees, and mushrooms: aeration, mobility, and watering plus fixes for common is