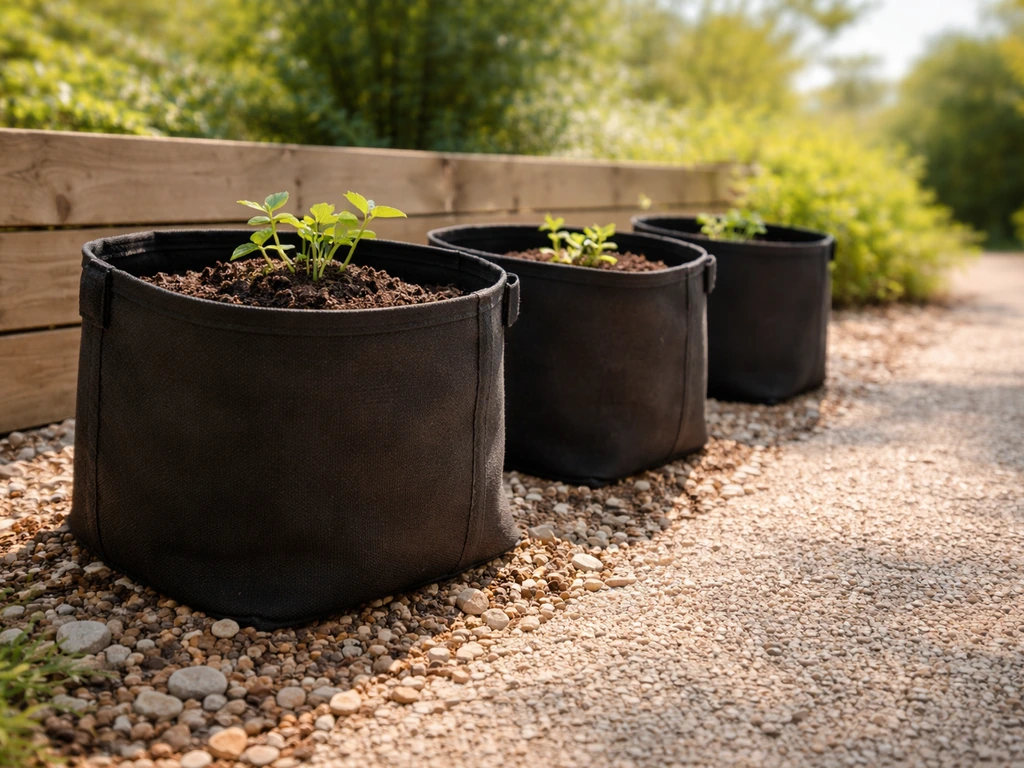
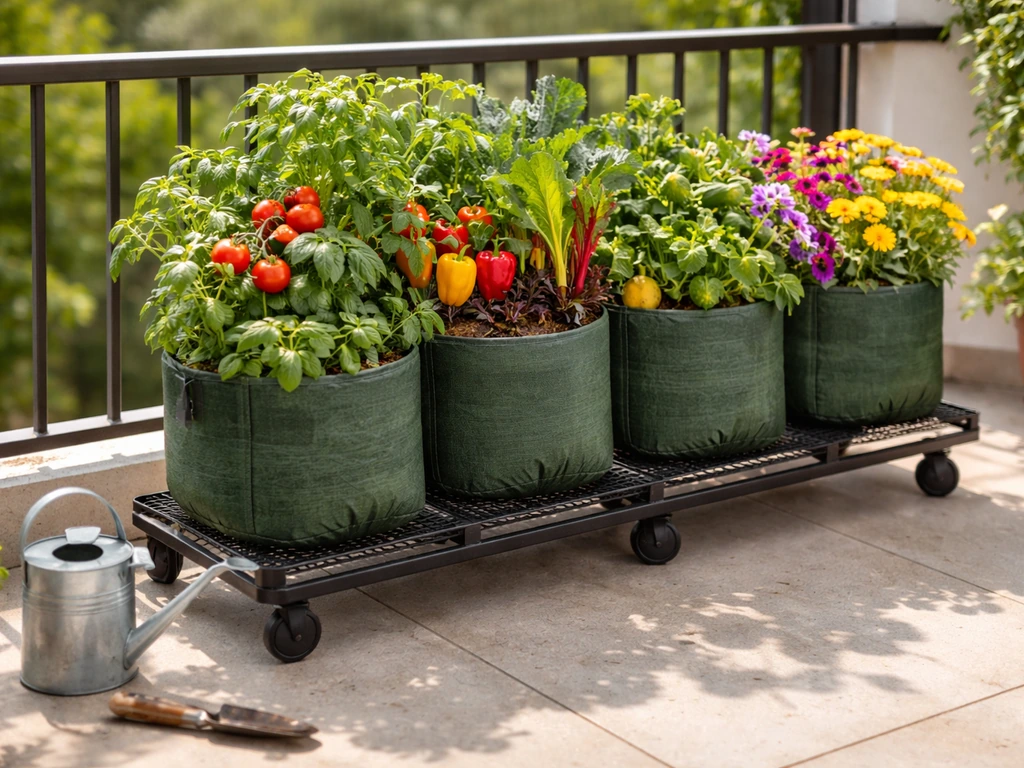
Place fabric grow bags where they get the right amount of direct sun for your crop, on a surface that drains freely, with enough room to water without contorting yourself. For most vegetables, that means a spot with 6 to 8 hours of direct sun per day, on gravel, pavers, or bare soil rather than solid concrete with no runoff path, and at least 18 to 24 inches between bags so air can move. To get grow bags from Krishi Bhavan, ask at the nearest office for the current availability and any subsidy or distribution process for the season. Get those three basics right and you've solved 80% of placement problems before they start.
Where to Put Grow Bags: Best Location, Sun, Drainage

Marcus Holloway
24 Jun 2026
Choosing the right spot: sun, wind, and daily light

Sunlight is the single biggest placement decision you'll make. If you're also deciding on sources, use this guide alongside practical buying options like where to buy grow bags. Fruiting vegetables like tomatoes and peppers need at least 8 hours of direct sun per day to produce well. Leafy greens, herbs, and many flowers are more forgiving and do fine with 4 to 6 hours, ideally morning sun with afternoon shade. Mushrooms are in a different category entirely: they actively dislike direct sunlight, and a shaded spot with indirect light and ambient humidity is exactly what they need.
Before you set a single bag down, spend a day tracking shadow movement across your space. On r/gardening, beginners with balcony grow-bag setups also emphasize estimating your balcony sun hours by watching how building shadows move across the day, often targeting around 6 hours of direct sun track shadow movement across your space. Walls, fences, and overhanging trees shift the sun line more than most people expect, especially on balconies. A spot that looks sunny in the morning can be completely shaded by 1 PM. If you're gardening on a balcony and your building casts a long shadow, your realistic sun window might be tighter than 6 hours, which matters a lot for tomatoes but almost nothing for mint.
Wind is the other half of this equation, and it's easy to underestimate. Grow bags dry out faster than in-ground beds even in calm conditions because the fabric breathes on all sides. Add a persistent breeze and you can find yourself watering twice a day in summer. If your space is consistently windy, position bags close to a wall, fence, or larger containers that break the airflow. You can also use floating row cover fabric as a temporary windbreak: it's permeable to light, air, and water, so it protects without creating a humidity trap.
Surface and drainage: what to put grow bags on (and what to avoid)
One of the real advantages of fabric grow bags is that they drain by design. But that drainage only works if the surface underneath lets water escape. Sitting a bag on a flat, sealed concrete surface with no slope means runoff pools directly beneath the bag, keeping the bottom fabric wet and inviting root rot. This is one of the most common placement mistakes I see.
The best surfaces are ones that let water move away freely. Gravel paths, open soil, coarse bark mulch, and wooden decking with gaps between boards all work well. Pavers or sloped concrete are fine if water can drain off the edge. What you want to avoid is any flat, impermeable surface that lets water collect under the bag for hours after watering.
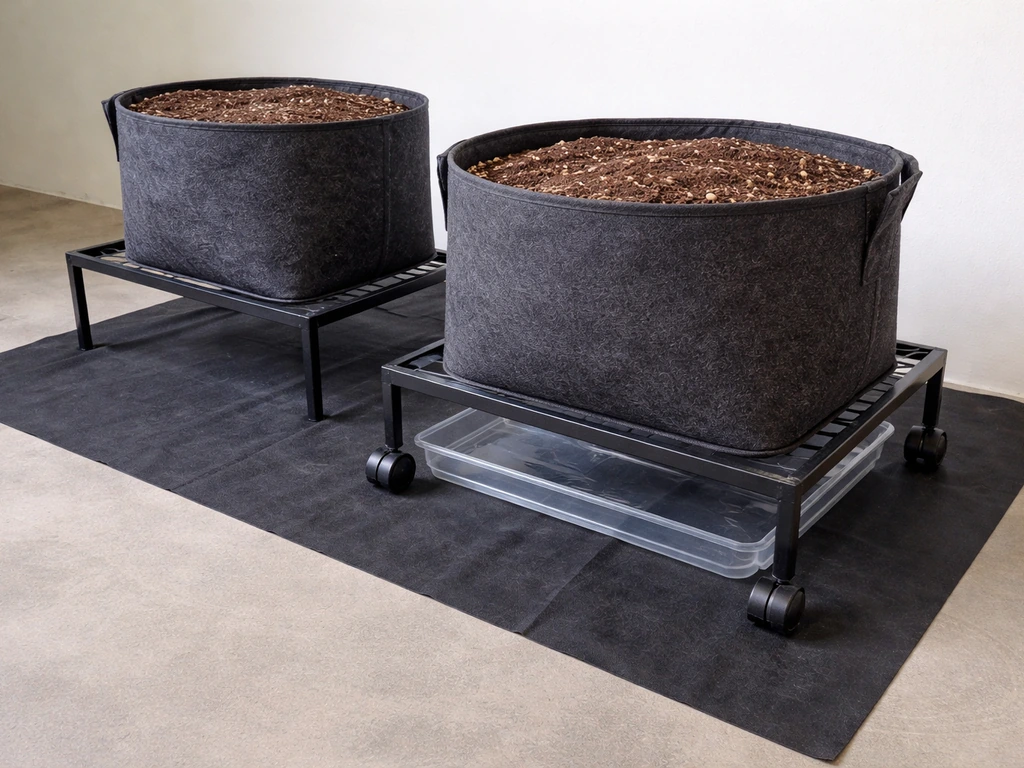
If your only option is a flat patio or balcony, elevate the bags on a stand, slatted platform, or a gravel-filled tray. The tray approach is useful for catching runoff so you don't flood a balcony or deck, but fill it with a layer of gravel so the bag bottom sits above the water line, not in it. A bag sitting in standing water, even an inch of it, is heading toward the same problem as an outdoor bag on pooling concrete.
One myth worth clearing up: adding a layer of gravel inside the bottom of the bag does not improve drainage. Research from multiple extension programs confirms it can actually create a perched water table that keeps roots wetter, not drier. The fabric itself handles aeration and drainage, so your job is just to manage what happens underneath the bag.
Spacing, orientation, and access for watering and harvesting
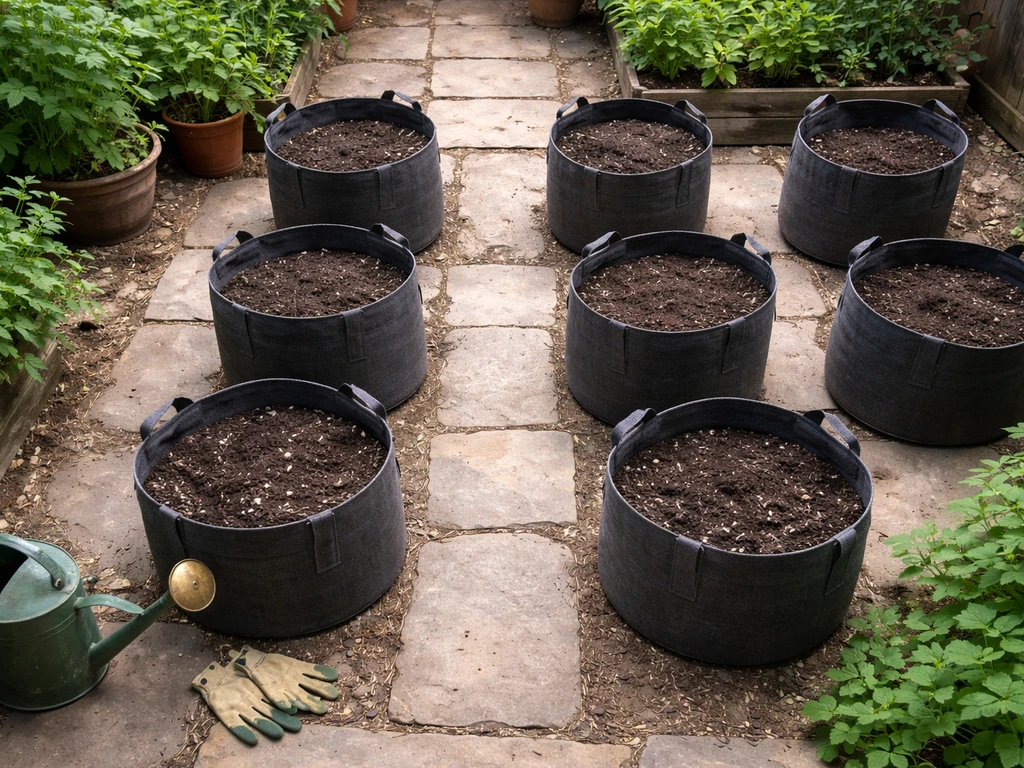
Grow bags are not forgiving of overcrowding. Pack them too close together and you restrict airflow, which raises humidity between plants and can invite fungal issues. You also make it genuinely difficult to water each bag thoroughly or reach in to harvest without brushing past other plants. Leave at least 18 to 24 inches between bags as a starting point. Larger bags growing tall plants like tomatoes (which can spread 24 to 36 inches wide) need even more room.
Think about access from the beginning. You'll be visiting these bags daily in summer. Arrange them so you can reach every bag from a path or walkway without stepping over others. If you're wondering where to buy grow bags in Bangalore, plan for easy access so collection and watering are simple even on busy days path or walkway. A simple layout with one or two rows, all accessible from the front, is almost always better than a dense cluster that looks efficient on paper but becomes a daily frustration to manage. If you're using a drip irrigation line, plan the spacing with the drip emitter positions in mind so you're not bending lines at awkward angles.
Orientation matters for tall plants. Position bags with trellised crops like tomatoes or cucumbers so the trellis doesn't shade your other bags. South-facing walls (in the northern hemisphere) are ideal backdrops for taller plants: the wall reflects heat and light back onto the crop without casting afternoon shadow over neighboring bags.
Temperature and seasonal placement tips (heat, frost, and airflow)
Grow bags heat up faster than in-ground soil and they also cool down faster, which works both for and against you depending on the season. In early spring, this means bags warm up quicker and you can start planting earlier than you could in the ground. In summer, it means roots in dark-colored bags on reflective surfaces can overheat, especially when daytime temperatures push above 85 to 90°F. In late fall, bags can drop to near-ambient temperature overnight, leaving plants exposed to frost with less insulation than they'd have in the ground.
For summer heat, move bags away from white walls, light-colored gravel, or any surface that reflects direct sunlight onto the bag sides. Light-colored bags help, and placing bags so they get afternoon shade (from a fence, building, or shade cloth) keeps roots from baking. Mulching the top of the bag with a thin layer of straw or wood chips reduces surface temperature and slows moisture loss between waterings.
For frost protection, the mobility of grow bags is a genuine advantage. If a cold snap hits, you can move bags to a sheltered spot near the house, under an overhang, or into a garage overnight. For bags that are too heavy to move easily (large potato or tree bags), drape breathable frost cloth or floating row cover fabric over them. Floating row covers can help exclude pests and create a microclimate that supports frost protection and moderates temperature extremes while still letting air, water, and light through floating row cover fabric over them. Avoid plastic sheeting directly on plants: it traps moisture against foliage and can cause freeze burn or fungal problems. Breathable covers let air and some moisture exchange while adding several degrees of thermal buffering.
Spring and fall transitions are also when airflow management matters most. In cool, damp weather, good airflow between bags dries foliage faster after rain and reduces the conditions that favor mold and mildew. Don't cluster bags tightly just because temperatures are cooler: keep that spacing consistent year-round.
Crop-specific placement for vegetables, flowers, mushrooms, and trees
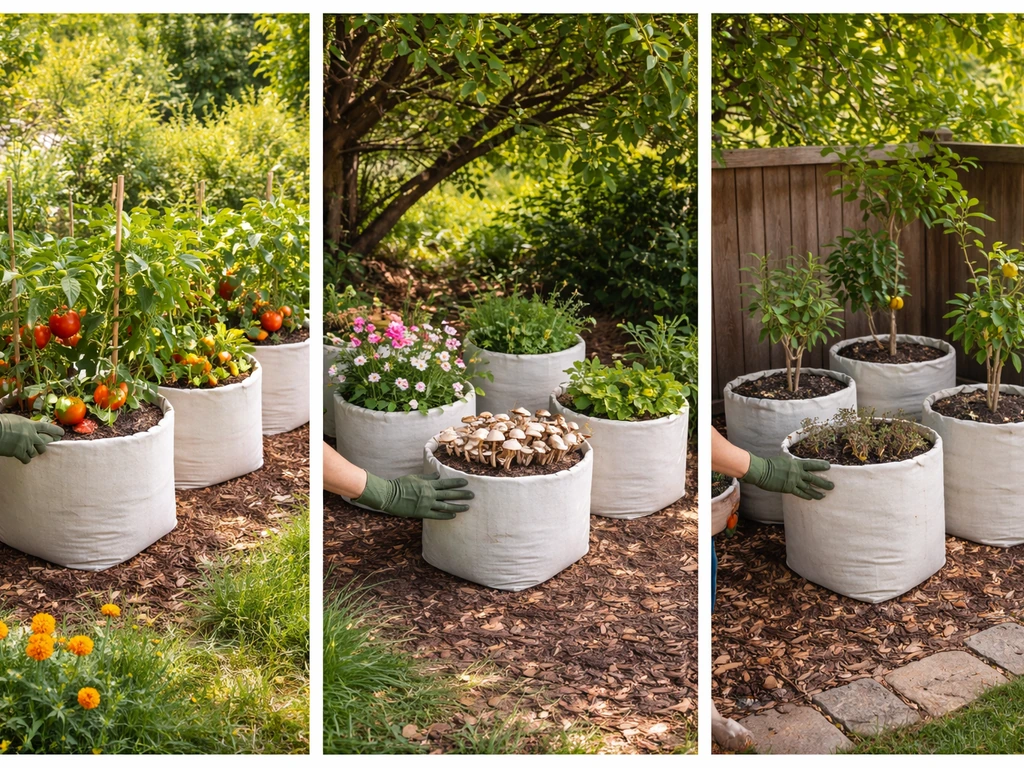
Different crops have genuinely different placement needs, and the same spot that's perfect for tomatoes will stress mushrooms or overheat a young tree. Here's how to think about placement for each major category.
Fruiting vegetables (tomatoes, peppers, squash)
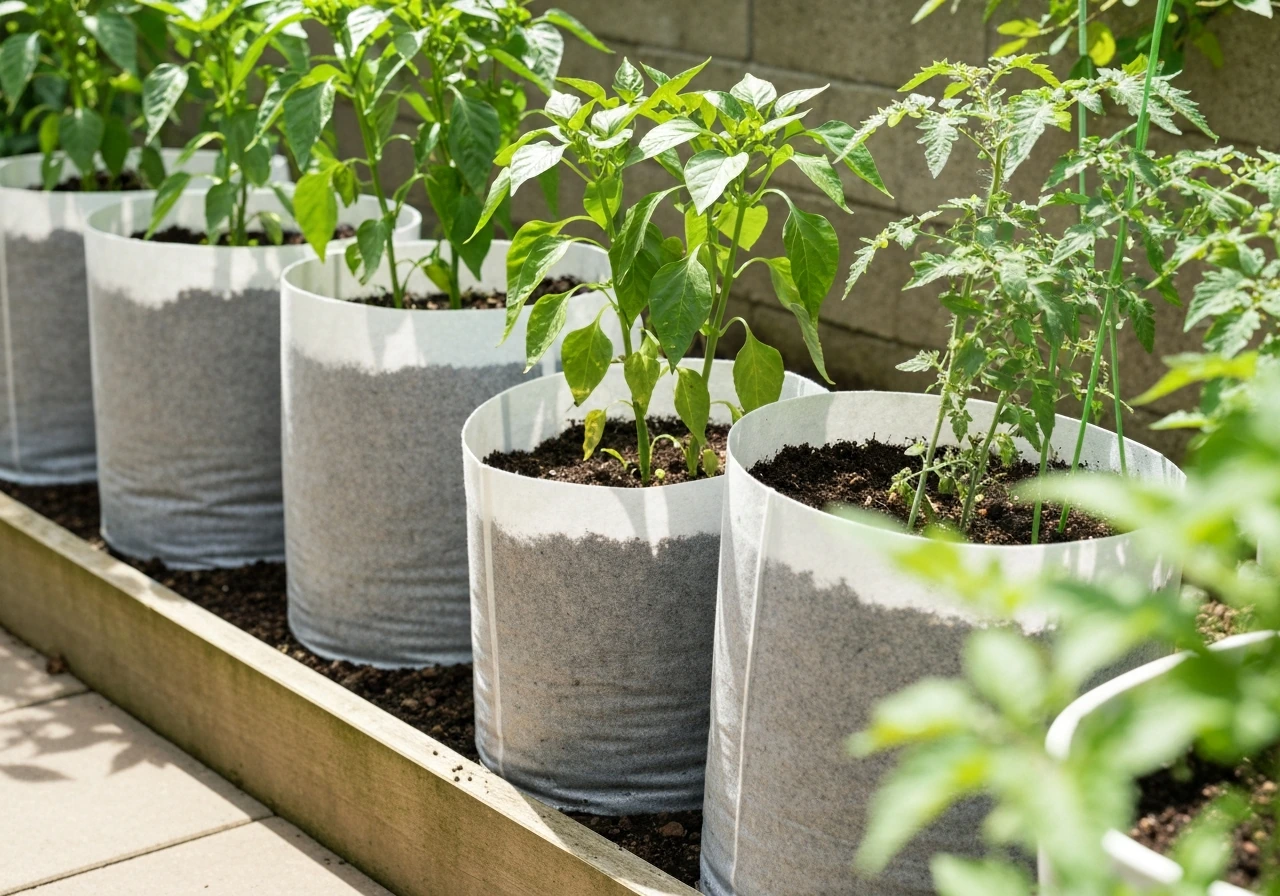
These are your most sun-hungry crops. Position them in the sunniest spot you have, full sun with 8 or more hours of direct light, and place them where you can easily tie, stake, or trellis them. South-facing walls or fence lines are ideal. Keep them accessible from at least one side because you'll be checking for fruit and pruning regularly. Drip irrigation or a soaker line is worth setting up from the start if you're growing more than a few bags: fruiting vegetables in grow bags in summer heat may need watering once or even twice a day.
Leafy greens, herbs, and root vegetables
These crops are more flexible. Most do well with 4 to 6 hours of sun and actually benefit from afternoon shade in midsummer, which slows bolting in lettuce and spinach. Place them where your sunniest spots might be partially obstructed (east-facing, or shadowed after midday). Herbs like basil still want good sun, but many others like parsley, cilantro, and mint handle partial shade well. Root crops like potatoes and carrots need good sun too, but they're more tolerant of temperature variation than fruiting crops.
Flowers
Annual flowering plants like marigolds, zinnias, and nasturtiums generally want full sun and can go in the same zones as fruiting vegetables. Shade-tolerant flowers like impatiens or begonias are useful for filling north-facing corners or spots that only get a few hours of light. The main placement concern for flowering plants in grow bags is aesthetics: think about sight lines from the house or patio so the display is visible, and use the mobility of bags to rotate the best-looking plants to prominent spots.
Mushrooms
Mushroom grow bags need indirect light, consistent humidity, and stable temperatures. Direct sun is damaging: UV light can scorch developing mushrooms and dry out the substrate too quickly. Place mushroom bags in a shaded outdoor spot (north side of a building, under a deck or tree canopy), in a garage with indirect light, or indoors near a window that doesn't receive direct sun. They also need adequate airflow to prevent contamination but not strong wind that dries the surface. Mist the bags regularly instead of watering heavily: standing water on mushroom substrate invites rot just as it does with plant roots.
Container trees and shrubs
Trees in grow bags (dwarf citrus, figs, olives, blueberries) need stable placement with solid footing. A large 25 to 45 gallon bag with a tree in it can be top-heavy, especially when wet, so position it against a wall or fence or on a wide, level stand. These plants also need more consistent root-zone temperatures than vegetables: avoid placing large tree bags on highly reflective or dark surfaces that swing the root temperature dramatically between day and night. In cold climates, moving tree bags into an unheated garage or shed for winter is often the best protection.
Setup add-ons: stands, trays, weed control, and mobility
The physical setup around your bags shapes daily ease of use more than most people plan for. A few investments at the start save real frustration later.
- Stands and slatted platforms: Elevating bags even 2 to 4 inches off the ground dramatically improves drainage and airflow to the bag bottom. Rolling platforms or plant caddies let you move heavy bags without lifting, which matters a lot when a 10-gallon bag full of wet soil weighs 40-plus pounds.
- Saucers and trays: Useful on balconies, decks, or anywhere you can't let water run freely. Fill trays with a layer of coarse gravel and set bags on top of it so the bag bottom isn't sitting in pooled water. Empty or drain trays after heavy rain.
- Weed control fabric: If you're placing bags on bare soil, laying weed fabric underneath prevents weeds from growing up through the bag. It also keeps the bag bottom cleaner and slightly drier by preventing direct soil contact. This is more relevant for long-season crops where the bag will be in the same spot for months.
- Drip irrigation: If you're running more than 4 to 6 bags of fruiting vegetables, setting up a simple drip line from the start makes watering consistent and saves time every day. Grow bags need more frequent watering than in-ground beds and inconsistent moisture causes blossom drop and tip burn.
- Shade cloth: A 30 to 40 percent shade cloth rigged above bags in a hot, exposed spot reduces surface temperature and slows water loss without blocking enough light to affect fruiting vegetable yields significantly.
Troubleshooting placement issues and how to fix them fast
Most grow bag problems trace back to placement or what happens directly around the bag. If you're weighing options, reviewing the pros and cons of grow bags can help you decide whether their faster heating and quicker drying fit your space and schedule. Here's how to read the symptoms and adjust quickly.
| Problem | Likely cause | Fix |
|---|---|---|
| Wilting in afternoon despite adequate watering | Heat stress from reflective surfaces or too much direct afternoon sun | Move bags to a spot with afternoon shade, add mulch to bag top, or rig a shade cloth above |
| Yellowing lower leaves, stunted growth, wilting when soil feels wet | Root rot from standing water beneath bag | Elevate the bag on a stand or gravel-filled tray; improve surface drainage; reduce watering frequency |
| Bags drying out within hours of watering | High wind or excessive heat exposure | Position behind a windbreak (wall, fence, larger containers), add mulch to surface, water more frequently or add drip irrigation |
| Leggy, pale growth, low fruit set | Insufficient direct sun | Move bag to sunnier location; even a few more hours of direct sun dramatically improves fruiting |
| Fungal spots on leaves, mold on soil surface | Poor airflow from crowding or excessive humidity | Increase spacing between bags, remove any material blocking airflow, reduce irrigation frequency |
| Pest pressure (slugs, snails, fungus gnats) | Bag sitting directly on wet soil or debris | Elevate bags on a stand or slatted platform; clear organic debris from beneath and around bags; let top inch of soil dry between waterings |
| Frost damage overnight in early spring or fall | Inadequate protection or exposed location | Move smaller bags indoors or under an overhang; cover larger bags with breathable frost cloth; avoid plastic sheeting directly on foliage |
The good news about grow bags is that they're genuinely easy to move and adjust. Unlike in-ground plantings or fixed raised beds, you can respond to a problem in an afternoon. If something isn't working, the answer is almost always to shift location, improve what's underneath the bag, or adjust your watering routine. Start with good sun, good drainage, and enough space, and you'll avoid most of these problems before they show up. If you're new to container gardening, learning what grow bags are and how they work will help you choose the right size and placement for your plants.
FAQ
What if my space never gets the full 6 to 8 hours of sun, where should I place grow bags anyway?
If you only have partial sun, prioritize crops accordingly and shift the bag’s role. Aim for morning light and afternoon shade for most leafy crops, and use taller plants only where their trellis will not block light to others. If you cannot reach 4 to 6 hours of sun reliably, consider shade-tolerant greens, herbs like mint, or relocate the entire layout rather than “trying harder” with watering.
How can I accurately test sun for grow bags before I buy or plant?
Don’t base placement on the sun at noon, use the whole day. A quick method is to set a phone timer and take a few photos of the bag area around late morning, early afternoon, and mid-afternoon, then compare how much of the intended planting surface is actually receiving direct light. Overhangs and fences often reduce later-day sun more than you expect.
Can I put grow bags on grass or dirt, or do I need a hard surface?
Most fabric grow bags can be used on soil or porous surfaces, but they still need space for runoff to escape. If you’re placing on compacted ground, loosen and top-dress the area with gravel or coarse compost first so water doesn’t run into a shallow puddle under the bag. On lawn, expect the fabric to dry the spot faster, so check drainage after heavy watering.
Where should I put grow bags with trellised crops so they don’t shade each other?
For tomatoes, cucumbers, and other trellised plants, place bags so the trellis faces the light without shading neighboring bags, then ensure you can tie in and prune from the accessible side. If your trellis will lean over walkway space, use supports that won’t snag when you water, and leave extra clearance behind tall plants so the wall doesn’t trap humidity.
If I’m using drip irrigation, how do I place grow bags around the drip line?
Use the drip emitters plan as a layout constraint. Place bags so each bag’s top surface sits within the reach of the emitter spacing, and keep tubing straight rather than forcing tight bends that create uneven wetting. If bags are in multiple rows, stagger them so you can access emitters and filters without crossing plants.
Is it safe to put grow bags on a balcony or patio that can collect water under the bag?
Yes, but treat it like a drainage system, not a solution by itself. Use elevated stands, a slatted platform, or a gravel-filled tray, and verify water level stays below the bag bottom during a full watering cycle. Also confirm the deck or balcony can handle occasional runoff weight and that you have a way to prevent dripping onto doors or stairs.
Why do my grow bags stay wet underneath, and what should I do if I already tried adding gravel?
If you suspect under-bag pooling, the fix is placement and underneath conditions, not extra gravel inside the bag. Check after watering: if the area under the bag stays damp for many hours, move the bag to a more porous surface or elevate it. Also verify the bag isn’t resting in a depression where water gathers.
My grow bags dry out fast because of wind. What placement strategies actually help?
For sandy or hot windy sites, the best wind management is positioning plus a breathable barrier. Place bags close to a wall or larger container to reduce direct wind, then use row cover fabric only as a temporary shield, removed during strong rain and when airflow is needed to prevent fungal issues. Avoid fully enclosing the area with plastic.
Do dark-colored grow bags overheat in summer, and should I change where I place them?
Color and season matter, dark bags on reflective ground can overheat quickly. If temperatures regularly exceed the mid 80s to low 90s, prioritize afternoon shade using a fence, shade cloth, or relocating the row so the bag sides are not receiving direct reflected light. For mild climates, you can leave them in full sun but use a light top mulch to slow evaporation.
How much spacing and access space should I plan around grow bags in a tight yard?
Not always. If you need quick access for watering and harvest, keep bags on one or two accessible “lanes,” with enough aisle space to reach each bag from a standing position. If your layout requires stepping over bags, you will compact soil-free fabric edges and damage stems more often.
Can I reuse the same location each season, or should I rotate grow bags around?
Rotate crops by using the bag’s mobility, especially for soil-borne disease risk and nutrient balance. Place heavy feeders like tomatoes where you had lighter feeders before, and if you reuse the same bag, refresh the medium and compost portion rather than keeping it in the same spot year after year. For mushrooms, use completely separate placement and avoid contamination from windy or sunny areas near other plantings.
Next Articles
Pros and Cons of Grow Bags for Vegetables and Flowers
Grow bag pros and cons for veg, flowers, trees, and mushrooms: aeration, mobility, and watering plus fixes for common is
Benefits of Grow Bags: A Practical Guide for Home Growing
Discover the benefits of grow bags: better drainage and aeration, healthier roots, easier plant care, and how to choose
Where to Buy Grow Bags Near Me: Online and Local Guide
Find where to buy fabric grow bags near you or online, compare sizes, drainage, and best prices for veggies, trees, and