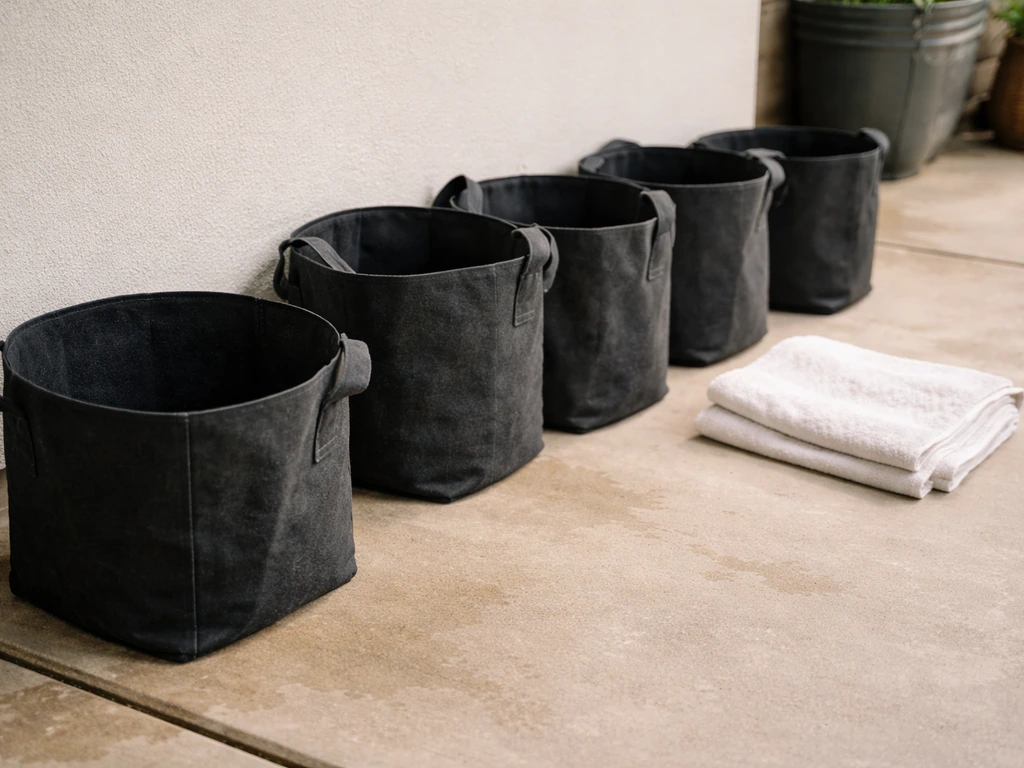
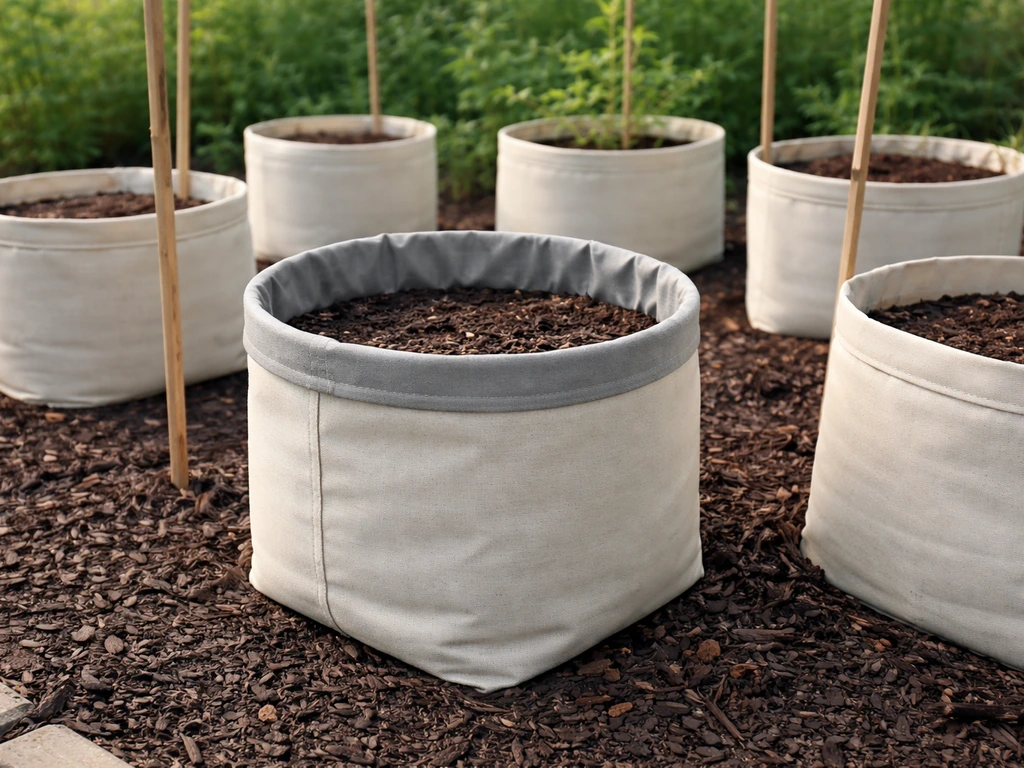
At the end of a growing season, most fabric grow bags are worth cleaning and reusing, but the exact steps depend on what you grew and whether anything went wrong. The basic workflow is: decide whether to reuse or retire the bag, empty and deal with the growing media, remove all root debris, wash the fabric with detergent, sanitize if needed, dry completely, and store flat in a cool dry place.
What to Do With Grow Bags at End of Season: Clean, Reuse

Marcus Holloway
2 Jun 2026
If you had disease or pest problems, the calculus changes, and sometimes the right call is to throw the bag out and start fresh. Here's how to work through all of it. If you are starting fresh, it also helps to learn how to make a grow bag in the first place.
Quick decision: reuse, sanitize for reuse, or retire

Before you touch a bag, run through this mental checklist. It saves you time and prevents you from bringing last season's problems into next season.
| Situation | What to do |
|---|---|
| Healthy plants, no pests, no disease | Clean and reuse — standard wash and dry is enough |
| Minor pest pressure (e.g., aphids on leaves only) | Clean, sanitize with dilute bleach solution, reuse |
| Fungus gnats in the soil | Discard the potting mix, sanitize the bag thoroughly before reusing |
| Disease present (powdery mildew, blight, root rot, damping-off) | Discard soil and infected plant material, sanitize bag, reuse only if fabric is intact |
| Severe disease or wilt pathogens (fusarium, pythium) | Discard soil and strongly consider retiring the bag |
| Mushroom grow bags (substrate) | Single use only — retire and dispose of substrate |
| Bag is torn, stretched, heavily stained, or fabric is breaking down | Retire — replace with a new bag |
The core logic is simple: Oklahoma State University Extension notes you can reuse potting mix when plants did well and showed no signs of disease, but disease organisms can survive in soil long after the plant is gone. When in doubt, fresh media is cheap insurance. For the bags themselves, fabric grow bags are genuinely durable through multiple seasons if cared for correctly, so the cleaning effort is almost always worth it.
How to empty grow bags and handle the growing media
Tip the bag over onto a tarp or wheelbarrow and work the media out. Fabric bags are flexible, so you can squeeze and manipulate the sides to loosen compacted soil. Pull out as much root mass as you can by hand, the more root material you remove now, the easier the cleaning step will be. Roots left inside fabric weave can hold moisture and create mildew problems in storage.
What to do with the old potting mix
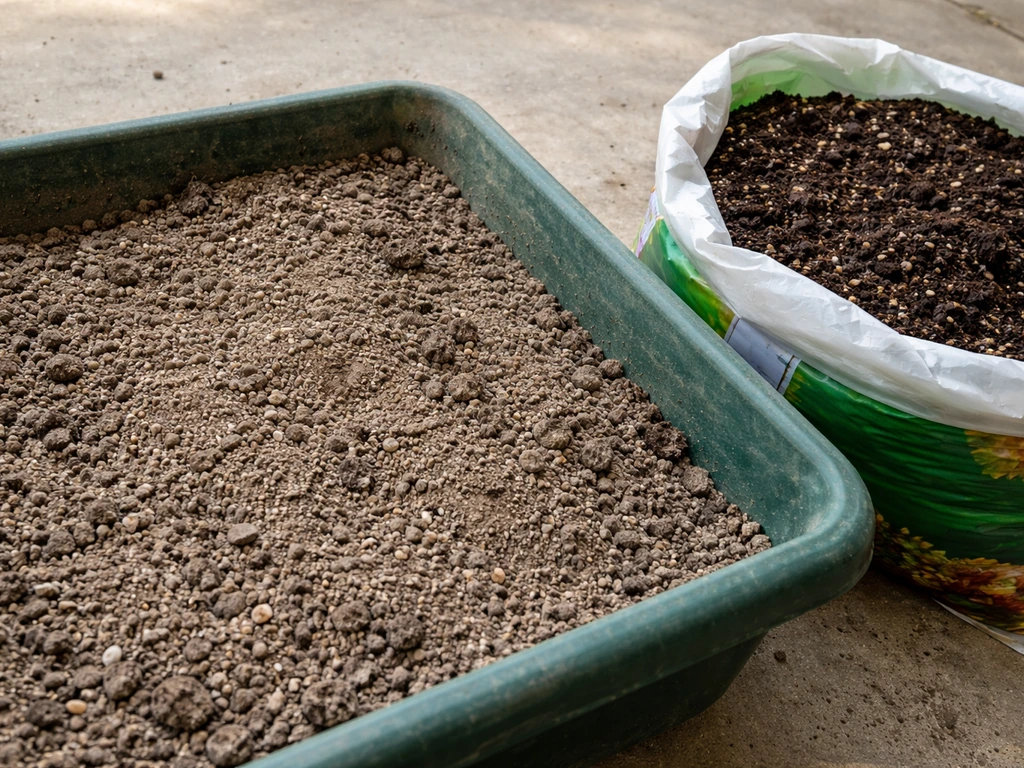
If your plants were healthy all season, you have real options. The mix is depleted of nutrients but the structure is often still decent, especially if it had a perlite or coir base. You can: top it up with fresh compost and a balanced slow-release fertilizer and reuse it for a less demanding crop (herbs, flowers), work it into raised beds or garden borders, or compost it. What you should not do is reuse it as-is in a closed container for a heavy feeder like tomatoes or peppers, it won't have enough going for it.
If disease was present, don't compost the mix unless your pile reliably hits 140 to 160°F at the core. A cold pile won't kill pathogens. Bag it up and send it to municipal green waste (if accepted), or discard it. Penn State Extension is direct on this point: for damping-off and other soil-borne diseases, discard the plants and the soil, sterilize the container, and start with pest-free media next time.
Cleaning and sanitizing fabric grow bags safely
Cleaning and sanitizing are two separate steps, and you can't skip the first to rush to the second. UMN Extension makes this clear: visible soil and debris left on a surface physically interferes with disinfectants and reduces their effectiveness. Clean the bag first, then sanitize.
Step 1: Clean
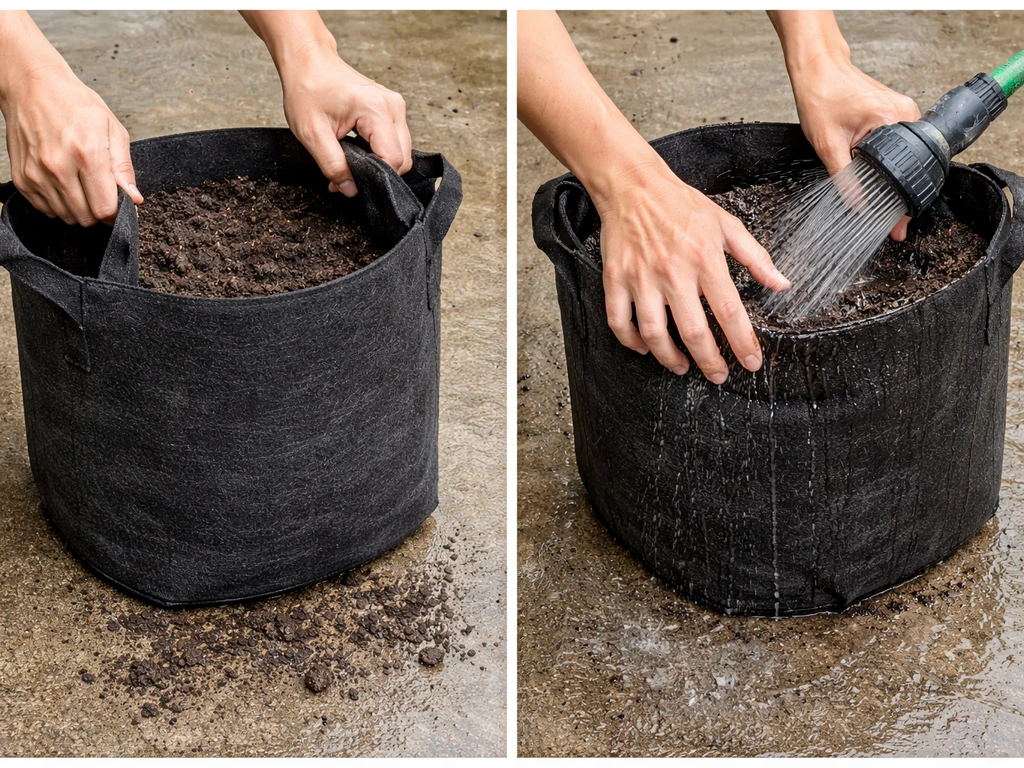
- Shake out or brush off any remaining loose soil from the inside and outside of the bag.
- Hose the bag down well, working the fabric with your hands to loosen embedded particles.
- Fill a bucket with warm water and a small amount of liquid dish soap or unscented detergent.
- Submerge the bag and agitate it by hand, paying attention to the base and seams where roots and debris accumulate.
- Rinse thoroughly until no soap residue remains.
Do not put fabric grow bags in a washing machine or tumble dryer. Coolaroo and Smart Pot both specify hand washing and air drying only. Machine washing can break down the nonwoven fabric structure, loosen stitching, and shorten the bag's usable life significantly.
Step 2: Sanitize (when needed)
If you had pest or disease issues, or you're reusing bags for something sensitive next season (seedlings, edible crops), a sanitizing step is worth doing. A dilute bleach solution is the standard approach. UMN Extension also describes an end-to-end sanitizing framework: clean with detergent and water first, then apply a weak bleach sanitizer as the kill step [A dilute bleach solution is the standard approach. ](https://extension.
umn. edu/node/14621). Mix household bleach (around 5% sodium hypochlorite) at roughly 1 part bleach to 10 parts water, this gives you approximately 500 ppm, a concentration that Stanford Environmental Health and Safety cites as an effective working disinfectant. Soak or thoroughly wet the bag with this solution and allow a contact time of at least 10 minutes.
Rinse well afterward. The fabric can handle this concentration fine, but you don't want bleach residue sitting against plant roots next season.
For growers who prefer to avoid bleach, a hydrogen peroxide solution (3% concentration, applied undiluted) works as an alternative sanitizer. It breaks down into water and oxygen and leaves no residue, which makes it a reasonable option for organic setups. It is less effective against thick fungal structures than bleach, so for bags that held visibly diseased plants, bleach is the stronger choice.
Drying and long-term storage to prevent mold and pests
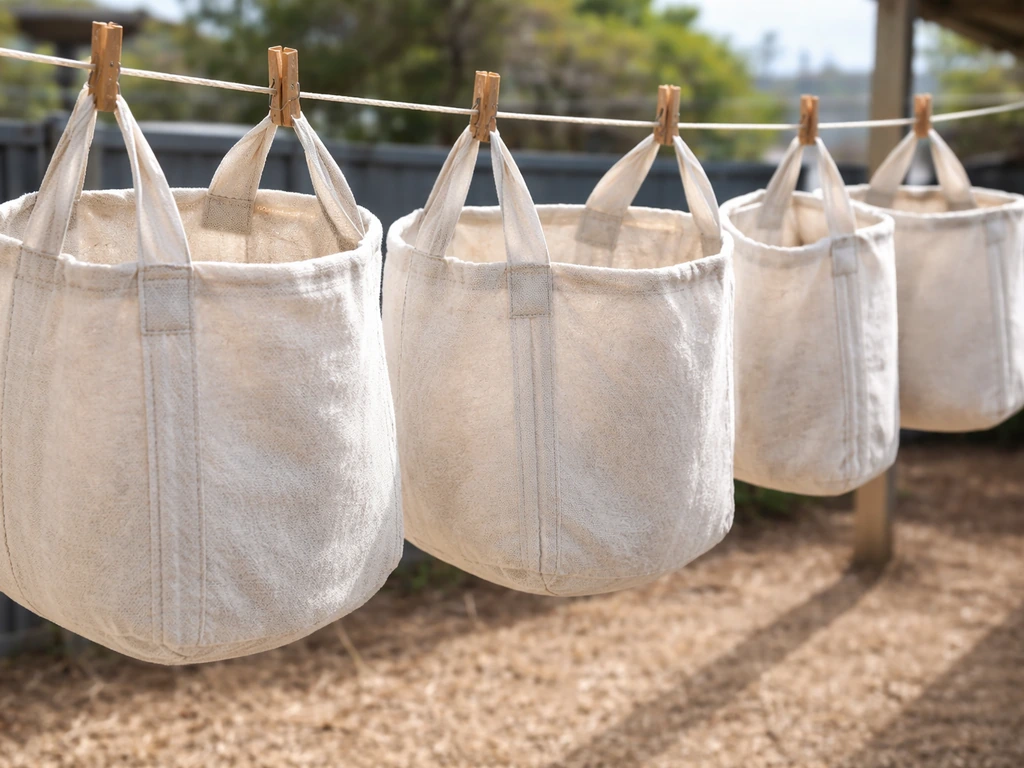
This step is where a lot of growers cut corners, and it causes real problems. A bag that goes into storage even slightly damp will come out in spring with mildew, or worse, with a pest population established in the folds. Smart Pot's guidance is exactly right: dump out the soil, let the bag dry completely, then fold it flat for storage. That drying step is not optional.
After washing, hang the bags inside out on a line or fence in a spot with good airflow. Direct sun helps, but what matters most is airflow and time. Depending on the fabric weight and your climate, full drying can take anywhere from a few hours to a full day. Feel inside the seams and the base before you're satisfied, those are the last spots to dry.
Once completely dry, fold or roll the bags flat and store them in a cool, dry place. Coolaroo specifically recommends a cool, dry storage environment when bags are not in use. Options include: a breathable cloth bag or bin (not a sealed plastic container, which can trap residual humidity), a shelf in a garage or shed, or stacked flat in a dry basement. Do not store them in contact with soil or in locations where rodents could nest in them.
What to do if you grew diseased or pest-ridden plants
Disease and pest carryover through containers is a real and underappreciated risk. Powdery mildew, for example, overwinters as survival structures on plant debris, meaning leaving any infected plant material in or around a bag creates a direct path to next season's problems. Fungus gnats are another common example: Cornell CALS notes their larvae live in damp potting mix, and they can be transported on soil and containers. If you had a gnat problem, the soil is the reservoir and it needs to go.
The protocol for a contaminated bag
- Remove all plant material carefully. Don't shake debris around — bag it up directly.
- Discard the entire soil load. Don't compost it in a cold pile.
- Remove all visible root material from the bag interior.
- Wash the bag with detergent and hot water as described above.
- Sanitize with a 1: 10 bleach solution, 10-minute contact time, then rinse well.
- Dry completely in the sun and wind before storing.
- If the bag was used for a plant with a known soil-persistent pathogen (fusarium wilt, verticillium), seriously consider retiring it rather than risking another crop.
The honest truth is that fabric grow bags, because they're porous and have some texture to the weave, are harder to fully disinfect than a smooth plastic pot. For severe disease situations, the sanitizing protocol reduces risk but doesn't guarantee it. Penn State Extension's recommendation for damping-off is to discard everything and start clean, and that's a reasonable standard to apply more broadly when the disease was severe.
When grow bags are no longer worth reusing
Fabric grow bags don't last forever, and knowing when to let one go saves you from a frustrating next season. Most quality bags (Smart Pot, Coolaroo, and similar brands) will give you three to five or more seasons with proper care. Here are the signs it's time to replace a bag rather than clean it.
- The fabric has visible tears, holes, or fraying at the seams — structural integrity matters for root support and water retention behavior.
- The handles have pulled away or are no longer trustworthy for lifting a filled bag.
- The fabric has thinned or become papery, especially at the base where drainage and air pruning matter most.
- Persistent staining or odor that doesn't clear after washing and sanitizing (can indicate embedded organic material or biofilm).
- The bag held a plant with a known persistent soil pathogen and you can't confidently clean it to a safe standard.
- It's a mushroom grow bag that was used for fruiting substrate — these are typically single-use by design and should not be repurposed for food crops.
When you do retire a bag, the fabric is usually not recyclable through standard curbside programs since most are made from nonwoven polypropylene. Check with your local waste facility. Some growers repurpose retired bags as weed barrier fabric, frost covers, or padding material before final disposal.
Reusing grow bags next season: prep and best practices
A well-maintained grow bag going into next season should perform just as well as a new one. If you want your bags to look great too, you can refresh their appearance with better cleaning, drying, and storage habits before the next planting season how to make grow bags look better. The fabric's air-pruning function depends on the pores staying open and unblocked, which is exactly what proper cleaning protects. Here's how to set yourself up well. One way to start is to turn old clothes into fabric grow bags, which can reduce waste and still give you the benefits of air-pruning fabric containers old clothes into grow bags.
Before you fill them again
- Inspect each bag in daylight: hold it up and look for thin spots, small holes, or seam failures you might have missed at cleanup.
- Give it a quick sniff — any musty smell means it needs another wash cycle and more drying time before use.
- Check that drainage hasn't been compromised: gently squeeze the base and walls to confirm the fabric is still flexible and porous, not compacted or stiff.
- If you're rotating crops (which you should), note what was grown in each bag so you can avoid planting the same plant family in it next season.
Fresh media and amendments
Even a healthy bag should be filled with at least partially fresh mix. A good approach is to use 50 to 70% fresh potting mix combined with any saved mix that passed your disease check, plus compost and a slow-release balanced fertilizer. This keeps costs reasonable while refreshing the nutrient profile and microbial activity. For tomatoes, peppers, and other heavy feeders, lean toward more fresh mix. For herbs, flowers, and greens, the blend works fine.
Crop rotation and contamination prevention
Rotate plant families between bags just as you would in a garden bed. Don't grow tomatoes in the same bag that had tomatoes (or peppers, or eggplant) last year. This simple habit dramatically reduces the risk of soil-borne disease buildup. If you grew a root vegetable like potatoes last season, that bag is an excellent candidate for a leafy green or herb next time.
Getting end-of-season handling right also makes everything else about grow bag use easier going forward. If you want to go deeper on cleaning technique or proper setup for your next crop, the topics on how to clean grow bags and how to use a grow bag cover related steps in more detail. If you are starting fresh, it also helps to review how to use a grow bag for your specific plants and conditions how to use grow bag. The time you put in at the end of this season is what determines how well next season starts.
FAQ
Can I just rinse grow bags and reuse them next season without sanitizing?
You can, but only if plants were fully healthy and you remove every bit of root and visible soil first. If you had any damping-off, persistent mildew, or pest issues, skip the “rinse only” approach and do a full wash plus sanitizing (and discard the media).
What if the bag still has a little dampness when I store it?
Don’t store it. Even slightly damp fabric commonly develops mildew in storage and can also shelter pests in folds. Dry fully, check seams and the base by feel, then fold flat in a cool, dry spot.
Should I clean the grow bag before emptying the soil, or after?
Empty first. Cleaning is meant to remove remaining debris, and most cleaning products work poorly when soil clumps stay in the weave. Tip out the media onto a tarp or bin, pull out loose root mass, then wash.
Can I reuse the old potting mix in a new grow bag and just add fertilizer?
For heavy feeders, reusing mix as-is is a common mistake. Even when plants were healthy, the nutrient profile is depleted, and structure may be off. Use a blend strategy (for example 50 to 70% fresh mix plus saved mix), and increase the fresh portion for tomatoes, peppers, and similar crops.
I had fungus gnats or other pests, can I save the mix if I sanitize it?
Usually no. The larvae are carried in the reservoir, the damp media. If you had gnat pressure, discard the soil and start with fresh media. Sanitizing the bag alone does not eliminate the infestation source.
How do I decide whether to compost old grow bag media at end of season?
A hot compost that consistently reaches about 140 to 160°F at the core is the key decision point. If your pile does not reliably get that hot, bag and discard the media, especially after soil-borne disease or damping-off.
What should I do if I can’t use bleach to sanitize grow bags?
Use 3% hydrogen peroxide applied undiluted (and keep it wet for the full contact time you can manage). It leaves no residue, but it is generally less effective against thick fungal material, so if plants were visibly diseased, bleach is the higher-risk-reduction option.
Can I machine wash grow bags to save time?
Avoid it. Machine washing and tumble drying can break down the nonwoven fabric structure and loosen stitching, which shortens usable life and can cause the pores to clog or deform sooner.
How long should I soak the grow bag in sanitizer, and do I need to rinse?
Wet or soak so the sanitizer contacts all surfaces, then allow at least 10 minutes contact time. Rinse well afterward to prevent bleach residue or remaining chemistry from sitting against roots next season.
Is it safe to reuse a bag that grew tomatoes or peppers as long as I rotated plant families?
Plant rotation helps, but it does not replace disease prevention. If that bag had any disease signs, treat it as a “disease risk” bag, sanitize it, and refresh the media heavily with new mix, especially for heavy feeder performance.
What are signs that a grow bag should be retired instead of cleaned?
Replace when the fabric is thinning, stitching is failing, the base is deforming, or the weave no longer holds shape. Also retire if you have repeated pest or disease carryover even after proper cleaning and sanitizing.
How should I store grow bags between seasons to prevent problems?
Store them completely dry, folded or rolled flat, in a cool, dry, breathable container or bin. Avoid sealed plastic storage (it can trap humidity), and don’t store in contact with soil where rodents or moisture can transfer into the fabric folds.
Can I repurpose retired grow bags, and how should I treat them first?
Yes, for uses like weed barrier fabric, frost cover material, or padding, but only if they are cleaned and dried thoroughly. If the bag held severe disease, prioritize disposal rather than repurposing, since full disinfection is harder with porous fabric.
Should I disinfect the area around the grow bag after a diseased season?
It’s smart to clean the handling area where contaminated plants and debris sat, then keep those materials off the storage shelves. Since pathogens can hitchhike on plant debris and tools, hygiene around the bag reduces carryover more than focusing on the bag alone.
Next Articles
How to Make Grow Bags Look Better: Easy Fixes
Clean, refresh, and style fabric grow bags: remove algae and stains, prevent runoff, add liners, and arrange for a neat

How to Make Grow Bags From Old Clothes: Step-by-Step Guide
DIY grow bags from old clothes: safe fabrics, sturdy sewing, drainage airflow, and size tips for thriving plants.
How to Make a Grow Bag at Home: Fabric DIY Guide
Learn how to make a fabric grow bag at home with materials, sizing, drainage, and step-by-step sewing instructions.