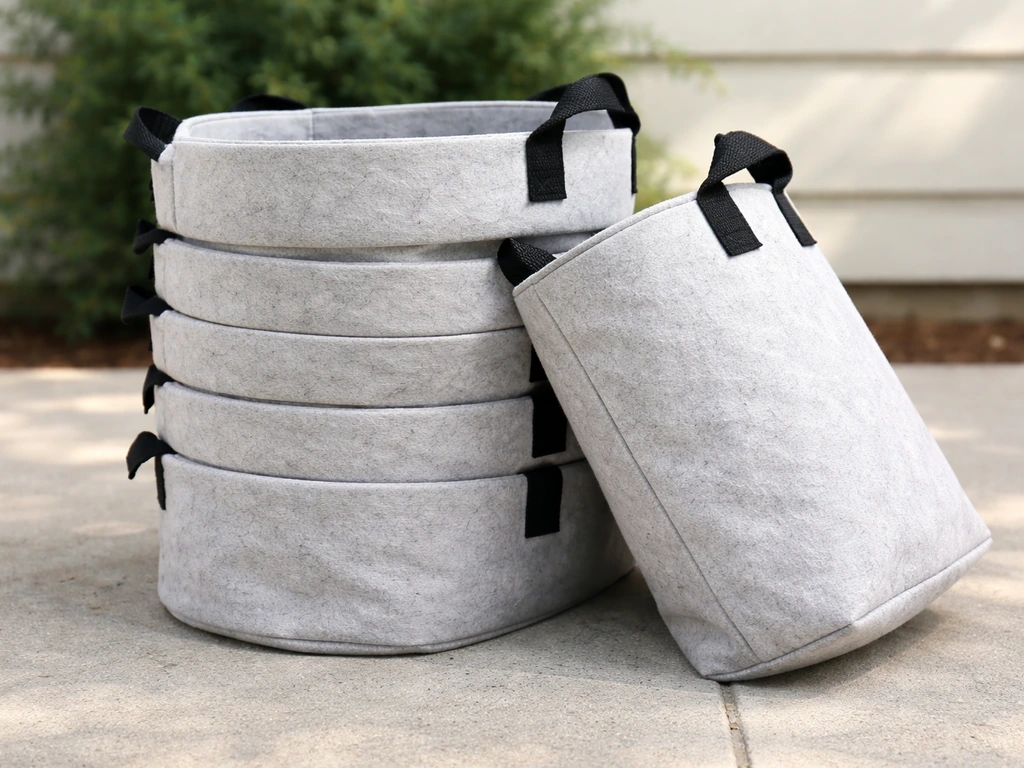
Yes, you can wash fabric grow bags, and you absolutely should between growing seasons. Most fabric grow bags are made from nonwoven polypropylene or similar breathable geotextile fabric, and those materials hold up well to repeated washing as long as you're not blasting them with high heat or harsh chemicals. The goal is simple: remove soil, kill off any lingering pathogens or pests, dry the bag completely, and store it so it's ready for the next crop. This guide walks you through exactly how to do that, from emptying the bag all the way to putting it back into rotation.
How to Clean Grow Bags: Wash, Dry, and Reuse Safely

Marcus Holloway
12 Apr 2026
Can you actually wash fabric grow bags?
The short answer is yes, with some caveats. High-quality fabric grow bags are built for multi-cycle use. Manufacturers like Weston describe their soilless cultivation grow bags as designed from breathable, UV-resistant flash-spun nonwoven fabric specifically for repeated wash-downs and re-deployments, with fabric and seams that maintain integrity through that process. Royal Queen Seeds similarly recommends washing their geotextile fabric pots with water after every single grow. So the expectation of reuse through cleaning is baked into how these products are made.
Where people run into trouble is using the wrong cleaning method. High heat is the main danger. Boiling water, for instance, can disintegrate the fibers of a grow bag, especially if it's made from recycled or blended fabric. The dryer is off the table too, as the heat can scorch the fabric. Stick to cold or lukewarm water, gentle sanitizing agents, and air drying, and your bags will last many seasons.
Before you wash anything: removing soil and debris
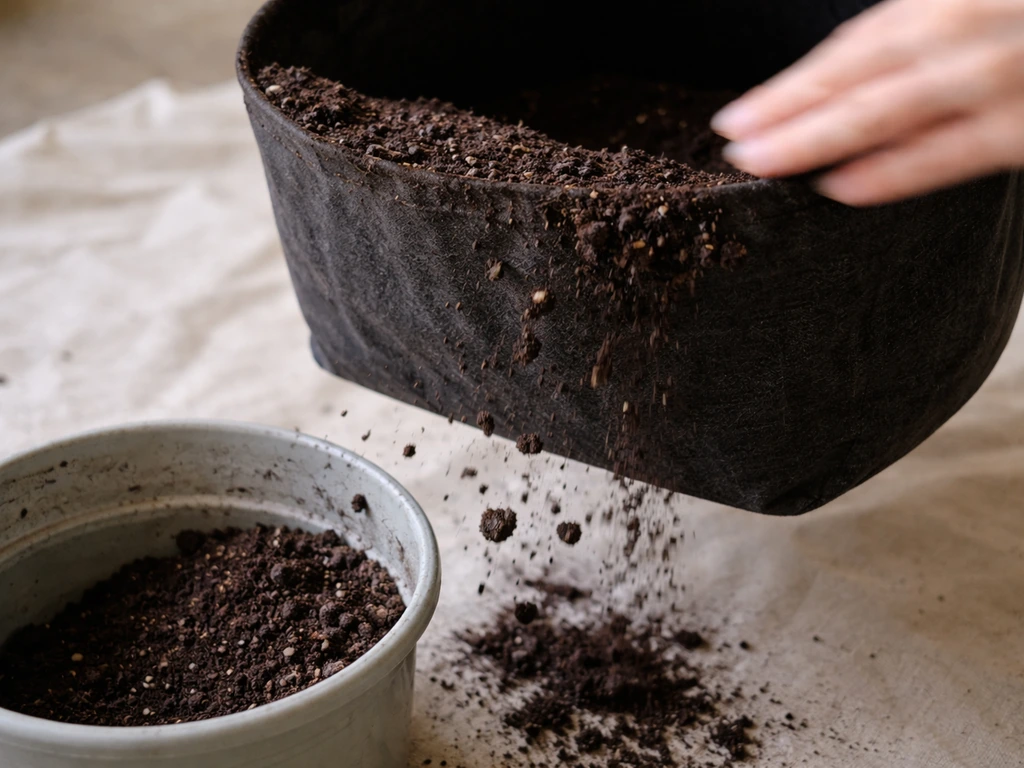
Cleaning starts before water ever touches the bag. This step matters more than most people realize. University of Minnesota Extension points out that disease can spread through bits of soil and plant debris left on containers, including roots stuck in fabric pores. If you skip the dry debris removal step, you're just moving contaminated material around during the wash instead of actually eliminating it.
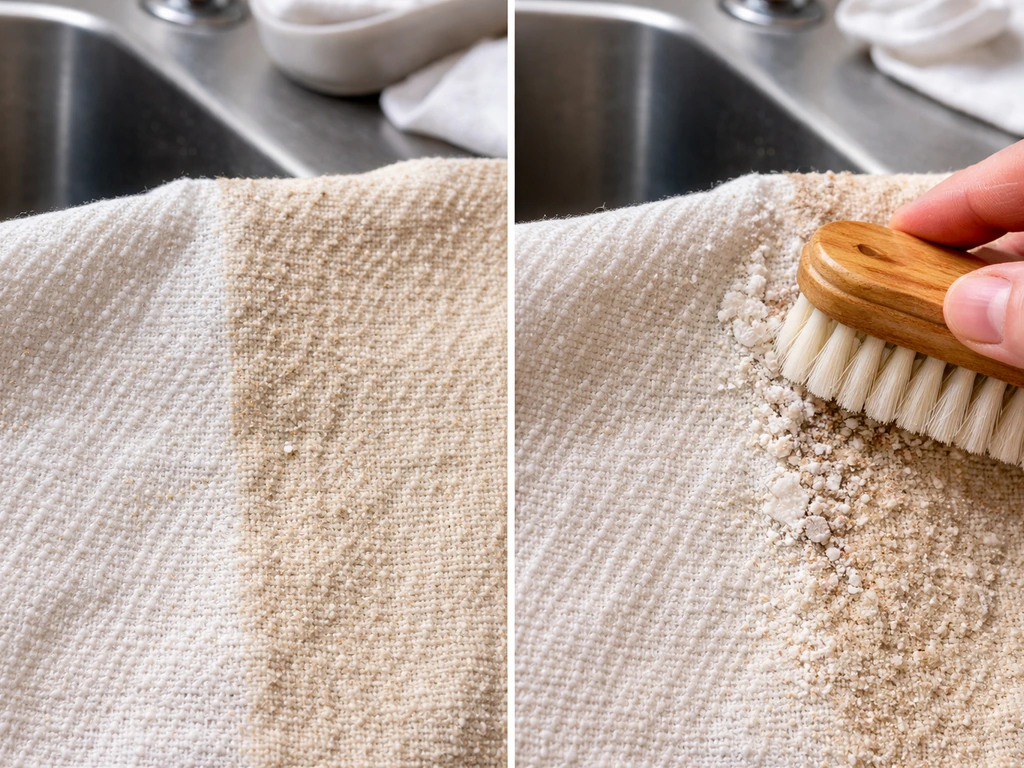
Start by letting the bag dry out completely after you've removed your plant and most of the soil. Dry soil is dramatically easier to remove than wet soil. Once the bag is dry, turn it inside out and shake it vigorously to dislodge loose debris and any remaining root material caught in the fabric. Bang it against a hard surface if needed. A stiff-bristled brush works well for scrubbing away caked-on soil from both the inside and outside before you move to washing. This mechanical step removes the bulk of the material that cleaning agents would otherwise have to work through.
If you're planning a full season of reuse and want to think ahead, it's worth reading up on what to do with grow bags at end of season so cleaning fits into a broader storage and prep routine rather than being a last-minute scramble.
How to wash fabric grow bags: the basic step-by-step
Hand washing is the safest and most recommended method. Machine washing can work in a pinch, but it's not ideal for most fabric grow bags. Here's the full process:
- Dry and shake out the bag first. Remove as much loose soil and root debris as possible before any water is introduced.
- Rinse thoroughly with a garden hose. Use a strong stream to flush out remaining soil from the inside, outside, and especially the base of the bag where material accumulates.
- Scrub with a soft brush and mild soap or plain water. A small amount of mild, biodegradable detergent is fine at this stage. Avoid strong detergents or bleach here since residue left in the fabric can harm plant roots later.
- Sanitize with your chosen solution (see the section below for options). This is the step that actually kills pathogens.
- Rinse again, thoroughly. Whatever sanitizing agent you used, flush it out completely with clean water.
- Air dry completely before storing or reusing. This is non-negotiable. Even slight dampness leads quickly to mold and mildew.
Machine washing: when it's okay and how to do it
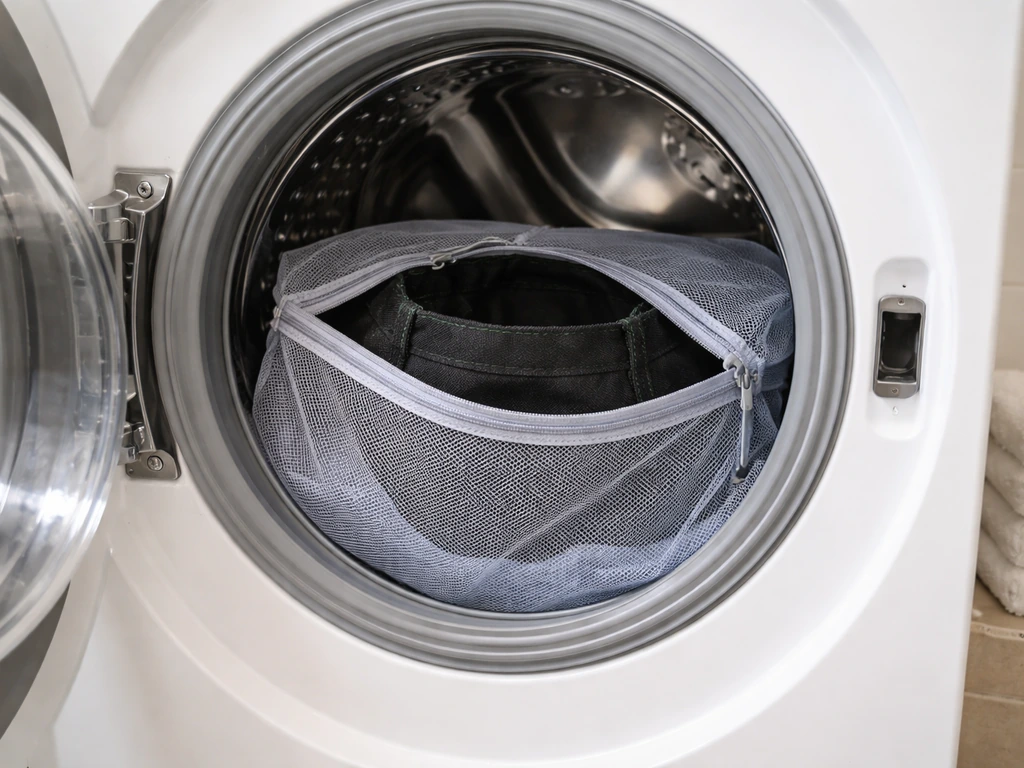
Machine washing is a divisive topic. Some sources, including Biology Insights, say a standard household washing machine set to a gentle cycle with cold water is a viable cleaning option. Others, like LearnDirt, advise against it entirely. My take: if your bags are relatively clean to begin with and you've already done a solid dry-brush and rinse, a gentle cold-water machine cycle with a small amount of baking soda or a very mild detergent is unlikely to cause damage. What you want to avoid is hot water cycles, high spin speeds, and putting bags in the dryer afterward. Treat the machine like a rinse assist, not your primary cleaning method.
Sanitizing options: which one to use
Rinsing and scrubbing cleans the bag. Sanitizing is what makes it safe to reuse with a new crop without risking disease transfer. There are three main approaches, each with trade-offs.
| Method | Dilution / Mix | Contact Time | Best For | Watch Out For |
|---|---|---|---|---|
| Bleach solution | 1 part bleach to 9 parts water | 10-30 minutes soak | Heavily used bags, known disease history | Must rinse very thoroughly; can weaken fabric with repeated use |
| Hydrogen peroxide | 1/4 cup 3% H2O2 per quart water, or 1 part H2O2 to 2 parts water | 20+ minutes soak or thorough spray | General seasonal cleaning, gentler option | Less effective than bleach on heavy contamination |
| White vinegar | Undiluted, full soak overnight | Overnight | Odor removal, light sanitizing, gentler fabrics | Weaker disinfectant; not reliable against serious pathogens |
The bleach approach is the most powerful. A mix of one part household bleach to nine parts water, soaked for at least 10 to 30 minutes, is effective at killing most pathogens. Biology Insights recommends soaking for at least 30 minutes and then rinsing thoroughly before any reuse. The University of Kentucky Nursery Crop Extension reinforces that sanitizing only works when the solution has adequate contact time with the surface, so don't rush this step. UC Davis Extension similarly notes that sanitizing or disinfecting requires sufficient contact time, meaning the item should stay wet with the sanitizer for at least the minimum specified duration sanitizing only works when the solution has adequate contact time with the surface.
Hydrogen peroxide is the middle-ground option. Using a 3% hydrogen peroxide solution (the kind you find at any drugstore) either diluted as described above or applied more directly, it works well for most end-of-season cleaning. It breaks down into water and oxygen, so residue isn't a concern the way it is with bleach. Some growers spray it on and let the bag air dry without rinsing, which is fine for light use.
Vinegar is the gentlest option. Soaking a bag overnight in undiluted white vinegar is a decent deodorizer and can handle mild surface contamination. However, it's not a reliable disinfectant if you had disease issues in your last crop. If your tomatoes had blight or your roots showed signs of rot, don't rely on vinegar alone.
One note on bleach: some sources, including Positivebloom, advise avoiding bleach because it can weaken fabric over time and leave residues. That's a fair concern if you're using it every single cycle. For most home growers doing one or two deep cleans per year, the occasional bleach soak is fine as long as you rinse obsessively afterward.
Drying properly and checking before reuse
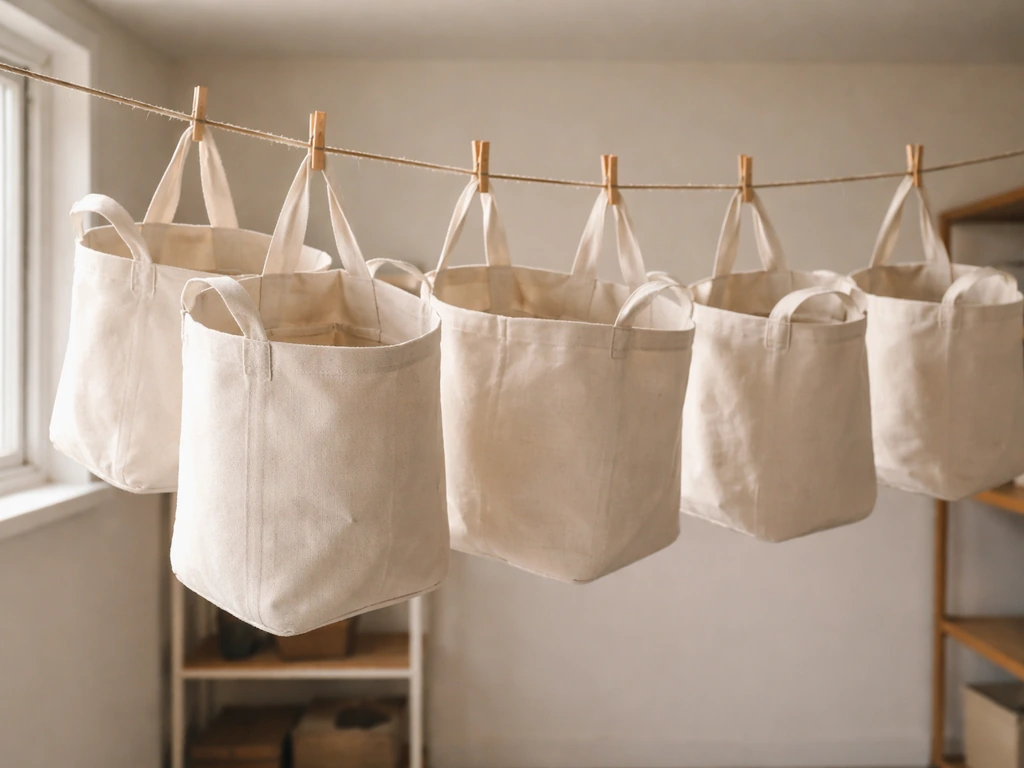
Drying is where a lot of growers cut corners, and it's a mistake. Fabric grow bags that go into storage even slightly damp will develop mildew fast, and a mildewed bag can introduce fungal problems to your next crop before the season even starts. Biology Insights is emphatic on this point: complete drying before storage or reuse is mandatory, not optional.
Hang the bags in a warm, well-ventilated spot out of direct strong sunlight. Direct sun for extended periods can degrade UV-sensitive fabrics, but a few hours of morning sun while drying is fine. Don't fold them up while still damp. Turn them inside out partway through so both surfaces dry evenly. In humid climates or during wet seasons, this can take a full day or two. Don't rush it.
Before you store or refill a bag, do a quick check: smell it (any musty or sour smell means it's not fully dry or clean), feel it for damp patches, and inspect for any visible mold spots. Check the seams and base especially, since those areas trap moisture. If anything smells off, re-rinse, re-sanitize, and dry again.
Cleaning for reuse: adjusting your approach based on history
Not all bags need the same level of cleaning. A bag that held one season of herbs with no disease issues is a different situation from one that grew a tomato plant that developed root rot. Here's how to calibrate your approach.
Bags used for the first time or with healthy crops
If your previous crop was healthy and you're switching to a similar plant type, a solid rinse, scrub, and a hydrogen peroxide or vinegar treatment is usually enough. The goal is to start fresh without over-processing a bag that's in good shape. Understanding how to use grow bag techniques properly, including good drainage practices and soil hygiene, tends to mean your bags end the season in much better condition and require less intensive cleaning.
Bags used with diseased or pest-affected crops
If you had fungal disease, root rot, or a persistent pest problem like fungus gnats in a bag, go straight to the bleach soak. Don't skip it. Ten to thirty minutes minimum. Rinse extremely well afterward because bleach residue in fabric can inhibit seedling growth and damage roots. If the bag had a serious infestation and you're not confident it's clean, it's honestly okay to retire it. The fabric is often inexpensive enough that replacing a compromised bag is a better call than risking an entire season's crop.
Bags that are being repurposed or passed along
If you're handing a bag to another grower or using it for a completely different crop type, give it the full treatment: scrub, bleach soak, thorough rinse, complete dry. You don't know what the next use will be, so treat it as a fresh start. On a related note, if you've ever thought about repurposing old textile into growing containers, knowing how to make grow bags from old clothes gives you a sense of what fabric properties matter for growing, which also helps you understand how to treat and preserve the fabric bags you already own.
Troubleshooting common cleaning problems
Stubborn soil and mineral buildup
Hard water deposits and mineral buildup from fertilizers can leave a crusty white or tan residue on fabric that doesn't come off with rinsing alone. A diluted white vinegar soak (even a few hours in half vinegar, half water) works well here because the acidity breaks down mineral deposits. Scrub with a stiff brush while the bag is still wet from the soak. For really stubborn buildup, a second soak followed by scrubbing usually does it.
Persistent stains
Organic staining from soil, roots, and decomposing plant material is common and usually harmless even if it doesn't fully wash out. A bag that looks brown or discolored after cleaning isn't necessarily dirty or unsafe to use. If the stain bothers you aesthetically, that's actually a good entry point for the advice in how to make grow bags look better, which can help you work with the visual reality of heavily used fabric containers.
Mildew smell that won't go away
If a bag smells musty even after washing and drying, the mildew is likely embedded in the fabric fibers. Try an overnight soak in undiluted white vinegar, then rinse and dry completely in the sun. If the smell persists after a second treatment, the bag has probably been stored damp too many times. At that point, retiring it is the right call, since mildew colonies embedded in fabric are extremely hard to fully eliminate and can affect your next crop.
Damage during cleaning
The most common cleaning mistakes that damage fabric grow bags are using hot water, putting them in the dryer, using undiluted bleach directly on the fabric, or scrubbing with a wire brush. Nonwoven fabrics aren't fragile, but the fibers can pill, fray, or thin out with aggressive treatment. Stick to soft-to-medium bristle brushes, cold or lukewarm water, and diluted cleaning solutions. Check seams after each cleaning since that's where stress concentrates. A seam starting to pull apart is a sign to retire the bag before it fails mid-season with a plant in it.
Making grow bags worth the long-term investment
Cleaning your grow bags properly isn't just good hygiene, it's what separates a bag that lasts three seasons from one that gets tossed after one. If you're new to fabric containers and want to get the full picture of how they work before committing to a cleaning routine, brushing up on how to make a grow bag gives useful insight into how these bags are constructed, which in turn helps you understand exactly what you're cleaning and why certain materials respond the way they do to heat, bleach, and mechanical scrubbing.
The cleaning process takes maybe 20 to 30 minutes per bag if you do it right. That's a small investment to protect a growing container that's otherwise in perfectly usable shape. Dry thoroughly, sanitize when it matters, and store flat or rolled in a clean dry space. Done consistently, this habit keeps your bags performing well and your crops starting clean season after season.
FAQ
What should I do if my grow bag has mold spots or a strong musty smell?
If you see visible mold, the safest move is to remove any loose growth with brushing while the bag is dry, then do a bleach soak (about 1:9 bleach to water for 10 to 30 minutes), rinse very thoroughly, and dry completely in a warm, ventilated area. If the musty smell comes back after a second full wash and dry, retire the bag, since embedded mildew is hard to fully remove.
Can I skip scrubbing and go straight to sanitizing?
You can sanitize first, but cleaning needs to come before disinfection. Soil and plant debris can shield germs from the sanitizing solution. Do a stiff-brush dry debris removal, rinse to remove particles, then apply your chosen sanitizer and follow with the recommended rinse (especially important for bleach).
Is vinegar good enough to reuse a grow bag that had plant disease?
For a bag that had blight, root rot, or heavy pest activity, avoid vinegar as your only disinfectant. Use bleach for those disease-heavy situations, then rinse very well to prevent residue from stressing seedlings. For healthy prior crops, hydrogen peroxide or a vinegar soak can be adequate.
How do I know the grow bag is fully dry before I store it?
Don’t rely on a quick dry or a damp-looking bag. Fabric grow bags should be bone dry before storage, check by feeling for cool or damp patches and by inspecting seams and the base, since those trap moisture. If there is any musty odor after drying, rewash and re-dry instead of storing.
What happens if I wash with hot water or put the bag in the dryer?
Using hot water or a dryer is one of the fastest ways to shorten bag life. Heat can degrade fibers and warp seams, and the dryer can scorch nonwoven fabric. Stick to cold or lukewarm water, gentle agitation if using a machine, and air drying only.
How many times should I rinse after using bleach?
After a bleach soak, rinse until the water runs clear and there is no noticeable bleach smell. A practical tip is to squeeze and rinse the interior thoroughly, then let excess water drain fully before drying. For sensitive seedling stages, hydrogen peroxide is a lower-residue alternative.
How do I remove white mineral crust or fertilizer residue from a fabric grow bag?
For general residue or mineral crust, use a diluted vinegar soak (for example, half vinegar and half water), then scrub while the fabric is still wet from the soak. If the crust persists, do a second soak and scrub, rinsing afterward. This is different from disease sanitizing, so don’t treat mineral buildup as a disinfection step.
Can I store grow bags between seasons if I can’t wash them right away?
If you can’t clean immediately, keep the bag dry and open to air rather than bagging it up damp. Remove most soil first, then store it in a dry, ventilated place until you can wash. Storing a dirty, damp bag is a common cause of mildew that becomes embedded in the fabric.
Is it safe to reuse a grow bag that has frayed seams or small thinning spots?
Yes, but only after the bag is fully clean, fully dry, and structurally sound. Before reuse, check seam integrity, base corners, and any previously stressed areas. A seam that is pulling or thinning out is a retirement signal, since a failure mid-season is more costly than replacing the bag.
Do I need to clean differently if I’m switching from one crop type to another?
If you reuse bags between different crop types, do the full treatment (brush, scrub, sanitize based on risk, rinse, and fully dry) because you are changing the pathogen and pest profile you might be carrying forward. For healthy herb-to-herb reuse, peroxide or vinegar can be enough, but for tomato-to-anything or disease history, increase the sanitizing level.
Next Articles
How to Use Grow Bags: Step-by-Step Guide for Fabric Bags
Step-by-step how to use fabric grow bags, from filling and pre-wetting to planting, watering, feeding, and fixes.
Best Soil for Grow Bags: Mix Recipes and How Much to Add
Best soil for grow bags: mix recipes, how much to add by bag size, and vegetable tweaks for strong drainage and yield.
Pros and Cons of Grow Bags for Vegetables and Flowers
Grow bag pros and cons for veg, flowers, trees, and mushrooms: aeration, mobility, and watering plus fixes for common is