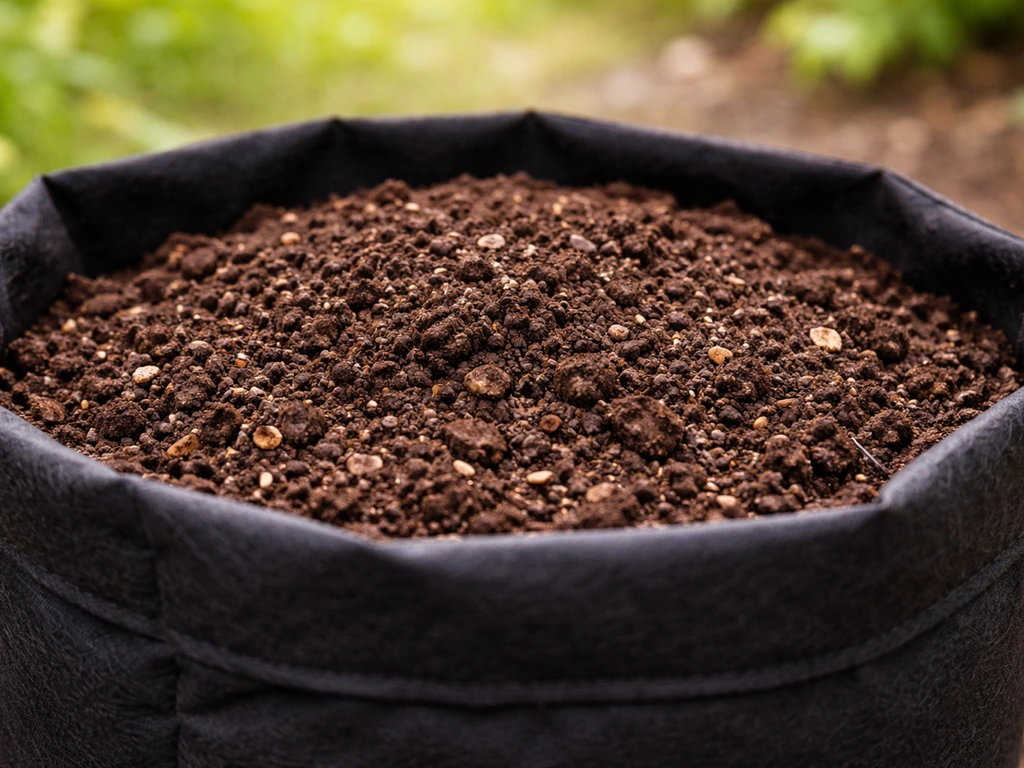
The best soil for grow bags is a high-quality potting mix, not garden soil and not straight compost. You want something lightweight, fast-draining, and moisture-retentive all at once, which sounds contradictory but is exactly what a good potting mix delivers. Fabric grow bags are air-permeable by design, so the medium inside needs to handle rapid evaporation and root pruning conditions without compacting into a dense, airless block. Get the soil right and your grow bags perform brilliantly. Get it wrong and you'll fight poor drainage, stunted roots, and plants that look stressed no matter how much you water.
Best Soil for Grow Bags: Mix Recipes and How Much to Add
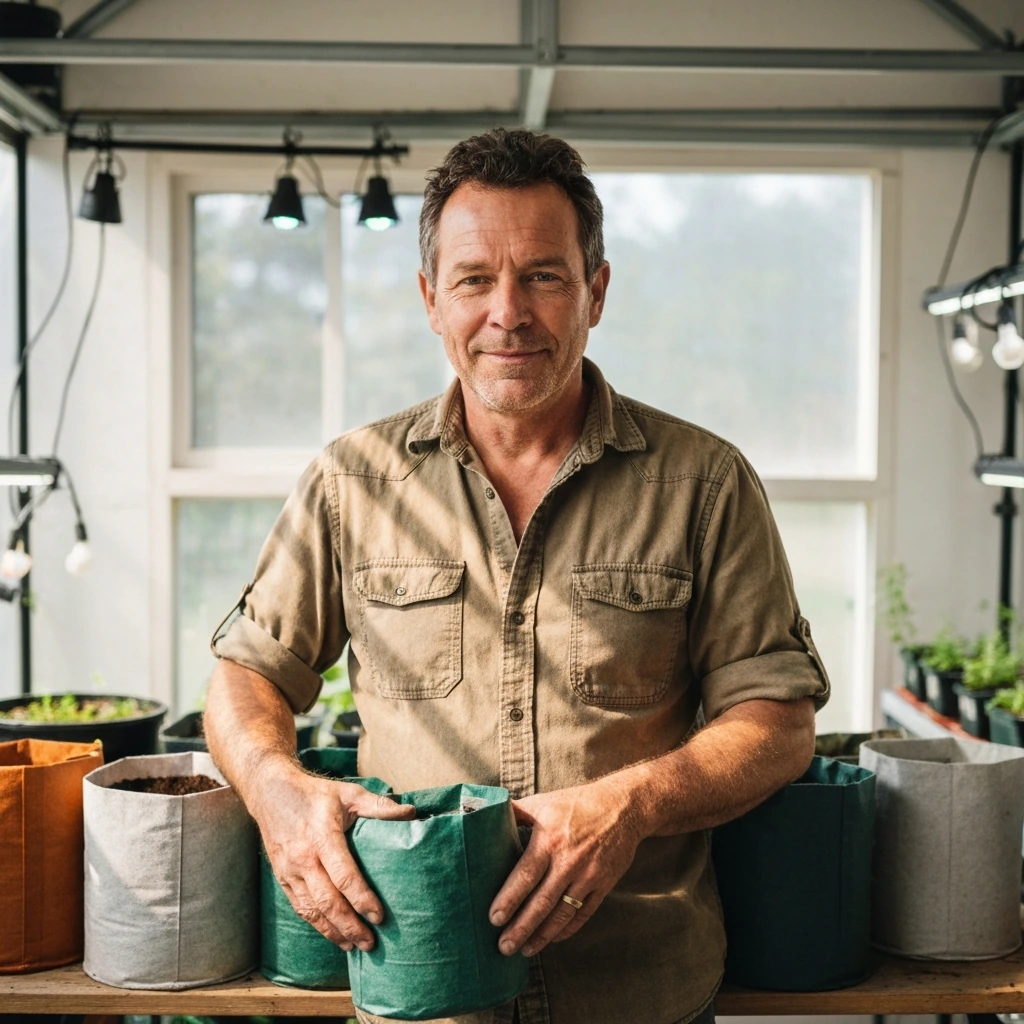
Marcus Holloway
6 Apr 2026
Why you shouldn't use garden soil in grow bags
Oregon State University Extension puts it plainly: never use garden soil in containers. It's not just a preference, it's a drainage and aeration problem that compounds fast. Garden soil is designed to hold structure and nutrients in an open bed where water can move laterally and roots can spread meters in any direction. Pack that same soil into a confined bag and it behaves completely differently. It compacts under watering pressure, squeezes out the air pockets roots depend on, and often becomes waterlogged despite the grow bag's permeable walls.
The University of Vermont Extension flags the same issue: topsoil and garden soil are too heavy and dense for container conditions, contributing to poor aeration and drainage that stunts root growth. UMass Amherst Extension adds that even products marketed as "potting soil" can be problematic if they're too heavy or waterlogged, leaving insufficient air space for roots. The takeaway: read labels carefully, lift the bag before you buy, and skip anything that feels wet and heavy before it even hits your grow bag.
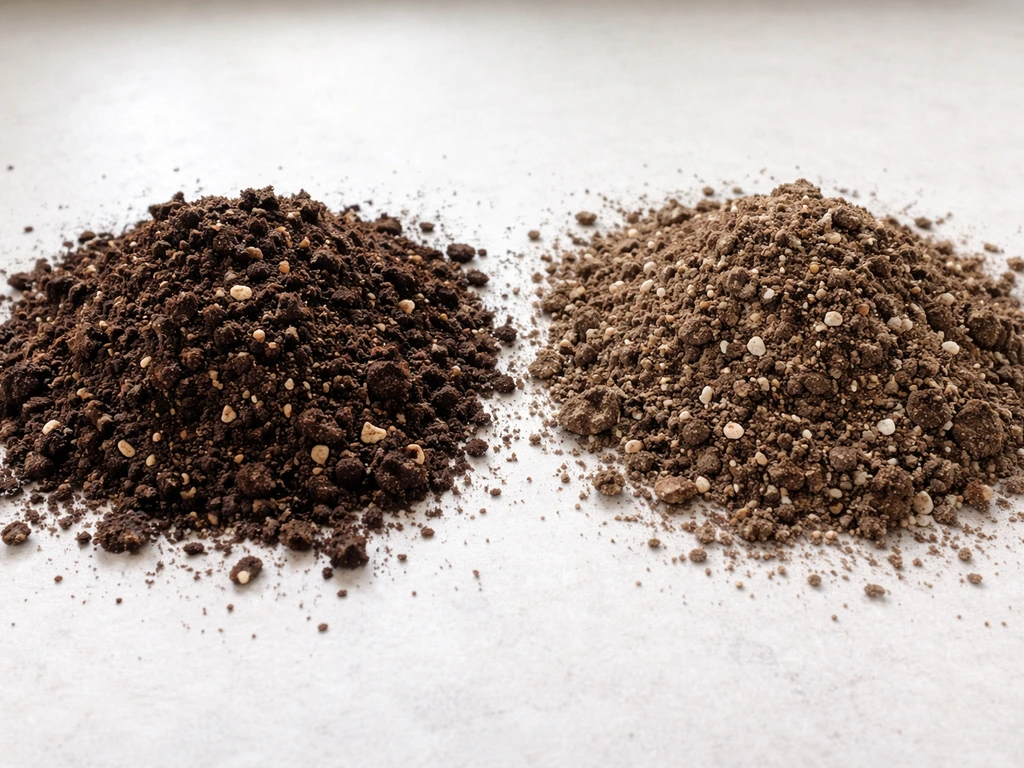
How to choose grow-bag soil: potting mix vs. compost vs. garden soil
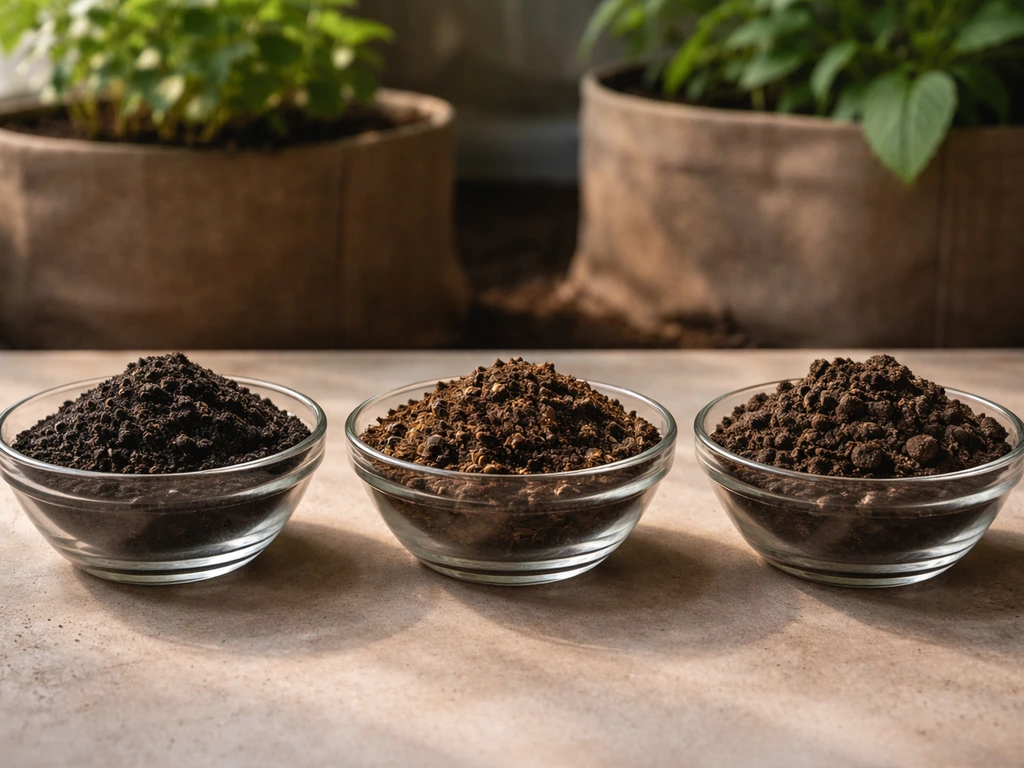
Think of these three options on a spectrum from worst to best for grow bags. Garden soil sits at the wrong end. Straight compost is better but still risky. A quality potting mix is where you want to land, ideally with some compost blended in for nutrients.
| Medium | Drainage | Weight | Nutrient Content | Verdict for Grow Bags |
|---|---|---|---|---|
| Garden soil / topsoil | Poor | Heavy | Variable | Avoid entirely |
| Straight compost | Moderate | Medium-heavy | High but variable | Avoid as sole medium; use as amendment only |
| Soilless potting mix | Good | Light | Low to moderate (nutrient charge) | Strong baseline choice |
| Potting mix + compost blend | Good | Light-medium | Moderate to high | Best all-around option |
| Potting mix + perlite | Excellent | Very light | Low to moderate | Best for heat-sensitive or moisture-sensitive crops |
Compost deserves a nuanced take. It's not useless, it just can't carry the whole job. The University of Vermont Extension notes that compost adds value to mixes but also introduces performance variability, especially if you're using home-made or inconsistently sourced material. They recommend only mature compost from reputable sources if you're blending it in. As a rough rule, keep compost at no more than 25 to 30 percent of your total mix volume. Beyond that, the texture gets heavy and dense enough to cause the same drainage problems as garden soil.
The University of California ANR frames it well: a good potting mix is lighter than soil, holds moisture, and allows proper drainage simultaneously. That's the property set you're chasing. Peat moss or coconut coir provides moisture retention, perlite or coarse sand opens up air channels, and either a compost fraction or a slow-release fertilizer charge handles nutrition.
Best soil mix recipes for grow bags
You've got two practical routes: buy a quality bagged potting mix and use it as-is or with minor amendments, or build your own mix from components. Both work. The DIY approach gives you more control, but the bagged route is faster and more consistent for most home growers.
Option 1: The simple bagged-mix approach
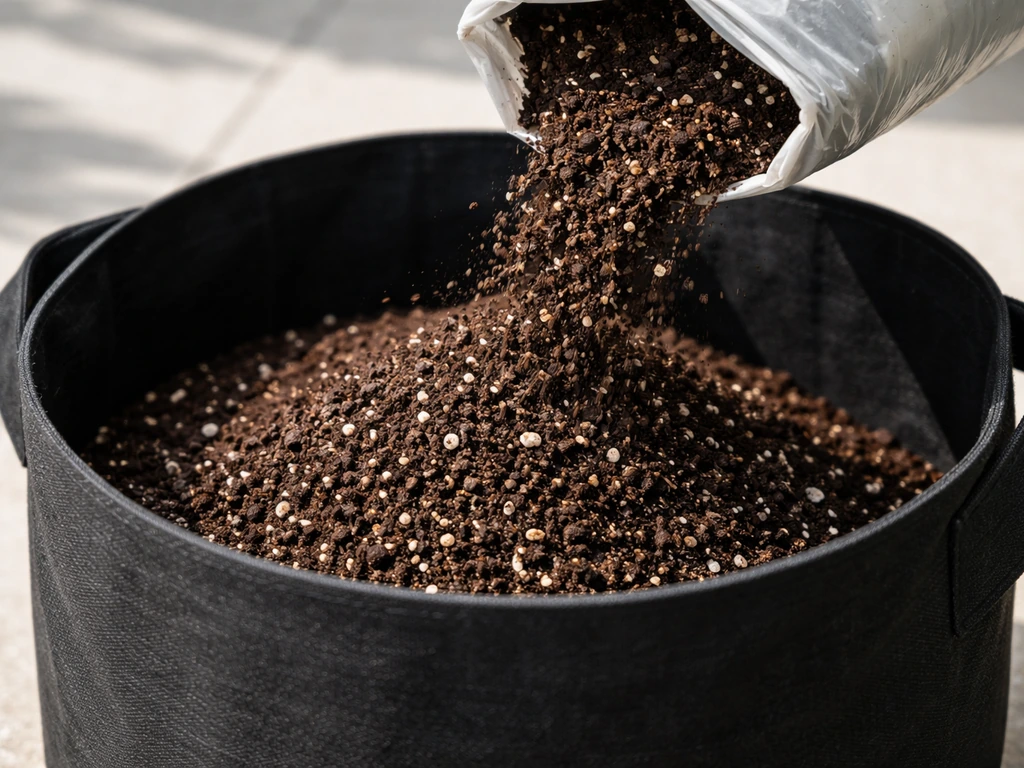
Grab a premium vegetable-focused potting mix and you're most of the way there. Products like PRO-MIX Premium Vegetable and Herb Mix include perlite and a gradual-feeding fertilizer system that feeds plants for up to three months, which is a real advantage in a grow bag where nutrients leach out faster than in a raised bed. Sun Gro's Grower's Gold Potting Mix uses a solid combination of Canadian sphagnum peat moss, perlite, composted bark, coir, and dolomite lime, which hits all the structural marks: aeration, drainage, and moisture retention in one bag. For most vegetable growers, starting with one of these quality mixes and then supplementing with fertilizer after the first six to eight weeks is the lowest-effort, highest-reliability approach.
Option 2: Balanced DIY mix (beginner-friendly)
Virginia Tech Extension provides a solid starting point for a DIY container mix: equal parts peat moss, garden loam, and coarse sand or perlite, plus a slow-release balanced fertilizer like a 14-14-14 formulation. For grow bags specifically, I'd lean toward perlite over sand because it's lighter and keeps the bag easy to move. This mix performs consistently across most vegetables and gives you good drainage without drying out too aggressively.
- 1 part peat moss or coconut coir (moisture retention)
- 1 part quality potting mix or garden loam (structure and some nutrients)
- 1 part perlite (drainage and aeration)
- Optional: add 10 to 20 percent mature compost by volume for a nutrition boost
- Mix in a slow-release balanced fertilizer per the product's container-use rate
Option 3: Nutrient-rich mix for heavy feeders
For tomatoes, peppers, squash, and other demanding crops, bump the compost fraction up and add a slow-release organic fertilizer at the start. UF IFAS Extension confirms that a mix of components like peat moss, composted bark, compost, and perlite works well for container vegetables as long as the texture stays open and airy. Here's a practical heavy-feeder recipe:
- 40% quality potting mix (base structure)
- 30% mature compost (nutrition and microbial activity)
- 20% perlite (drainage and air space)
- 10% coconut coir (extra moisture retention)
- Add a balanced slow-release fertilizer and optionally a granular mycorrhizal inoculant at planting
This mix runs heavier than a pure potting mix, so save it for larger bags (10 gallons and up) where you're planting a single plant and won't be relocating the bag frequently. The extra compost also means you'll want to pair it with a thoughtful feeding schedule so you're not over-concentrating nutrients, which Penn State Extension warns can cause soluble salt buildup that damages roots.
Best soil for vegetable grow bags
Vegetables are the most common grow-bag crop and also the most diverse in their needs. The foundation stays the same (lightweight, well-draining potting mix), but a few crop-specific tweaks make a real difference. Pairing good soil with the right feeding plan is just as important, so once you've got the mix dialed in, it's worth reading up on the best fertilizer for grow bags to keep those nutrients topped up throughout the season.
Heavy feeders: tomatoes, peppers, squash, cucumbers
These crops push hard all season and eat through nutrients quickly. Use the nutrient-rich mix recipe above, or start with a premium vegetable potting mix and add 20 to 25 percent compost. Make sure your perlite content is still at least 15 to 20 percent of total volume, because these are also thirsty plants that need fast drainage to prevent root rot despite frequent watering. Tomatoes in particular benefit from consistent moisture, so if you're growing in a hot, exposed spot, the coir fraction helps buffer against rapid drying.
Light to moderate feeders: lettuce, herbs, spinach, kale
Leafy greens and most herbs don't need the same nutritional punch. The balanced DIY mix or a standard premium potting mix with no added compost works great. NC State Extension notes that shallow-rooted annuals like lettuce only need about 6 to 8 inches of mix depth, so you don't need to overfill smaller bags for these crops. A lighter mix also dries out a bit faster, which suits most herbs that prefer slightly drier conditions between waterings.
Root vegetables: carrots, beets, radishes
Root crops need depth and an especially loose, stone-free mix so roots can push down without resistance. NC State Extension recommends 10 to 12 inches of depth for carrots specifically. Use a mix heavy on perlite and light on compost to keep texture open. Avoid any chunks of bark or coarse material that could fork or deform roots. A tall grow bag (at least 12 inches deep) filled with a very well-aerated mix gives you far better results than a standard shorter bag.
Flowers in grow bags
If you're branching out from vegetables, the same mix principles apply. A lightweight potting mix with good drainage handles most annual and perennial flowers well. You can find more specific plant pairings in the guide on the best flowers for grow bags, which covers which varieties actually thrive in fabric containers.
How much soil to use in a grow bag
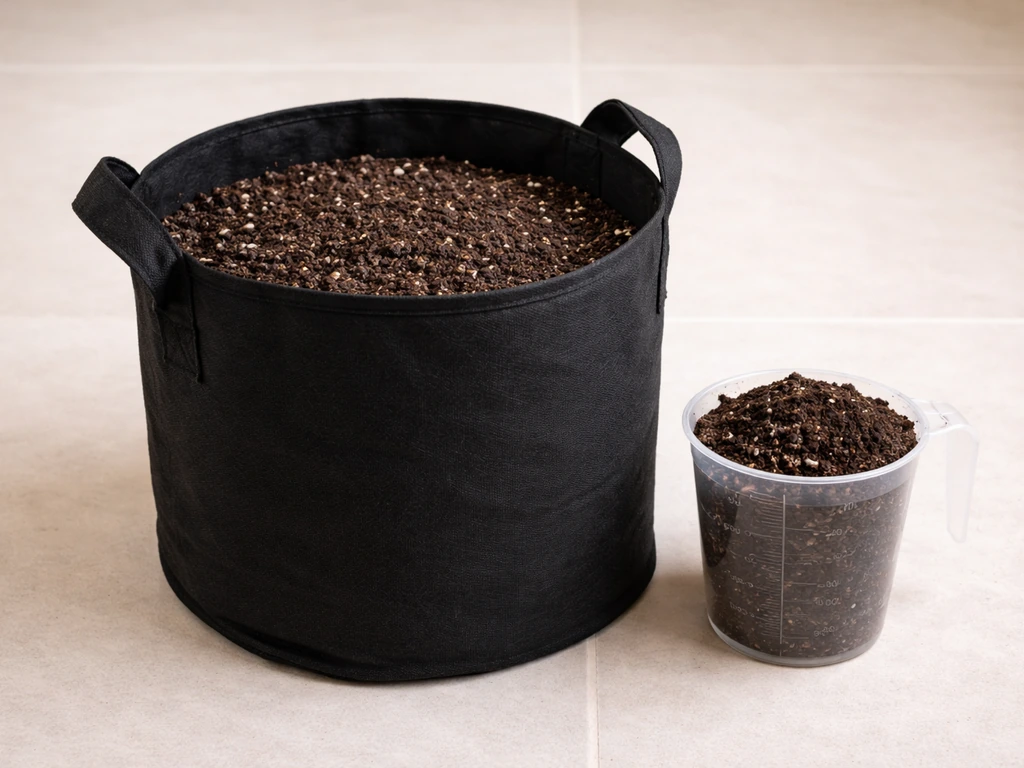
This question comes up constantly and the answer is more practical than mathematical. You fill a grow bag to about 90 percent of its capacity, leaving a couple of inches at the top as a watering reservoir. Overfilling causes spillage when you water; underfilling wastes root space and causes the sides to collapse inward, reducing soil volume further over time. Below are realistic fill volumes by bag size, accounting for the fact that soil settles slightly after watering.
| Grow Bag Size | Approximate Soil Volume | Best For | Plants Per Bag |
|---|---|---|---|
| 1 gallon | 0.9 gallons / ~3.4 liters | Herbs, small peppers | 1 |
| 3 gallon | 2.5 gallons / ~9.5 liters | Lettuce, kale, strawberries | 1 to 2 |
| 5 gallon | 4.5 gallons / ~17 liters | Tomatoes (determinate), peppers, cucumbers | 1 |
| 7 gallon | 6 gallons / ~23 liters | Larger tomatoes, eggplant | 1 |
| 10 gallon | 9 gallons / ~34 liters | Indeterminate tomatoes, squash | 1 |
| 15 gallon | 13 gallons / ~49 liters | Potatoes, small fruit trees | 1 |
| 25+ gallon | 22+ gallons / ~83+ liters | Dwarf trees, large shrubs | 1 |
If you're planting multiple smaller plants in one bag (say, three lettuce starts in a 5-gallon bag), you don't need more soil volume, you just need to space the plants evenly and make sure the mix is nutrient-adequate for the combined root mass. Crowding plants in a small bag with marginal soil is one of the fastest ways to see disappointing results, so when in doubt, size up the bag rather than cramming more plants in.
One practical note on topping off: soil in fabric grow bags settles more than in rigid pots because the walls flex slightly and air moves through. After your first thorough watering, you'll often lose an inch or more of apparent volume. Top up with additional mix at that point, then water again. After the second top-up you're usually stable for the rest of the season.
Planting and watering considerations tied to soil choice
Drainage and the air-pruning effect
Fabric grow bags work through a process where roots that reach the bag wall are naturally air-pruned rather than circling like they do in a plastic pot. This only works properly if the mix inside is airy enough that roots actively want to grow outward. A dense, compacted mix defeats the whole mechanism because roots just sit clustered in whatever pockets of air remain. This is why perlite content matters: NC State Extension is explicit that drainage depends on aeration within the mix itself, not on drainage layers at the bottom. Skip the gravel layer, skip the pot shards, and put that effort into choosing a mix with real perlite content instead.
Watering behavior in grow bags
Grow bags dry out faster than rigid containers because moisture evaporates through the fabric walls, not just from the surface. UF IFAS Extension advises checking container media daily to every couple of days depending on conditions, and watering again once the top portion feels dry. A reliable method: push your finger into the mix to about the first knuckle. If it feels dry at that depth, water thoroughly. If it still feels moist, check again in 24 hours. Virginia Tech Extension adds that bags in full sun on concrete or paving can dry out especially fast, sometimes needing water twice a day in peak summer heat.
Your soil choice directly affects how often you water. A mix with more coir or peat holds moisture longer. A mix that's heavily perlite-weighted drains and dries faster. Matching that balance to your climate and how often you can water is part of good grow-bag soil selection. If you're using mulch on top of the mix to slow surface evaporation, the guide on the best mulch for grow bags covers which materials work and which cause problems.
Feeding and nutrients over the season
Even if your starting mix includes a nutrient charge or you've blended in compost, grow bags need supplemental feeding. Nutrients leach out with every watering, and fabric walls speed that process compared to solid-sided pots. Most slow-release fertilizer charges in bagged mixes last six to twelve weeks. After that point, you're relying on whatever compost you added and any liquid feeding you do. A regular liquid feed every one to two weeks works well for most vegetables from mid-season onward. The exception is herbs, which generally prefer leaner conditions and can get leggy and lose flavor intensity if you over-fertilize.
Common mistakes and quick troubleshooting
Mix is too heavy and compacts over the season
This usually means too much compost, too much fine-textured peat, or an actual garden soil component in the mix. The fix for next season is more perlite and less of the dense organic matter. Mid-season, you can try topdressing with perlite and gently working it into the top couple of inches, but if compaction is bad enough that water is pooling on the surface rather than absorbing, the plant is already stressed and the bag may need a complete remix.
Soil is drying out too fast
Two possible causes: too much perlite in the mix, or the bag is in a very exposed, hot location. Add coconut coir to your next mix to improve moisture retention. For the current season, water more frequently (checking daily), consider moving the bag to a slightly less exposed spot, or add a thin layer of organic mulch on the surface to slow evaporation. UF IFAS Extension confirms that container media dries out faster than in-ground beds under any conditions, so this issue is expected, not a sign something's fundamentally wrong.
Plants look yellow or stunted despite regular watering
Nutrient deficiency is the first thing to check, especially if you're past the eight-week mark and haven't been feeding. Start liquid feeding immediately. If yellowing is interveinal (green veins, yellow between them), that often points to iron or magnesium deficiency, common in slightly acidic peat-heavy mixes or mixes without dolomite lime. A balanced liquid fertilizer should address most of these within one to two weeks.
Over-fertilizing and salt buildup
Penn State Extension warns that over-fertilizing container-grown plants concentrates soluble salts in the medium and can damage or kill roots. Symptoms include brown leaf edges, wilting despite moist soil, and white crusty deposits on the fabric or mix surface. If you suspect salt buildup, flush the bag thoroughly with plain water, allowing it to drain completely two or three times. Then reduce your feeding frequency and cut the fertilizer concentration to half the recommended rate.
Wondering if the bag material itself is the problem?
Sometimes soil issues are compounded by bag quality. Cheap grow bags with low-grade fabric can develop uneven drainage or break down quickly, affecting how the whole system performs. If you're sourcing or replacing bags, it's worth understanding what goes into the fabric itself. The breakdown on the best landscape fabric for grow bags explains which materials hold up best over multiple seasons and why fabric quality affects root development.
The short version if you want to move fast
Buy a quality vegetable potting mix (look for one with perlite already included), add about 20 percent perlite by volume if it feels dense, and optionally blend in 15 to 20 percent mature compost for heavy-feeding crops. Fill to about 90 percent of the bag's capacity, leaving a couple of inches at the top. Water using the knuckle-depth test, start liquid feeding around week six to eight, and you'll have the fundamentals covered. The more you fine-tune to your specific crops, climate, and bag setup, the better your results get, but that simple starting point beats anything involving garden soil, pure compost, or whatever was sitting in the corner of the shed.
FAQ
Can I use a bagged “universal potting soil” instead of a vegetable potting mix for grow bags?
You can, but check the label for particle size and drainage. If it reads “moisture control” or feels heavy and clumpy when lifted, it may be too dense for fabric bags. A safer shortcut is to pick mixes that already list perlite and are intended for containers, then top up with extra perlite if the bag still feels compacted.
How do I know if my grow-bag mix is too dense before planting?
Do a simple squeeze-and-sprinkle test. Moisten the mix to field capacity, then squeeze it in your hand: it should crumble when you open your fist, not hold a tight ball. If it forms a paste or water immediately puddles on the surface, it is likely too fine or too high in compost/peat and needs more perlite or a lighter amendment.
Should I add a drainage layer like gravel or pot shards at the bottom of my grow bag?
No. In fabric grow bags, drainage depends on airflow through the mix itself, adding a gravel layer can reduce oxygen availability and create uneven wet pockets. Instead, focus on using an airy mix with real perlite and keep the bag filled to the recommended level.
Is it okay to reuse soil from a previous season in grow bags?
It is usually not ideal to reuse it as a primary medium because nutrients are depleted and structure breaks down over time, especially if salts built up. If you do reuse, remove any tough roots, break up clumps, and remix with fresh potting mix plus extra perlite. Plan on adjusting feeding sooner, since the nutrient profile will be inconsistent.
My plant wilts even though the top looks damp. Could it still be my soil?
Yes. In containers, wilting can happen from both underwatering and root stress from poor aeration or salt buildup. If you see yellowing plus slow growth, or the mix stays wet for long periods after watering, suspect compaction or overfeeding. Use the knuckle-depth test to confirm whether the root zone is actually moist but not soggy.
How much perlite should I add if my mix already contains perlite but still feels heavy?
A practical adjustment is to add about 10 to 20 percent perlite by volume and reassess. If the mix drains too fast after that, reduce the next batch slightly. If it still stays wet or compacts, the base mix may be too fine, and switching the main medium is more reliable than continually adding perlite.
Can I use straight vermiculite or sand to replace perlite in grow bags?
Sand often increases weight and can settle, and straight vermiculite tends to hold more water than fabric bags want. If you want to use an alternative, aim for an amendment that stays airy and doesn’t pack down. In most cases, perlite is the easiest option because it reliably keeps pore space open as the mix cycles between wet and dry.
What compost should I use if I want to blend it into my grow-bag soil?
Use mature, well-finished compost that is dark and crumbly, not fluffy and not identifiable as half-decomposed material. Skip compost that smells sour, is still hot from curing, or contains large woody pieces. Keep compost to roughly 25 to 30 percent of the mix volume to avoid heaviness.
If my soil drains too fast and my bags dry out daily, what is the best fix?
Increase moisture retention by adding coconut coir or peat-based components (often 10 to 20 percent by volume), and consider a light top mulch to slow surface evaporation. Also check whether the bag is in full sun on heat-reflecting surfaces like concrete, if so, moving to slightly more sheltered conditions can make the biggest difference.
When should I start supplemental feeding for grow bags if my mix has a fertilizer charge?
If your bagged mix includes a time-release charge, many products cover about 6 to 12 weeks. Start monitoring earlier than that by checking leaf color and growth rate, then begin liquid feeding when new growth slows or pale foliage appears. Avoid starting very aggressive feeding early, since fresh fertilizer charge plus added fertilizer can create soluble salt stress.
How do I flush a grow bag correctly if I suspect fertilizer salt buildup?
Water slowly with plain water until you see steady drainage out the bottom, then let it drain fully. Repeat two or three times rather than one heavy pour, because salts are carried deeper into the medium with each watering. After flushing, cut fertilizer concentration about in half and reduce frequency until the issue resolves.
What depth should I fill my grow bag for best results with different crops?
Use the “about 90 percent full” rule for most crops, then adjust based on root expectations. Leafy greens can often do well with less depth (roughly 6 to 8 inches of mix), while deeper-rooted crops like carrots perform better with at least 10 to 12 inches of mix. If you underfill, the sides can flex inward and reduce effective root volume.
Next Articles
Pros and Cons of Grow Bags for Vegetables and Flowers
Grow bag pros and cons for veg, flowers, trees, and mushrooms: aeration, mobility, and watering plus fixes for common is
Benefits of Grow Bags: A Practical Guide for Home Growing
Discover the benefits of grow bags: better drainage and aeration, healthier roots, easier plant care, and how to choose
Where to Buy Grow Bags Near Me: Online and Local Guide
Find where to buy fabric grow bags near you or online, compare sizes, drainage, and best prices for veggies, trees, and