
To inoculate an all-in-one mushroom grow bag, wipe the self-healing injection port with 70% isopropyl alcohol, let it dry for 30 seconds, then slowly inject 5 to 10 cc of liquid culture (or the equivalent from a spore syringe) directly through the port. Squeeze the bag gently after injecting to distribute the inoculant, then seal it, label it with the date and strain, and set it in a dark spot at 70 to 75°F. That's the core of it. The rest of this guide covers everything around that process so your bag actually colonizes cleanly and reaches fruiting without issues.
How to Inoculate an All-in-One Mushroom Grow Bag
Marcus Holloway
8 Jul 2026
What an all-in-one grow bag is (and what inoculation actually means)
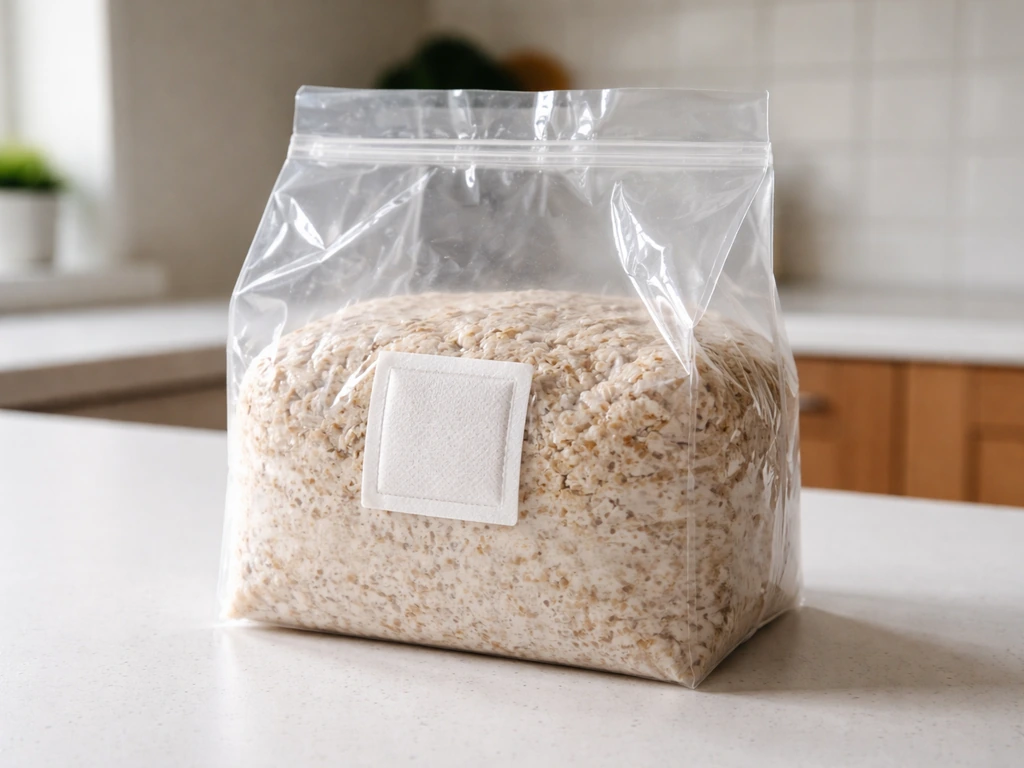
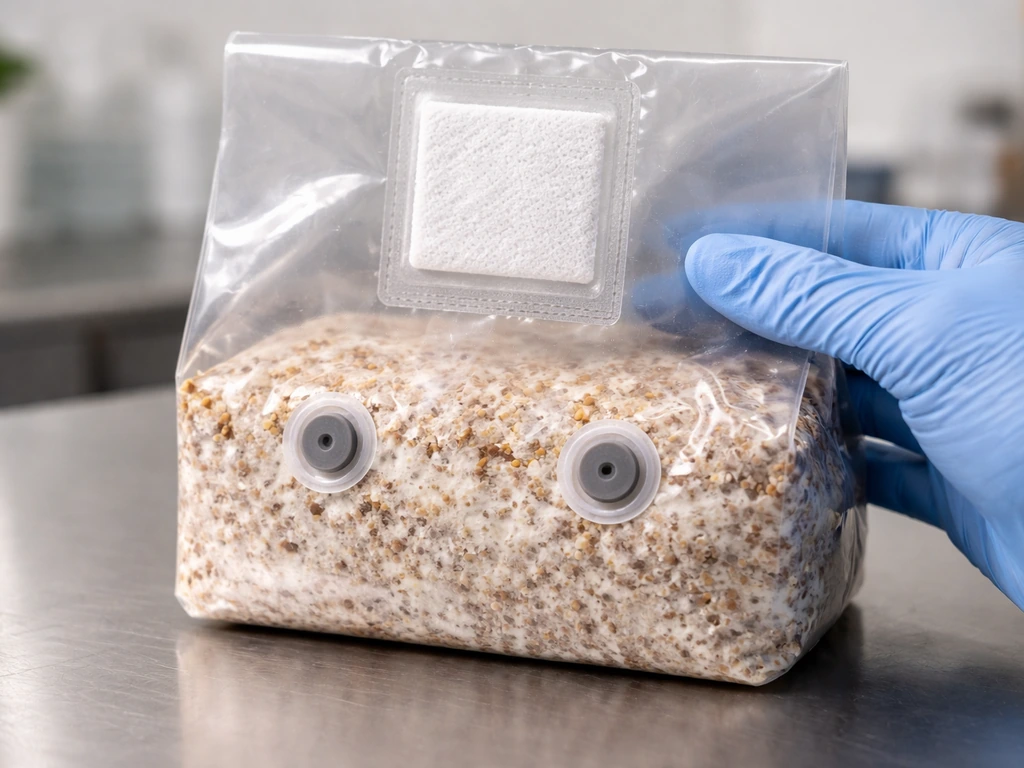
An all-in-one mushroom grow bag is a pre-packaged, sterilized bag that contains everything mycelium needs to colonize and fruit without any additional steps from you. Depending on the brand, the bag typically holds sterilized grain (whole oats, rye, or similar), a bulk fruiting substrate like CVG (coco coir, vermiculite, gypsum) or a manure-based mix, and sometimes a straw layer. It's all pre-mixed or layered, sterilized, and sealed. The bag also includes two key features: a self-healing injection port (a small rubber septum that reseals after a needle punctures it) and a built-in HEPA or 5-micron filter patch that allows gas exchange without letting contaminants in. MushroomGrowingTips likewise explains that these fruiting grow bags use a built-in filter patch or a self-healing injection port so you can inoculate while keeping the rest sealed and protected from contamination.
Inoculation, in this context, means introducing living mushroom mycelium or spores into that sterile environment so they can grow. You're not planting seeds. You're injecting either a liquid culture (a solution containing live mycelium) or a spore syringe (a solution containing mushroom spores that will germinate and become mycelium). The all-in-one bag is designed specifically to receive that injection through the self-healing port, keep everything else sealed and sterile, and let the mycelium do its work from there.
It's worth clarifying something for readers who found this article looking for ways to inoculate fabric grow bags used for plants like vegetables or flowers. That process is completely different: you're working with soil amendments, compost teas, or beneficial microbial inoculants, not mushroom spawn. The all-in-one grow bag being discussed here is a mushroom-specific product. If you're growing tomatoes or herbs in a fabric pot, the inoculation concept doesn't really translate in the same way.
Before you start: safety, workspace setup, and what you need
Contamination is the number one reason all-in-one bags fail. The substrate inside is sterile and nutritious, which means it's just as welcoming to mold and bacteria as it is to mushroom mycelium. Your job before touching anything is to make the environment around the bag as clean as possible so that the only thing you introduce is your intended inoculant.
You don't need a full laboratory setup for this. A still-air box (SAB) is ideal for most home growers: a clear plastic bin with two arm holes cut in the side. You work inside it with your arms through the holes, and the lack of airflow keeps airborne contaminants from settling on your equipment. A laminar flow hood is even better if you have one, but an SAB is effective and costs almost nothing to build. If you have neither, a freshly cleaned bathroom with the fan off and a misted floor (to keep dust down) is a workable last resort.
Before you begin, let the room settle for at least 10 to 15 minutes after cleaning. Don't walk around, wave your arms, or do anything that stirs up air. Wash your hands thoroughly, then put on nitrile gloves. Wipe down your entire work surface with 70% isopropyl alcohol and let it dry completely before you bring in your bag or syringe.
Tool checklist
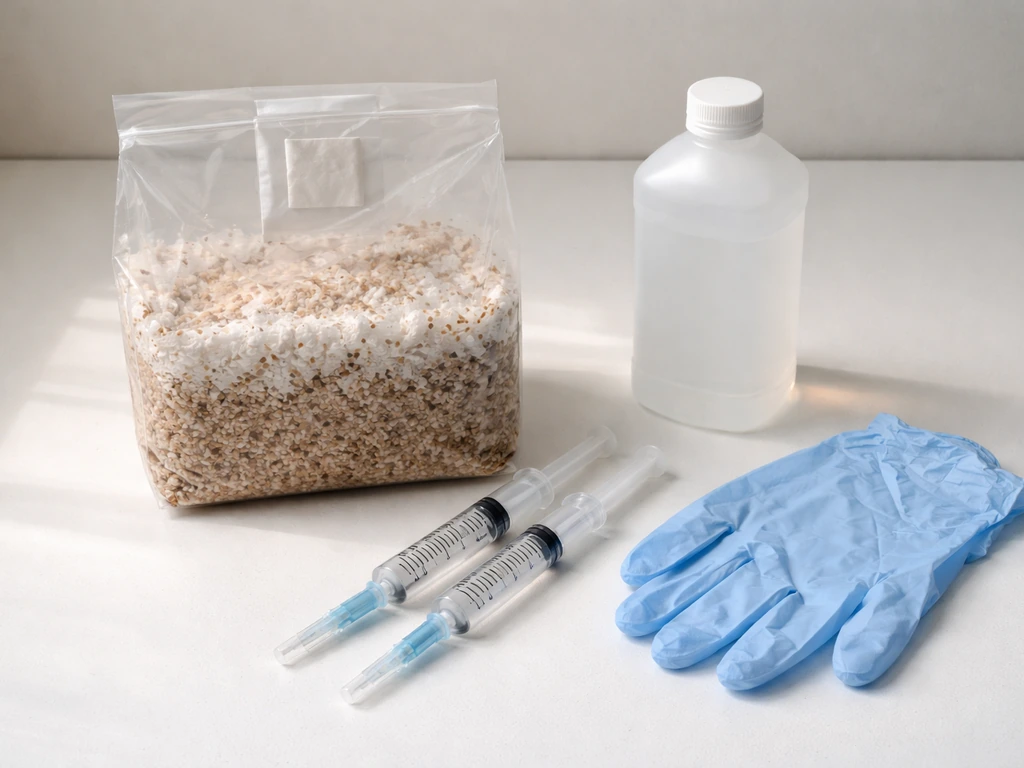
- All-in-one mushroom grow bag (check that the bag is intact, no tears or pinholes)
- Liquid culture syringe or spore syringe (18 to 22 gauge needle works well)
- 70% isopropyl alcohol and alcohol wipes or a spray bottle
- Nitrile or latex gloves
- A lighter or alcohol lamp to flame-sterilize the needle (if not using a fresh, capped needle)
- Micropore tape (to cover the injection port after inoculation as an extra barrier)
- Permanent marker and masking tape for labeling
- Still-air box or access to a laminar flow hood
Step-by-step: how to inoculate the bag
Once your workspace is clean and you're gloved up, bring in your bag and syringe. Don't shake either aggressively or make sudden movements that disturb the air. Here's exactly how to do it.
- Flame-sterilize or swap to a fresh needle. If you're reusing a needle tip, heat it with a lighter until it glows red, then let it cool for 10 to 15 seconds before touching anything. If you're using a fresh capped needle, just uncap it.
- Wipe the injection port on the bag with a fresh alcohol wipe and let it air dry for 30 seconds. Don't rush this step: wet alcohol on the port can interfere with the seal.
- Hold the bag steady with one hand and insert the needle through the center of the injection port at a slight angle. The self-healing rubber will resist slightly, then give. Push the needle about half an inch in.
- Inject slowly. For a 5 lb bag, use 5 to 10 cc of liquid culture. Injecting too fast can splash the inoculant in a concentrated area instead of distributing it. If you're using a spore syringe, the same volume applies.
- While the needle is still inserted, or immediately after withdrawing it, gently squeeze and massage the bag from the outside to start distributing the inoculant into the grain and substrate. You don't need to fully mix it; just get it moving away from the injection point.
- Withdraw the needle and immediately wipe the injection port again with alcohol. This reseals the surface and kills anything that might have contacted the port during injection.
- Cover the injection port with a small piece of micropore tape. This is an optional but worthwhile extra step that reduces the chance of airborne contamination getting through the port hole.
- Seal the top of the bag tightly. Most all-in-one bags are already heat-sealed; if yours has a fold-over top, use bag clips or fold it multiple times and tape it down.
One thing to avoid: injecting through the filter patch. Some growers think this is an alternative inoculation point, but the HEPA filter is there for gas exchange, not injection. Puncturing it compromises the sterile barrier and can let contaminants in during the incubation period. Always use the injection port.
How much inoculant is enough?
For a standard 5 lb all-in-one bag, 5 to 10 cc of liquid culture is the right range. Going below 5 cc increases the risk of a slow start, which gives contaminants time to take hold. Going well above 10 cc doesn't meaningfully speed things up and wastes your culture. If you're using grain spawn instead of a syringe (some growers mix a small amount of colonized grain into the bag before sealing), aim for roughly 10 to 15% of the substrate weight, so about 0.5 to 0.75 lb of spawn per 5 lb bag.
Right after inoculation: incubation, labeling, and what to expect
As soon as the bag is inoculated and sealed, label it immediately with the strain name, inoculant type (LC or spore), and the date. This matters more than it seems: if you're running multiple bags or if a bag stalls out, knowing exactly when you inoculated it helps you diagnose what went wrong.
Place the bag in a dark location with a stable temperature between 70 and 77°F. Most common species like oysters, shiitakes, and lion's mane colonize well in this range. Avoid direct sunlight during incubation: light doesn't help colonization, and heat from sunlight can create hot spots that stress the mycelium. You don't need humidity control at this stage because the bag itself is a sealed environment.
The filter patch handles gas exchange passively, so you don't need to open the bag or fan it during incubation. Leave it alone. Disturbing the bag repeatedly is one of the easiest ways to introduce contamination.
Expect to see the first white mycelium growth radiating from the injection site within 5 to 10 days, depending on the species and how viable your inoculant was. Full colonization of a 5 lb bag typically takes 3 to 5 weeks. Faster-colonizing species like oyster mushrooms can finish in as little as 2 weeks; slower species like lion's mane may take longer. Once you see thick white mycelium covering the grain and consolidating through the substrate, the bag is approaching readiness. The questions of when to break up the mycelium to speed things along, and when to actually initiate fruiting, are closely related decisions that come next. If you also want to fruit multiple needs in the same bag, this timing affects when to mix all in one grow bag contents and start the process when to actually initiate fruiting.
How to tell if it's working: healthy colonization vs. contamination
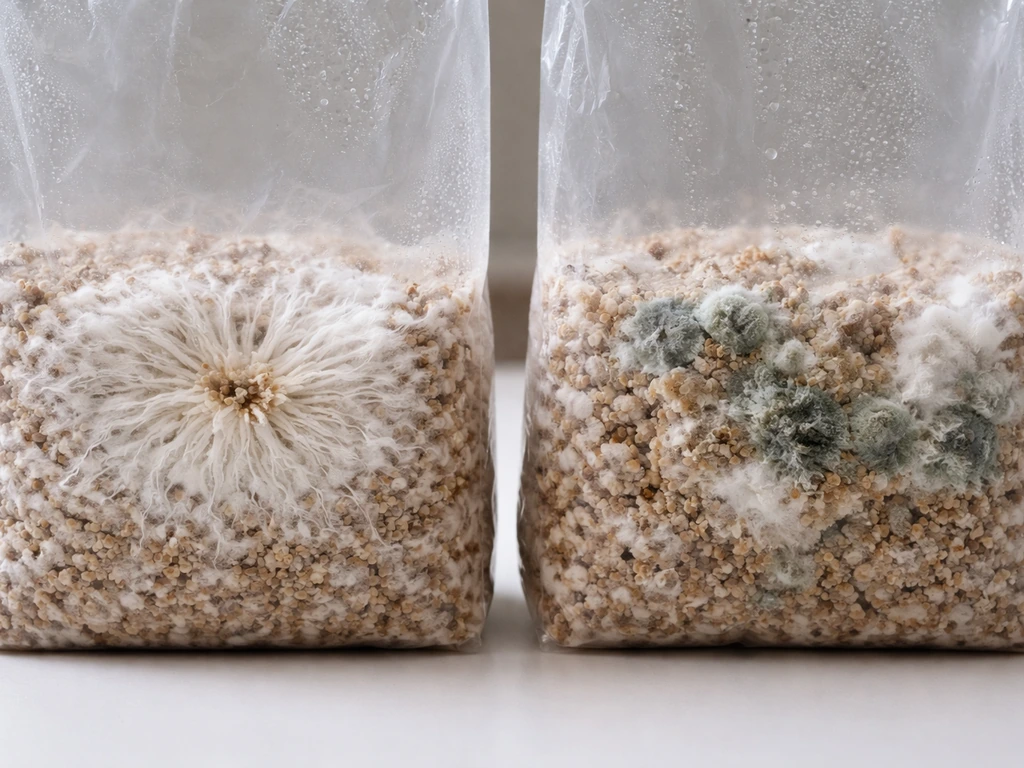
Healthy mycelium looks white to off-white, often described as fluffy or rope-like, and it spreads outward from the inoculation point in visible threads. It may look slightly yellow or golden in some areas when it's young or stressed, but it should never look green, black, pink, orange, or have a foul smell. The substrate inside the bag will darken and knit together as colonization progresses, which is normal.
| Sign | What it likely means |
|---|---|
| White fluffy or rope-like growth from injection site | Healthy mycelium, colonization on track |
| Slight yellow tinge in early growth | Normal metabolic byproduct, usually harmless |
| Green or black patches | Trichoderma or other mold contamination |
| Pink or orange coloration | Bacterial contamination |
| Foul or sour smell when bag is opened | Bacterial contamination |
| No visible growth after 14+ days | Possible dead inoculant, contamination, or temperature problem |
| Mycelium growing but then stops and recedes | Possible contamination fighting the mycelium |
One thing that confuses newer growers: metabolic heat. A colonizing bag will often feel slightly warm to the touch, especially in areas of active growth. That's completely normal and actually a good sign. If the bag feels cold and nothing is happening after two weeks, that's when you should start troubleshooting.
Troubleshooting: contamination, stalls, and slow growth
You see green, black, or pink patches
This is contamination, and unfortunately there's no saving it once it takes hold. Green mold (usually Trichoderma) moves fast and will outcompete the mycelium. Seal the bag in a garbage bag before opening it (to avoid releasing spores in your grow space), then discard it. Don't try to cut out the contaminated section: the spores have almost certainly spread throughout the substrate by the time you see visible color.
Nothing is growing after two weeks
First, check your inoculant. If you have another bag or a test jar, try injecting a small amount of the same syringe into it. If that also fails to grow, your liquid culture or spore syringe was likely dead, contaminated, or too old. Second, check your temperature: if the bag was stored somewhere below 65°F, mycelium growth stalls significantly. Move it to a warmer spot and wait another week before giving up.
Growth started, then stopped
Stalled colonization mid-way through usually means one of three things: a temperature drop, an invisible contamination that's not yet showing color, or CO2 buildup if the filter patch is clogged or blocked. Check that nothing is covering the filter patch (bags stacked against each other can block it). Make sure the temperature has stayed consistent. If growth stalled and there's no sign of discoloration or smell, try giving the bag a gentle shake to redistribute the mycelium into fresh substrate areas. Sometimes this is enough to restart colonization.
The bag seems wet or the substrate is too dense
All-in-one bags come pre-hydrated, so you shouldn't need to add water. If you notice condensation building up heavily on the inside of the bag, try moving it to a slightly warmer or better-ventilated spot. Excess moisture creates conditions that favor bacterial contamination. This is more of a bag-quality issue than a technique issue, but it's worth knowing.
When to cut your losses
If there's no growth at all after 21 days and you've ruled out temperature problems, discard the bag. If there's clear contamination (color, smell), discard it immediately. Don't hold onto bad bags hoping they'll turn around: contaminated substrate can spread mold spores to your other bags and growing space.
When to move to fruiting (and what to do if you're not quite there)
A fully colonized all-in-one bag will look completely white or off-white throughout, with dense mycelium consolidating the substrate into a solid mass. The FungiAlly/SARE oyster booklet notes that during incubation you should manage temperature and also focus on blank" rel="noopener noreferrer">CO2-rich air while bringing in fresh oxygen during cultivation. At this point, the bag is ready for fruiting initiation. Most species benefit from a brief cold shock before fruiting: moving the bag to 60 to 65°F for 12 to 24 hours can trigger pinning. Then you open or cut the bag, introduce fresh air and indirect light, and maintain humidity around 85 to 95% by misting the walls around the bag (not the bag itself directly).
If the bag looks mostly colonized but still has some uncolonized substrate visible, wait. Fruiting too early often results in weak or sparse pins. There's no benefit to rushing this stage. On the other hand, if the bag is fully colonized and you're not ready to fruit it, you can hold it at 55 to 65°F (like in a basement or a cooler) for a few weeks without losing viability.
The timing of when to mix or break up the mycelium during colonization, and exactly when to initiate fruiting once it's done, are worth understanding in detail before you get to that point. Knowing those milestones in advance makes the whole process feel more controlled and a lot less guesswork.
FAQ
Can I inoculate more than one all-in-one bag from the same liquid culture syringe, and how do I keep it clean?
Yes, you can, but treat the syringe like a single-use sterile tool once the needle is exposed to air. Work one bag at a time, avoid setting the needle or port area down, and wipe the injection port with 70% isopropyl alcohol each time before injecting. If you have any doubt about sterility after multiple punctures, switch to a fresh syringe or use a smaller aliquot.
What should I do if the injection port needle hole leaks or the seal seems imperfect after inoculation?
A brief reseal is normal, but if you see ongoing bubbling, dripping, or obvious gaps around the rubber septum, contamination risk increases. If the leak happens right away, cover the port area with clean, fresh tape only as a temporary measure, then keep the bag isolated and monitor closely for discoloration or smell. If it continues leaking, discard it rather than trying to “repair” sterility later.
Is it okay to inoculate outside the recommended 5 to 10 cc range for a 5 lb bag?
Small deviations are usually fine, but the risks change. Too little can cause a slow start, which gives contaminants time to establish, too much can waste culture and may create uneven colonization if the liquid pools near the port. If you need to scale up, match the volume roughly to bag size rather than doubling per bag, and try not to exceed what the port and grain can readily absorb.
How do I inoculate an all-in-one bag if my liquid culture is cloudy or looks separated?
Cloudiness can be normal for some cultures, but heavy clumps or unusual color outside the expected mycelium tint are a warning. Gently mix the culture to resuspend (avoid shaking hard that introduces lots of bubbles), then inject your measured amount. If you are consistently seeing odd colors or rapid contamination in a test jar, stop using that culture batch.
Do I need to inoculate in total darkness to prevent issues during colonization?
No, you just need to avoid direct sunlight and strong bright light. Colonization does not require light, but light itself is not the main danger. The bigger risks are heat spikes from sun exposure and disturbing the air during injection. Use a dim room or cover the area if you want extra caution.
Should I shake the bag right after injection, and can I overdo it?
A gentle squeeze or light redistribution helps spread the inoculant, but over-shaking can cause liquid pooling, create stressful hot spots, or increase contamination risk by disturbing the internal micro-environment. Keep it controlled, then leave the bag alone afterward, minimal handling until you see clear growth.
What if my injection site shows growth but the rest of the bag stays pale for a long time?
That pattern can mean uneven distribution, slower colonizers, or a temperature issue. First confirm the bag stayed in a stable range (avoid cold drafts or heat vents). If there is no off smell and no strange colors after you’ve ruled out temperature, a gentle shake to redistribute can sometimes restart spread. If discoloration appears or smell develops, discard immediately.
Can I break up the mycelium during colonization to speed it up?
Sometimes, but timing matters. The article’s approach is to prioritize clean, full colonization before you perform major interventions. If you break up too early, you can slow colonization or create areas that colonize unevenly. Wait until you see substantial, healthy growth throughout (dense white or off-white) before any mixing or breaking step.
My bag is fully colonized, but I do not want to fruit yet. How long can I hold it and at what temperature?
You can hold a fully colonized bag at a cooler, stable range (about 55 to 65°F) for a few weeks. Avoid letting it get cold enough to stall hard, and keep it sealed and undisturbed. Once you’re ready to fruit, bring it into the cold shock or fruiting conditions on purpose rather than slowly warming for days.
Is there a way to tell the difference between normal stress colors and contamination before it becomes obvious?
Early yellowing can be a mild stress indicator, but contamination usually brings more distinct colors (green, black, pink, orange) or a foul odor that is clearly different from mushroomy or earthy smell. If you see any of those stronger colors or a wet, spreading pattern, do not “wait and see.” Discard and isolate the bag to protect other grows.
Can I inoculate with spore solution at the same 5 to 10 cc volume, or should it be different?
In many cases the same volume range is used as a practical starting point, but spore syringes generally take longer to establish compared to liquid culture. Use the correct injection port procedure and then be patient with the timeline. If you get no visible mycelium after the expected early window, don’t keep incubating indefinitely, use the troubleshooting checkpoints and consider that the spore syringe may be non-viable.
Next Articles
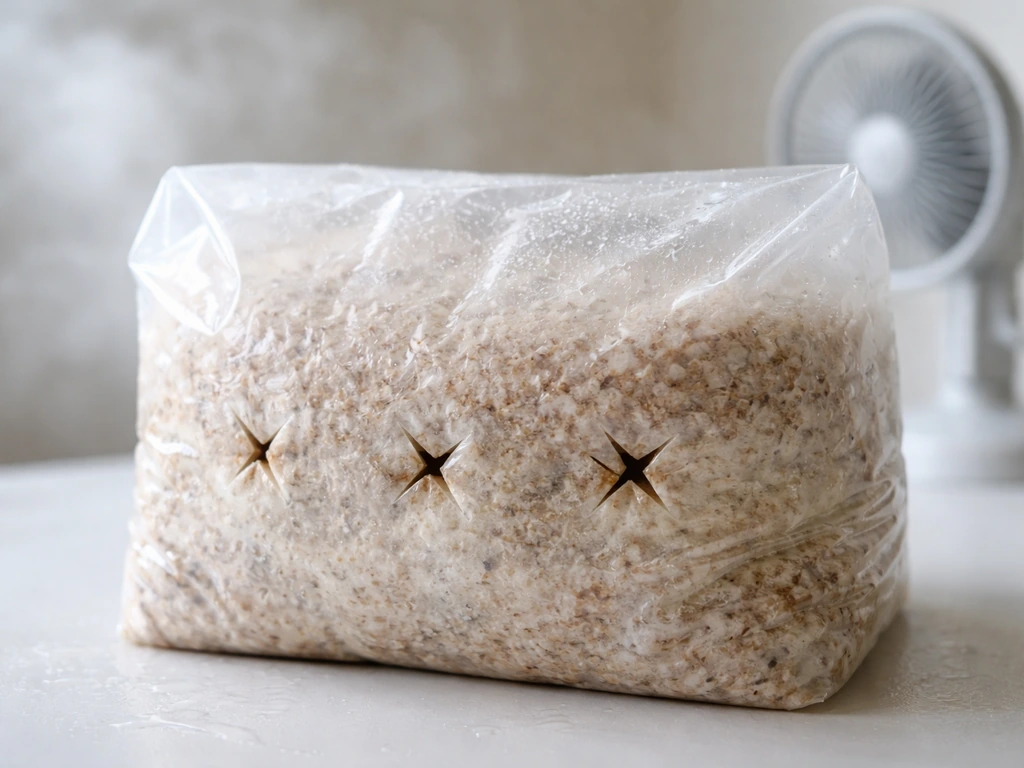
When to Fruit an All-in-One Grow Bag: Cues and Steps
Learn when to start fruiting an all-in-one grow bag, spot readiness cues, transition conditions, and troubleshoot delays
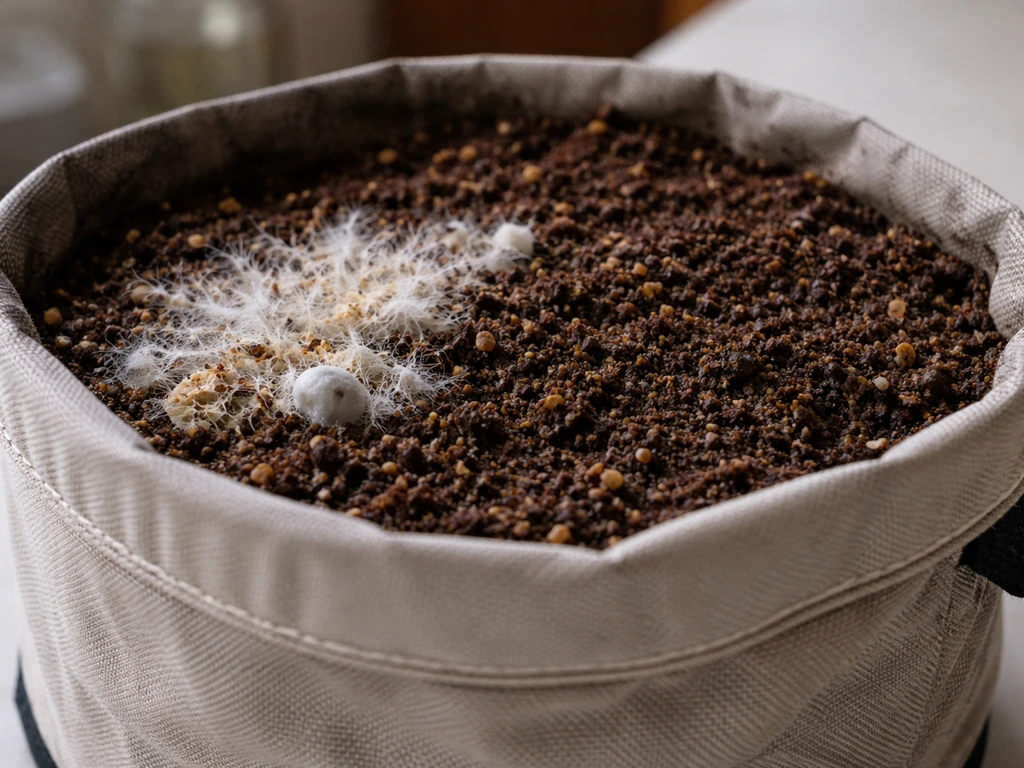
When to Break Up Mycelium in a Grow Bag: Timing Guide
Learn when to break up mycelium in a grow bag, spot timing triggers, and safely redistribute for faster, even colonizati
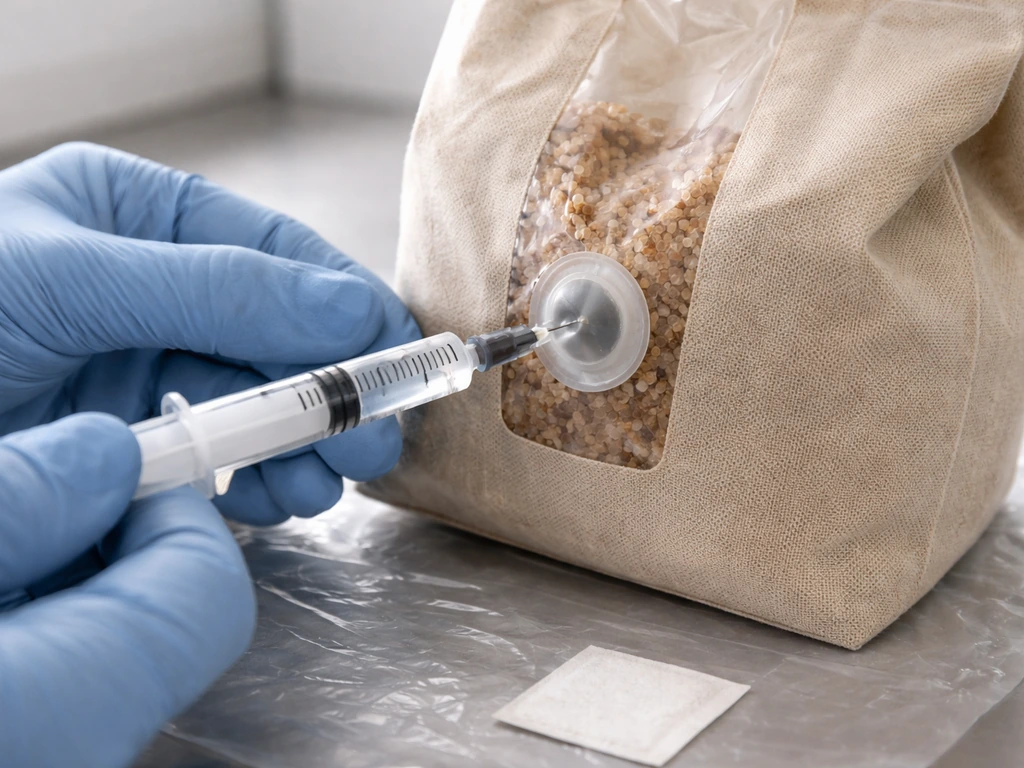
How to Inject Spores Into a Grow Bag Step by Step
Step-by-step how to inject mushroom spores into fabric grow bags, avoid contamination, verify colonization, then move to