
For Golden Teacher cultivation, the best grow bag is a polypropylene autoclavable filter patch bag rated for at least 15 PSI sterilization, with a 0.2-micron synthetic filter patch, a self-healing injection port, and a capacity between 3 and 10 pounds of dry substrate. These bags handle pressure cooking without melting, allow gas exchange during colonization, and seal out contaminants effectively enough that even beginners can achieve clean colonization rates with basic technique. That said, your ideal bag depends on your sterilization method, batch size, and experience level, so the rest of this guide breaks down exactly what to look for and which options suit different workflows.
Best Grow Bag for Golden Teacher: Top Autoclavable & Fabric
Marcus Holloway
11 Aug 2026
Before going further: Golden Teacher is a popular cultivar name within hobbyist communities for Psilocybe cubensis. In the United States, psilocybin and psilocin are Schedule I controlled substances under the Controlled Substances Act, meaning cultivation for personal use is federally illegal. Oregon has created a licensed psilocybin services program under Ballot Measure 109, and in Canada, Health Canada can grant access through subsection 56(1) exemptions under the Controlled Drugs and Substances Act and via the Special Access Program. This article covers grow bag selection as it applies to the cultivation workflow and equipment itself. Always verify the laws in your jurisdiction before proceeding.
Quick buy recommendations for Golden Teacher grow bags
If you just need a fast answer on which bags to buy, here are the top picks by use case. Each is covered in more detail further down.
| Use Case | Bag Type | Key Features | Capacity |
|---|---|---|---|
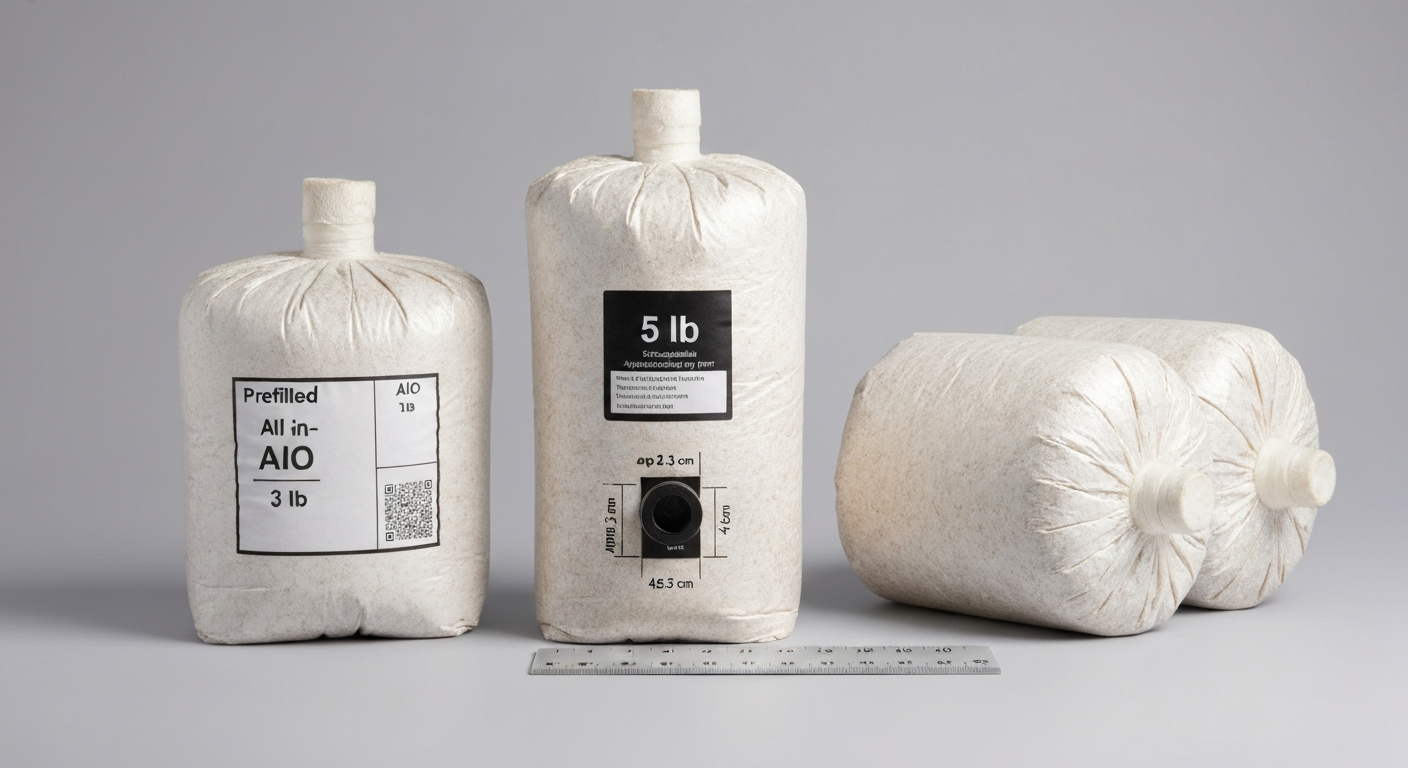
| Overall best | Polypropylene autoclavable filter patch bag | 0.2-micron filter, self-healing injection port, heat-sealable | 5 lb (2.3 kg) dry substrate |
| Beginner-friendly | Pre-assembled all-in-one (AIO) autoclavable bag | Substrate pre-measured, injection port, no external pressure cooker needed for small runs | 3–5 lb |
| Breathable/organic grows | Organic cotton or unbleached polypropylene bag with large filter patch | Higher gas exchange, compostable options available, suited for pasteurized straw or manure substrates | 5–10 lb |
| Wholesale purchasing | Bulk polypropylene filter patch bags (50–100 pack) | Cost drops significantly per unit; consistent filter patch size across lot | Various (3, 5, 10 lb) |
| Canadian buyers | Locally sourced polypropylene autoclavable bags from Canadian mycology suppliers | Avoids customs delays; ships within Canada; compatible with Health Canada research exemption requirements | 3–10 lb |
For most home-scale growers running a pressure cooker sterilization workflow, the standard 5-pound polypropylene filter patch bag is the workhorse option. It fits most 23-quart pressure cookers, handles repeated sterilization cycles, and gives the filter patch enough surface area for adequate CO2 off-gassing during colonization.
Why bag material, filter patches, and gas exchange matter for mycelium
Golden Teacher mycelium behaves like all Psilocybe cubensis strains during colonization: it needs oxygen to grow, but it also produces carbon dioxide as it metabolizes substrate. In a sealed environment with no gas exchange, CO2 accumulates, colonization slows dramatically, and you create conditions that favor anaerobic contaminants. This is why filter patches exist. A properly sized 0.2-micron synthetic filter patch allows gas exchange while blocking bacteria, mold spores, and other contaminants from entering the bag.
Bag material determines whether the bag survives sterilization. Standard polypropylene (PP) is the industry standard for autoclavable mushroom bags because it tolerates sustained temperatures above 121°C (250°F) at 15 PSI without warping, leaching, or developing microfractures. Polyethylene (PE) bags, including most fabric grow bags designed for plants, cannot handle these conditions. They will melt, deform, or develop small tears that compromise sterility. If you are thinking about repurposing fabric grow bags from your vegetable garden for mushrooms, that is not a workable substitution for sterilized substrates.
Filter patch size matters more than most beginner guides admit. A filter patch that is too small relative to bag volume creates a CO2 bottleneck. A common rule of thumb among experienced cultivators is a minimum filter patch area of around 10 square centimeters for a 3-pound bag, scaling up proportionally. Some bags ship with filter patches closer to 5–6 square centimeters, which is marginal for anything above a 2-pound substrate load. When comparing bags, check the filter patch dimensions in the product listing, not just the micron rating.
Size and feature guidance: what to actually look for when buying
Autoclavable polypropylene vs breathable fabric bags
For Golden Teacher on sterilized grain or supplemented sawdust (common masters mix or CVG variants), you need autoclavable polypropylene bags. Breathable fabric bags made from woven or non-woven materials, including the popular fabric smart pots used for vegetables, are designed for soil growing and do not maintain sterility through pressure sterilization. However, breathable bags do have a place in mushroom cultivation: pasteurized straw and manure-based substrates, where full sterilization is not the goal, can work in breathable non-woven polypropylene bags or even unbleached cotton bags. The more permeable material allows moisture management and some gas exchange, though contamination risk is higher than with sealed filter patch bags.
Injection ports
A self-healing injection port, typically a silicone septum built into the side of the bag, is one of the most practical features you can buy. It lets you inoculate with a spore syringe or liquid culture (LC) syringe through the port without opening the bag, which is the single highest-risk moment in the entire workflow. Bags without injection ports require you to flame-sterilize a needle, pierce the bag yourself, and re-seal with tape, which works but adds steps and risk. For beginners especially, the injection port is worth the small price premium.
Zip closures and heat sealing
Most autoclavable filter patch bags are designed to be heat-sealed after loading, using an impulse heat sealer. This creates a permanent, airtight seal that is more reliable than zip closures at high temperature. Some bags offer a zip or fold-over closure, which is convenient for pasteurized substrate workflows where you might be opening and resealing the bag during fruiting. For sterilized grain workflows, heat sealing is the standard approach, and a basic impulse sealer costs around $20 to $30 and pays for itself quickly.
Recommended sizes
- 3 lb (1.4 kg) bags: Good for single-experiment runs or smaller pressure cookers. Fits most 16-quart cookers. Lower yield per bag but easier to manage contamination catches before they spread.
- 5 lb (2.3 kg) bags: The most versatile size for home grows. Fits 23-quart pressure cookers two to three at a time. Good balance of yield and sterilization consistency.
- 10 lb (4.5 kg) bags: Suited for large autoclave setups or bulk pasteurized straw grows. Overkill for most home setups but cost-effective at wholesale volume.
- Filter patch dimensions: Look for at least 10 cm² patch area on 3–5 lb bags; 15 cm² or larger for 10 lb bags.
Choosing the right bag based on your workflow and experience level
Your experience level, sterilization setup, and target yield should drive which bag you choose more than any single product feature. Here is how to think through it.
Beginners
If you are new to mushroom cultivation, start with an all-in-one bag or a standard 3–5 lb polypropylene filter patch bag with a pre-installed injection port. All-in-one bags come pre-loaded with sterilized substrate and an injection port, so you skip the substrate prep and sterilization steps entirely on your first run. This reduces the number of variables you are managing simultaneously. Once you have seen what healthy colonization looks like and how to handle syringes cleanly, you can move on to preparing your own substrate and sterilizing bags yourself.
Experienced growers
With a pressure cooker or autoclave in your setup, the standard 5 lb polypropylene filter patch bag is the most efficient choice for sterilized grain or supplemented sawdust. Buying in bulk (50–100 bag lots) drops the per-unit cost considerably, which is worth it once you are running multiple bags per cycle. At this level, you are also likely experimenting with liquid culture inoculation, which pairs well with injection port bags and results in faster colonization times than spore syringes, typically 10–14 days versus 18–25 days for Golden Teacher on sterilized rye or wheat berry.
Sterilization method compatibility
| Sterilization Method | Compatible Bag Type | Notes |
|---|---|---|
| Pressure cooker (15 PSI, 121°C) | Polypropylene autoclavable filter patch bag | Standard home setup; 2.5 hours for grain, 1.5 hours for supplemented sawdust |
| Laboratory autoclave | Polypropylene autoclavable filter patch bag | Same material; used for larger batch sizes |
| Pasteurization (82°C/180°F, 1–2 hours) | Polypropylene filter patch bag or breathable non-woven bag | Used for straw, manure-based, or coco coir substrates; does not require full autoclavable PP |
| Oven or boiling water | Not recommended | Cannot achieve consistent sterilization; oven temperatures uneven; avoid for any substrate intended for mushroom cultivation |
Substrate compatibility: what works with which bag
Golden Teacher is a moderately aggressive colonizer and is considered beginner-friendly within the Psilocybe cubensis group. It performs well on several substrates, and your substrate choice will influence which bag type and sterilization method you need.
| Substrate | Sterilization Needed | Compatible Bag | Notes |
|---|---|---|---|
| Sterilized rye grain or wheat berries | Yes (15 PSI, 2–2.5 hrs) | Autoclavable PP filter patch bag | Fastest colonization; highest contamination risk without strict technique |
| Masters Mix (hardwood sawdust + wheat bran, 1:1) | Yes (15 PSI, 2.5 hrs) | Autoclavable PP filter patch bag | High yields; supplementation increases contamination risk if not sterilized properly |
| CVG (coco coir + vermiculite + gypsum) | Pasteurization only | PP filter patch bag or breathable bag | Low contamination risk; slower colonization than grain |
| Pasteurized straw | Pasteurization (82°C, 1–2 hrs) | Breathable non-woven PP or filter patch bag | Good for bulk fruiting; higher contamination risk than grain-to-bulk methods |
| Manure-based (horse or cow manure + straw) | Pasteurization | Filter patch or breathable bag | High yield potential; strong odor; use outdoors or well-ventilated space |
One thing worth noting: substrate nutrition level and bag gas exchange are linked. Highly supplemented substrates like Masters Mix produce more metabolic heat and CO2 during colonization. This makes adequate filter patch size even more important, and it is why some experienced growers use bags with two filter patches for supplemented sawdust runs.
Step-by-step setup: from substrate mix to fruiting
Step 1: Prepare your substrate
For grain substrate, rinse rye or wheat berries, simmer for 15–20 minutes until slightly softened but not burst, drain, and dry the surface until no visible moisture remains on the grain surface. Field capacity is the target: squeeze a handful and only a few drops of water should fall. Load bags to no more than two-thirds full to allow for proper sterilization heat penetration and later colonization mixing.
Step 2: Load and seal bags
Fold down the top of the bag before loading to keep the seal area clean. Load your substrate, unfold, and heat-seal approximately 2–3 inches above the substrate line. If your bags have injection ports pre-installed, make sure the port is positioned on the upper half of the bag and away from the seal line.
Step 3: Sterilize
Place loaded bags upright in your pressure cooker on a trivet or rack to prevent direct contact with the bottom. Sterilize at 15 PSI: grain for 2 to 2.5 hours, supplemented sawdust for 2.5 hours. Do not rush cool-down. Let pressure drop naturally, then allow bags to cool to room temperature (below 30°C/86°F) before inoculation. Cooling overnight in a clean area is a common and reliable approach.
Step 4: Inoculate
Work in the cleanest environment you can create. A still air box (SAB) is a good minimum for beginners; a laminar flow hood is the gold standard for experienced growers running multiple bags. Flame-sterilize your needle, let it cool for 10–15 seconds, wipe the injection port with 70% isopropyl alcohol, and inject 1–2 cc of spore solution or liquid culture per pound of substrate through the port. Multiple injection points distributed across the bag speed colonization. Seal any needle holes with micropore tape if your bag does not have a self-healing port.
Step 5: Incubation
Store inoculated bags at 24–27°C (75–80°F) in a dark or low-light environment. Golden Teacher colonizes grain in approximately 18–25 days with spore syringes, or 10–14 days with liquid culture. Once the bag is 30–40% colonized, you can break up and shake the bag to redistribute mycelium and speed colonization of the remaining substrate. Do this once, then leave the bag undisturbed until fully colonized.
Step 6: Fruiting
Fully colonized grain bags are typically used to inoculate a bulk fruiting substrate rather than fruited directly in the grain bag. Spawn the colonized grain into a fruiting container (a monotub or similar) at a 1:4 to 1:5 spawn-to-substrate ratio. For bags containing bulk substrate like CVG or Masters Mix, you can initiate fruiting directly in the bag by opening the top fold and introducing fresh air exchange, humidity (maintain 90–95% RH in the fruiting environment), and indirect light on a 12/12 cycle. Expect pins within 5–14 days of fruiting initiation for Golden Teacher.
Contamination prevention: practical actions that actually make a difference
Contamination is the main reason bag-based grows fail. Most contamination events are preventable with consistent technique rather than expensive equipment. Here is where to focus your effort.
Before sterilization
- Inspect bags for pinholes or thin spots before loading. Hold them up to a light source. Discard any bag with visible damage.
- Keep the bag seal area completely dry and free of substrate particles before heat sealing. Grain or sawdust in the seal line creates weak points.
- Do not overfill bags. Substrate touching the filter patch blocks gas exchange and invites contamination at that point.
- Ensure substrate is at correct field capacity before loading. Overly wet substrate increases contamination risk significantly during sterilization and colonization.
During inoculation
- Wipe all surfaces in your work area with 70% isopropyl alcohol before and after inoculation.
- Wear nitrile gloves and a face mask. Minimize talking, sneezing, and movement that disturbs air.
- Flame-sterilize your needle before every single bag, not just the first one.
- Work quickly but deliberately. The longer a bag is open or a needle is exposed to open air, the higher the contamination risk.
- If using a still air box, let it sit undisturbed for at least 10 minutes after wiping down before you begin working inside it.
During colonization
- Inspect bags daily. Early contamination (green, black, pink, or orange mold; sour smell) caught on day 2–4 can be discarded before it spreads to other bags.
- Do not open bags during colonization unless absolutely necessary. Every opening is an entry point.
- Store colonizing bags away from air vents, open windows, and anywhere with high ambient mold pressure (kitchens, bathrooms, basements with visible moisture).
- Maintain stable temperature. Temperature swings above and below optimal range stress mycelium and create openings for bacterial contamination.
- If one bag shows contamination, isolate it in a sealed plastic bag before discarding. Do not open a contaminated bag indoors.
Pressure cooker and autoclave considerations
One of the most common contamination sources that growers overlook is incomplete sterilization due to pressure cooker issues rather than inoculation technique. Always verify your cooker reaches and holds 15 PSI. A jiggle-top weight regulator or a dial gauge that has not been calibrated recently can give false confidence. If you are seeing repeated contamination after inoculation on multiple bags from the same sterilization run, test your cooker with a calibrated gauge before assuming your inoculation technique is the problem.
Fabric grow bags vs mushroom filter patch bags: an honest comparison
If you have been using fabric grow bags for vegetables or autoflowers and are wondering whether to repurpose them for mushrooms, the answer is: it depends on your substrate and sterilization method. Standard woven or non-woven fabric grow bags, including the popular options used for trees and large plants, are not autoclavable at 15 PSI. They are excellent for pasteurized straw or manure-based substrates where full sterilization is not required, but they are not a substitute for polypropylene autoclavable bags when you need a sterile environment.
| Feature | Autoclavable PP Filter Patch Bag | Fabric Grow Bag (Woven/Non-woven) |
|---|---|---|
| Autoclave/pressure cooker compatible | Yes (up to 121°C, 15 PSI) | No (deforms or tears under pressure) |
| Gas exchange | Via 0.2-micron filter patch | Via entire bag surface (too permeable for sterile work) |
| Contamination barrier | High (filter patch only entry point) | Low (entire surface is permeable) |
| Use with sterilized grain/sawdust | Yes | No |
| Use with pasteurized straw/CVG | Yes (with some excess permeability) | Yes (with higher contamination risk accepted) |
| Reusability | Single use recommended | Multiple seasons |
| Cost per unit | $0.50–$2.00 depending on volume | $1.00–$8.00 depending on size and material |
| Organic/compostable options | Limited (some unbleached PP options) | Yes (organic cotton, jute, biodegradable non-woven) |
For Golden Teacher specifically, where most home growers are working with sterilized grain or supplemented sawdust, the autoclavable filter patch bag is the right tool. Fabric grow bags are better suited for the fruiting environment side of things, or for substrate types that only need pasteurization. If organic and breathable options matter to you for pasteurized substrate work, unbleached non-woven polypropylene or organic cotton bags offer a middle ground.
Where to buy: Canada, wholesale, and organic options
For Canadian growers, sourcing locally matters for lead time and avoiding customs complications. For a curated list of recommended suppliers and models, see our guide to the best grow bags Canada offers. Several Canadian mycology suppliers stock polypropylene autoclavable filter patch bags, including injection port variants, and ship domestically with reasonable turnaround. Search for Canadian mushroom cultivation suppliers directly rather than relying on large US-based retailers that may flag or hold shipments at the border depending on what else is in the package.
For wholesale purchasing, buying in lots of 50 or 100 bags drops the per-unit cost from around $1.50–$2.00 each (retail) to $0.50–$0.80 each or less. If you are running more than two or three bags per cycle, buying wholesale makes financial sense within the first few runs. For supplier comparisons and bulk-order tips, see our roundup of the best grow bags wholesale online for pricing, filter patch quality, and lead-time considerations. Look for consistent filter patch quality across the lot when ordering from new suppliers; filter patch adhesion failures are a known quality-control issue with some cheaper wholesale sources.
For organic and breathable options, the main use case is pasteurized substrate grows. Unbleached, undyed non-woven polypropylene bags are widely available and are a reasonable choice. Organic cotton bags are available from specialty suppliers and are genuinely compostable, which some growers value for waste management. See our guide to the best organic grow bags for pasteurized substrates and compostable options. These are not suitable for pressure-sterilized grain work but work well for CVG, straw, and manure substrates.
Quick shopping checklist before you buy
- Confirm the bag is polypropylene and rated for 15 PSI autoclave sterilization if you plan to sterilize grain or supplemented sawdust.
- Check filter patch micron rating: 0.2 micron is the standard for contaminant exclusion.
- Check filter patch dimensions: minimum 10 cm² for 3–5 lb bags; larger for bigger bags.
- Look for a self-healing silicone injection port if you want to avoid piercing the bag manually.
- Decide on heat-seal or zip closure based on your sealer setup.
- Match bag capacity to your pressure cooker size: a 23-quart cooker typically fits two to three 5 lb bags.
- If buying wholesale, order a small test lot first to verify filter patch adhesion and material quality before committing to 100 units.
- For Canadian buyers, confirm the supplier ships domestically and check turnaround time before ordering.
- If using pasteurized substrate, breathable or organic bags are an option, but factor in the higher contamination risk.
A note on legal and safety considerations
Psilocybe cubensis cultivation sits in legally complex territory in most jurisdictions. In the US, psilocybin and psilocin remain Schedule I substances under the Controlled Substances Act. Oregon's licensed psilocybin services program allows regulated access, but home cultivation is not part of that framework. In Canada, Health Canada manages psilocybin access through clinical exemptions and the Special Access Program, not through personal cultivation licenses. Health Canada explains regulated clinical and research access to psilocybin and psilocin (see Psilocybin and psilocin (Magic mushrooms) - Health Canada (exemptions and regulatory pathways)) including subsection 56(1) exemptions and other formal pathways. Check your local, state or provincial, and federal laws before purchasing spores, substrates, or cultivation equipment with intent to cultivate. This guide covers equipment selection as a topic in its own right, and the grow bag information here applies equally to legal mushroom cultivation (gourmet species, medicinal species) where the same bag types, sterilization methods, and workflows apply exactly.
On safety: if you are working with microbiological materials in any context, the CDC and NIH Biosafety in Microbiological and Biomedical Laboratories (BMBL) guidance covers core principles around containment, PPE, and waste decontamination. See the BMBL 6th Edition (PDF), CDC/NIH for detailed biosafety guidance on containment, PPE, waste handling, and incident reporting BMBL 6th Edition (PDF) — CDC/NIH. At the home scale, practical equivalents include working in clean environments, autoclaving or double-bagging contaminated waste before disposal, wearing gloves and masks during inoculation, and never opening contaminated bags in shared living spaces.
FAQ
What is the single best grow bag to buy for someone who wants a reliable, low‑maintenance option for Golden Teacher mycelium work?
There is no single universally “best” bag because the right choice depends on your legal status, sterilization method, scale, and contamination‑risk tolerance. For hobbyists who need sterile containment compatible with autoclaving/pressure cooking and want predictable gas exchange, mushroom‑specific autoclavable filter bags with welded seams and validated filter patches are widely recommended in commercial and lab contexts. If open‑air fruiting or lower‑risk ambient incubation is the goal, breathable fabric grow bags (woven polypropylene or cotton blends with breathable panels) offer simpler gas exchange but are not an alternative to proper sterile technique. Choose a bag rated for the sterilization method you plan to use, from a reputable supplier with clear specs and customer reviews.
How do bag material and filter patches affect mycelium growth and contamination risk?
Bag material and filtration influence gas exchange, moisture control, and microbial ingress. Impermeable autoclavable bags with purpose‑designed microfilter patches let CO2 escape while blocking spores/contaminants when used with proper sterile workflows. Breathable fabric bags increase air exchange and reduce high‑CO2 conditions but are more porous to environmental spores and may need stricter environmental controls. Look for bags with validated filter ratings, welded seams, and materials compatible with your sterilization and incubation approach. Avoid assuming any bag is contamination‑proof; containment and technique matter as much as the bag itself.
What bag features should I prioritize when shopping (size, ports, closures, sterilization compatibility)?
Prioritize (in order): legality and safety compliance; sterilization compatibility (autoclavable vs non‑autoclavable) matching your chosen sterilization method; presence and quality of filter patches with specified micron/airflow ratings; secure closures (welded seams or zip with tamper‑proof seals) if you need re‑sealable access; injection or inoculation ports only if you plan to use needle inoculation methods—but note ports increase design complexity and must be used with sterile technique; and size options that match your planned substrate volume and incubation space. For larger scale, consider reinforced seams and thicker materials; for hobby scale, smaller pre‑sterilized bags reduce handling.
Should I buy autoclavable filter bags or breathable fabric grow bags? Which is better?
Autoclavable filter bags are generally preferred for sterile substrate work because they are designed to withstand high temperatures and maintain a sterile internal environment via validated filter patches. Breathable fabric bags can be useful for certain non‑sterile or ambient fruiting stages and for gardeners preferring organic or reusable materials, but they increase exposure to environmental microbes. The “better” option depends on your workflow: if you intend to prepare substrate under heat sterilization, autoclavable filter bags are the safer, more controlled choice; if you want passive air exchange and accept higher contamination risk, breathable fabrics may be acceptable for later stages only.
Can I use organic or reusable fabric grow bags instead of disposable autoclavable bags?
You can choose organic or reusable fabric bags if they meet your needs for breathability and material safety, but they are not a direct substitute for autoclavable bags when sterile substrate sterilization is required. Reusable fabrics are harder to sterilize uniformly and may retain contaminants. If opting for organic/reusable bags, ensure the material is compatible with your sterilization/cleaning methods, that seams and closures are durable, and that you understand the trade‑offs in contamination risk and handling.
What should I look for in Canadian and wholesale suppliers?
For Canadian suppliers, verify that the vendor ships within Canada, provides compliant documentation, and has clear product specifications (material, filter ratings, autoclave temperature limits, seam type). Check customer reviews, return policies, and if they supply MSDS or technical data. For wholesale purchases, prioritize suppliers offering lot traceability, bulk pricing, consistent manufacturing tolerances, and options for pre‑sterilized or bulk‑sterilizable bags. Avoid vendors that don’t disclose material specs or filter performance. If legal/regulatory restrictions apply in your jurisdiction, confirm the supplier’s policies on restricted products.
Next Articles
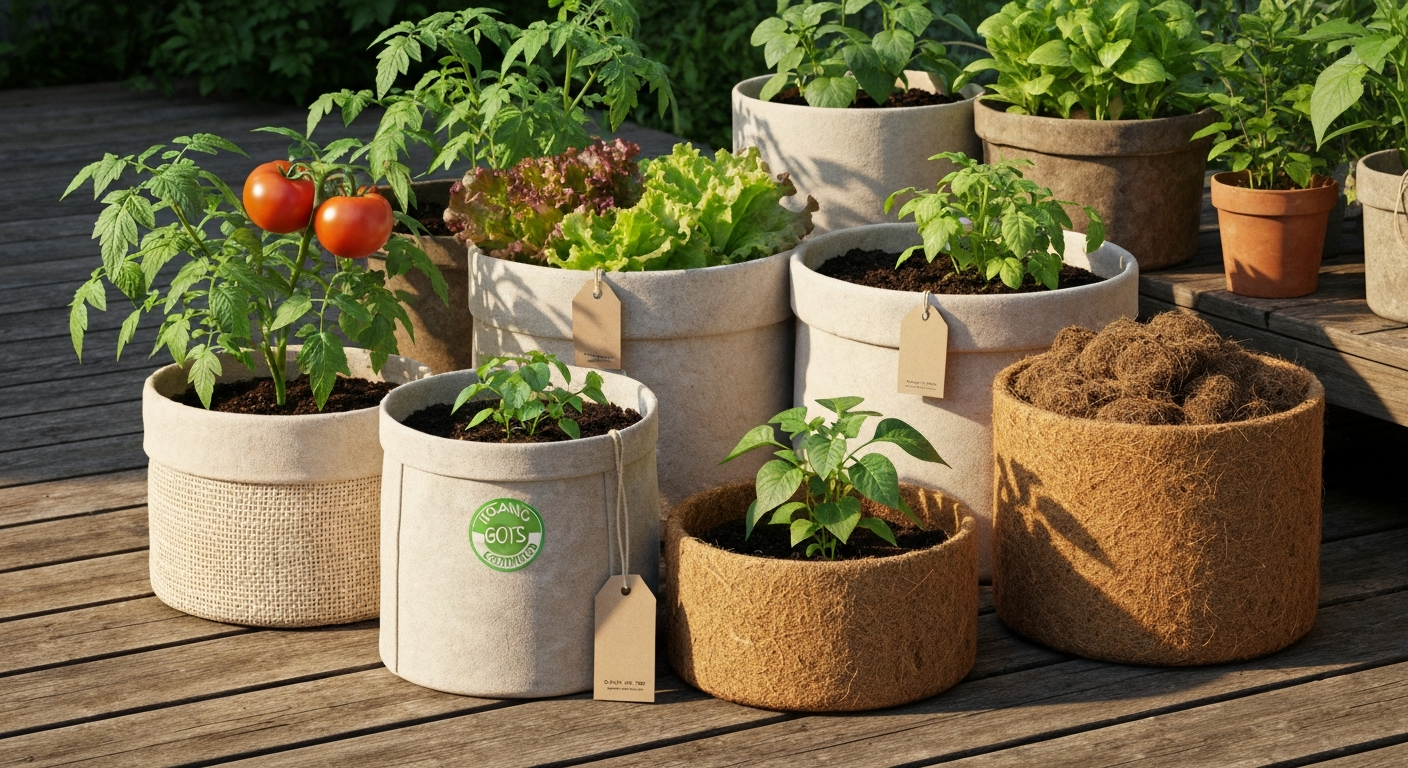
Best Organic Grow Bags: Top Picks & Buyer’s Guide for Home Growers
Best organic grow bags: compare cotton, jute, coir, hemp; pick sizes for veggies, flowers, trees, autoflowers and Golden
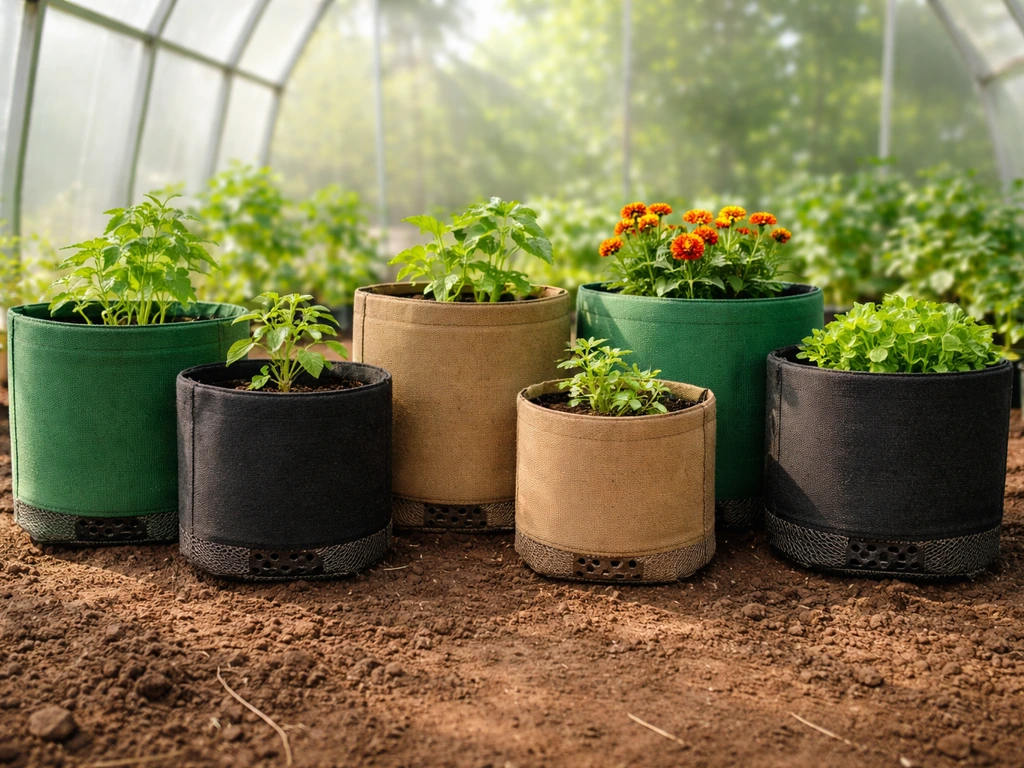
Best Grow Bags Wholesale Online: How to Buy Right
Choose durable fabric grow bags for vegetables, flowers, trees and mushrooms with the right size, drainage, and wholesal
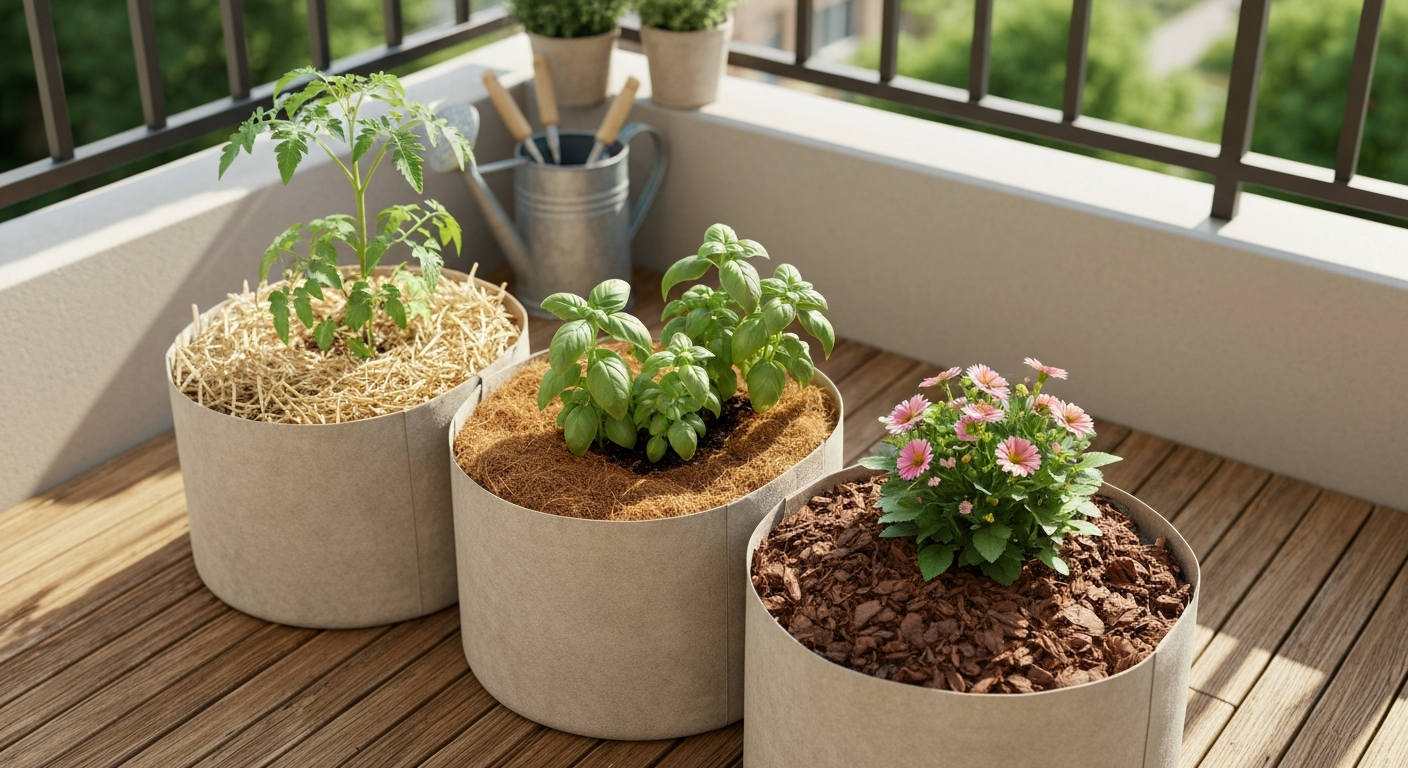
Best Mulch for Grow Bags: Top Picks for Vegetables & Flowers
Find the best mulch for fabric grow bags: top picks, how-to apply, crop & climate advice, and troubleshooting.