Know what kind of "mushroom grow bag" you have
Before anything else, it helps to know exactly what you're working with, because "mushroom grow bag" can mean a few different things and the reuse rules differ for each.
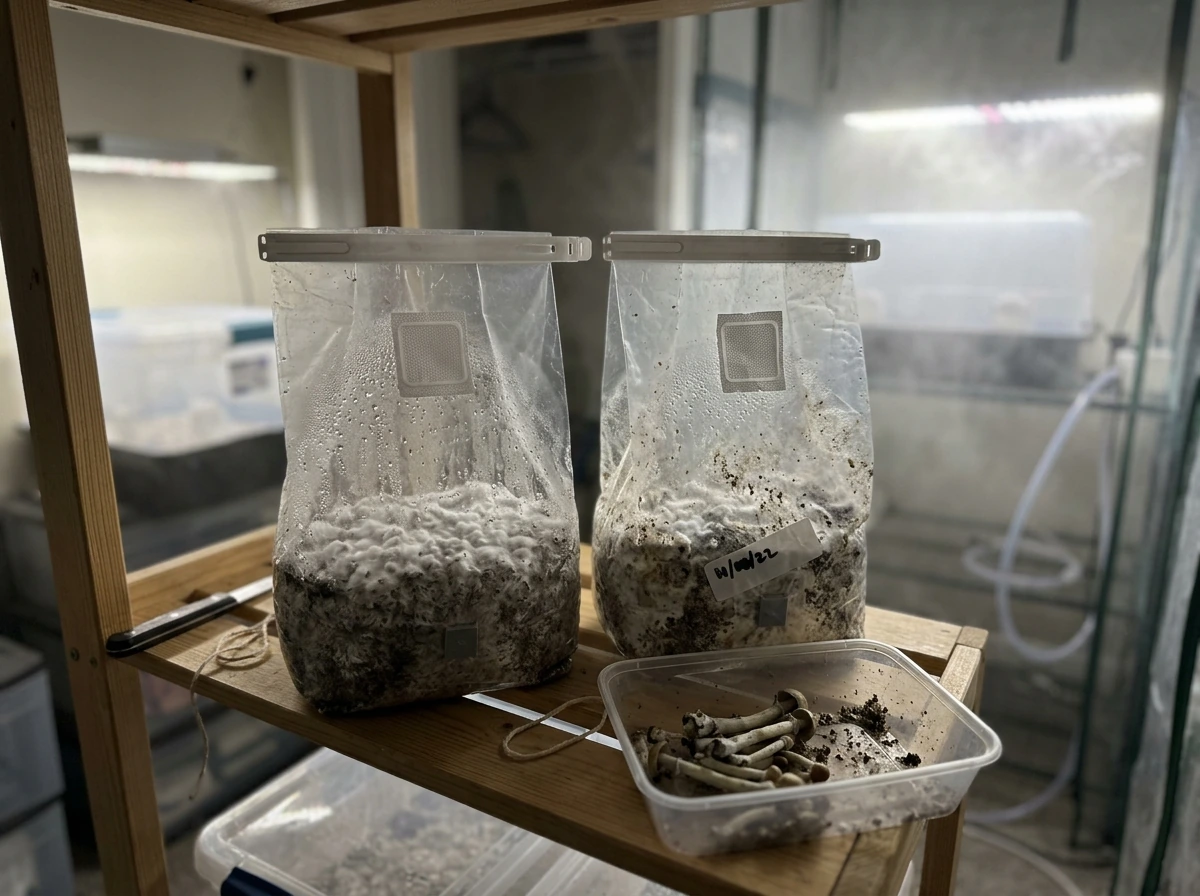
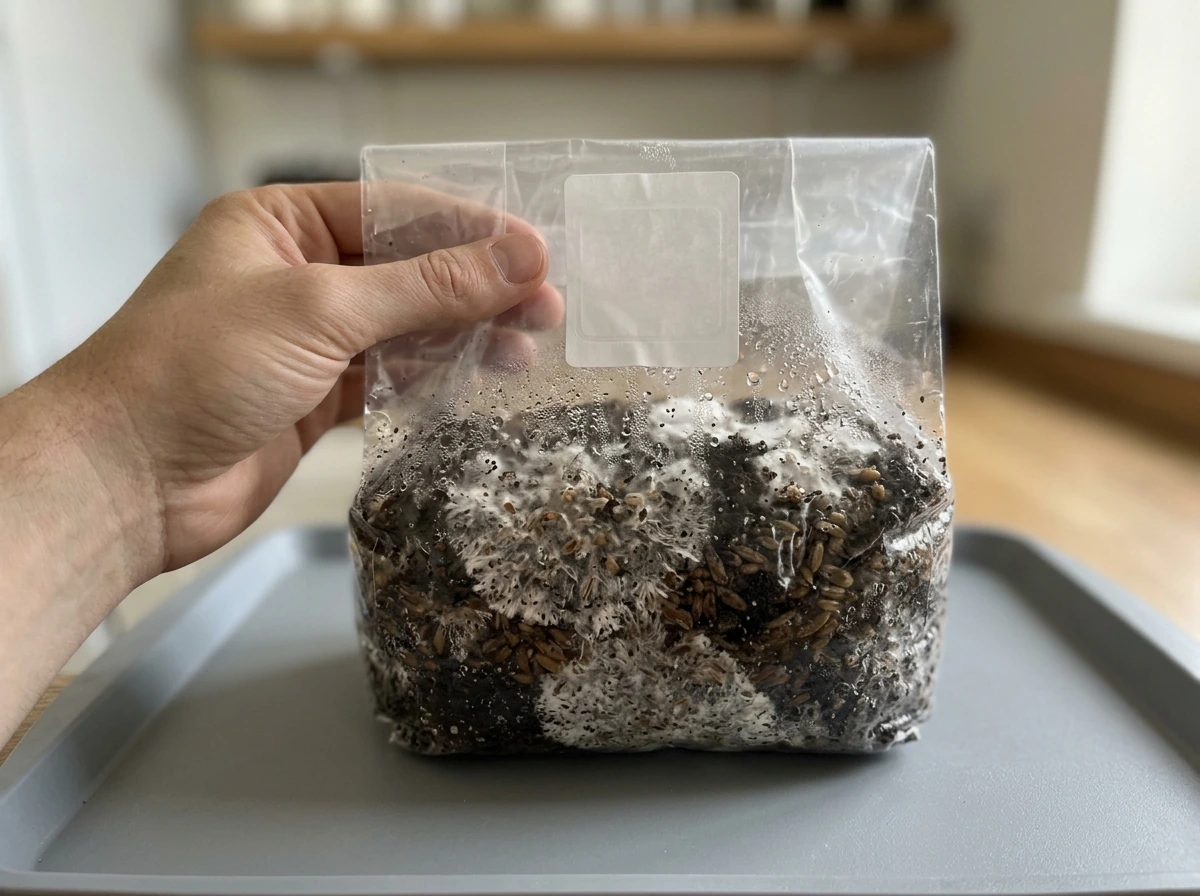
The first type is an all-in-one inoculated grow bag. These come pre-filled with sterilized substrate and grain, sealed, and ready to inoculate or already colonized. They're single-use by design. The filter patch built into the side allows gas exchange while blocking airborne contaminants, but once the bag is opened, cut, or disturbed, that protective seal is gone. These bags are made for one substrate run, not repeated sterilization cycles.
The second type is a fruiting block bag, which is essentially a colonized block you've bought or grown, sealed inside a bag. After harvest you manage flushes by resealing the bag, rehydrating the block, and waiting. The block can produce multiple flushes without the bag needing to be re-sterilized.
The third type is an empty autoclavable mushroom bag, the kind you'd buy in bulk to fill with your own substrate mix. These are made from polypropylene and are specifically designed to withstand pressure-cooking at 15 PSI for 90 to 120 minutes (the standard sterilization run for a 5-pound substrate bag). Certain autoclavable bags are rated for multiple sterilization cycles, and rinsing, drying, refilling, and re-sterilizing is a legitimate workflow, but only with bags confirmed to tolerate repeated runs. Thin or already-weakened bags will not hold up.
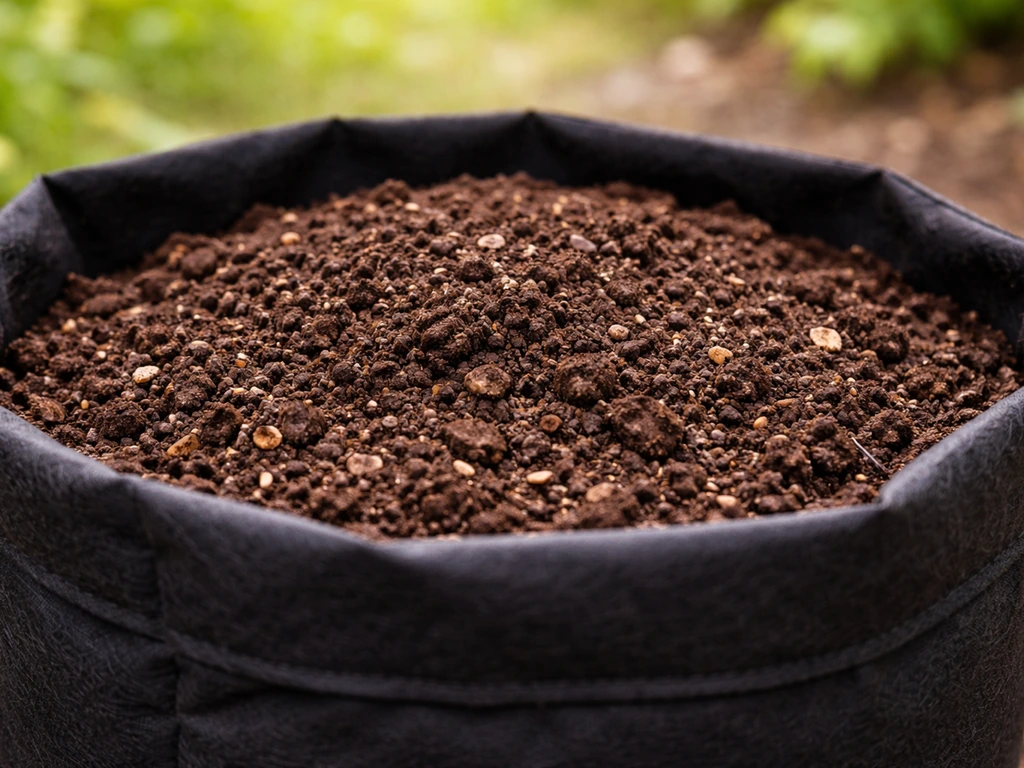
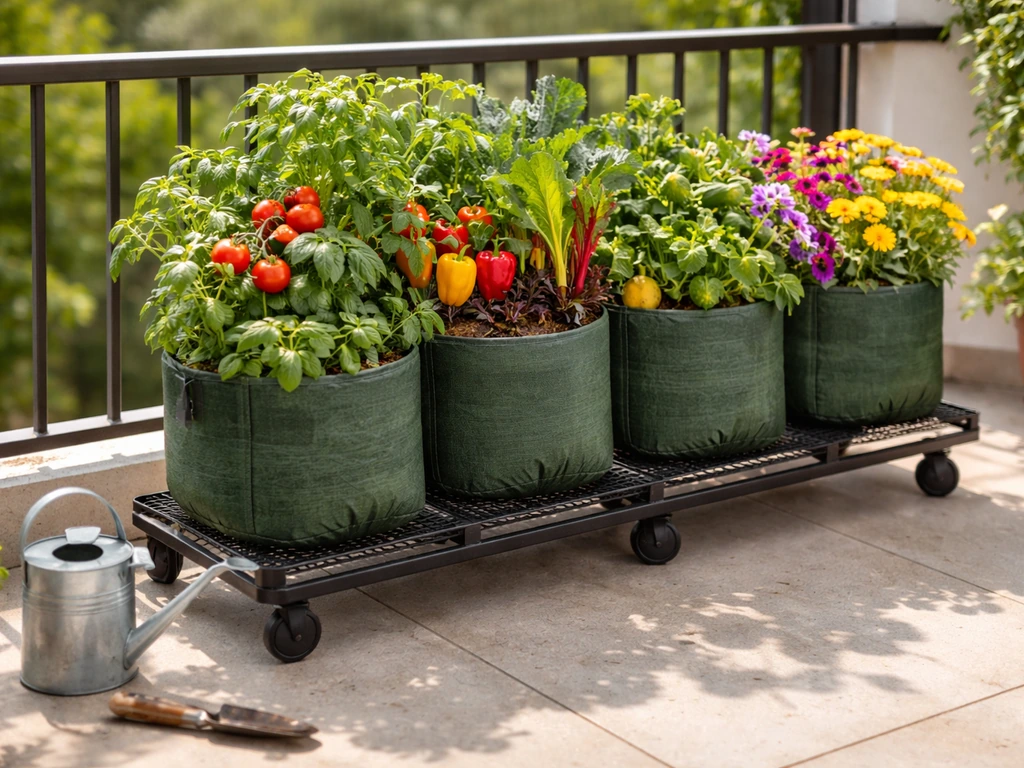
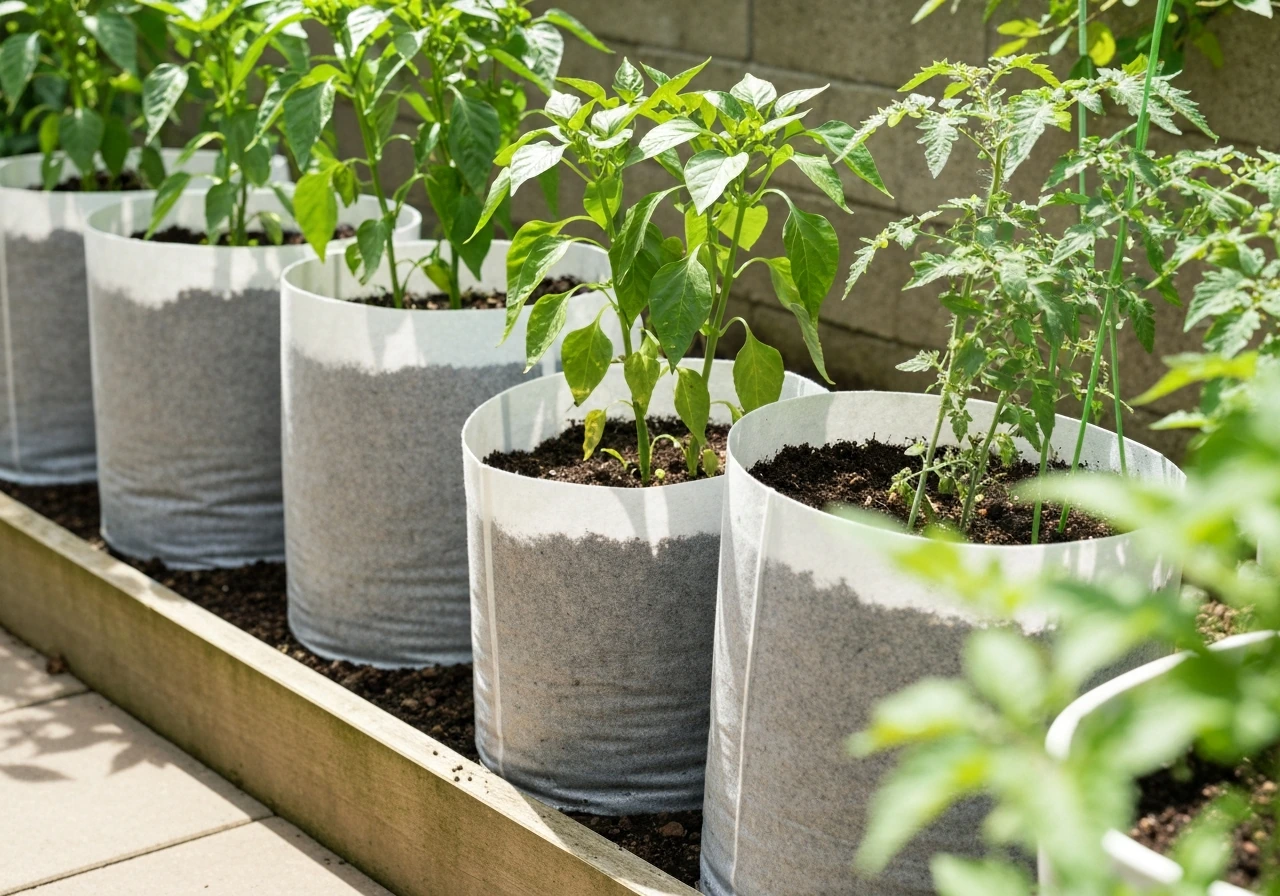
If you're coming from the fabric grow bag side of things (the kind used outdoors for tomatoes, herbs, or potatoes), those are a completely different category. Fabric grow bags are not used for mushroom cultivation in the same way. Mushroom grow bags are sealed, sterile, polypropylene bags, not breathable fabric containers. Keep that distinction clear and the reuse question becomes a lot easier to answer.
When reuse is OK vs when to discard
Here's a practical way to think about it. You're making a judgment call based on the condition of the block and the bag, and there are some clear go/no-go signals.
Reuse is reasonable when:
- The block still smells earthy and clean, not sour, musty, or off
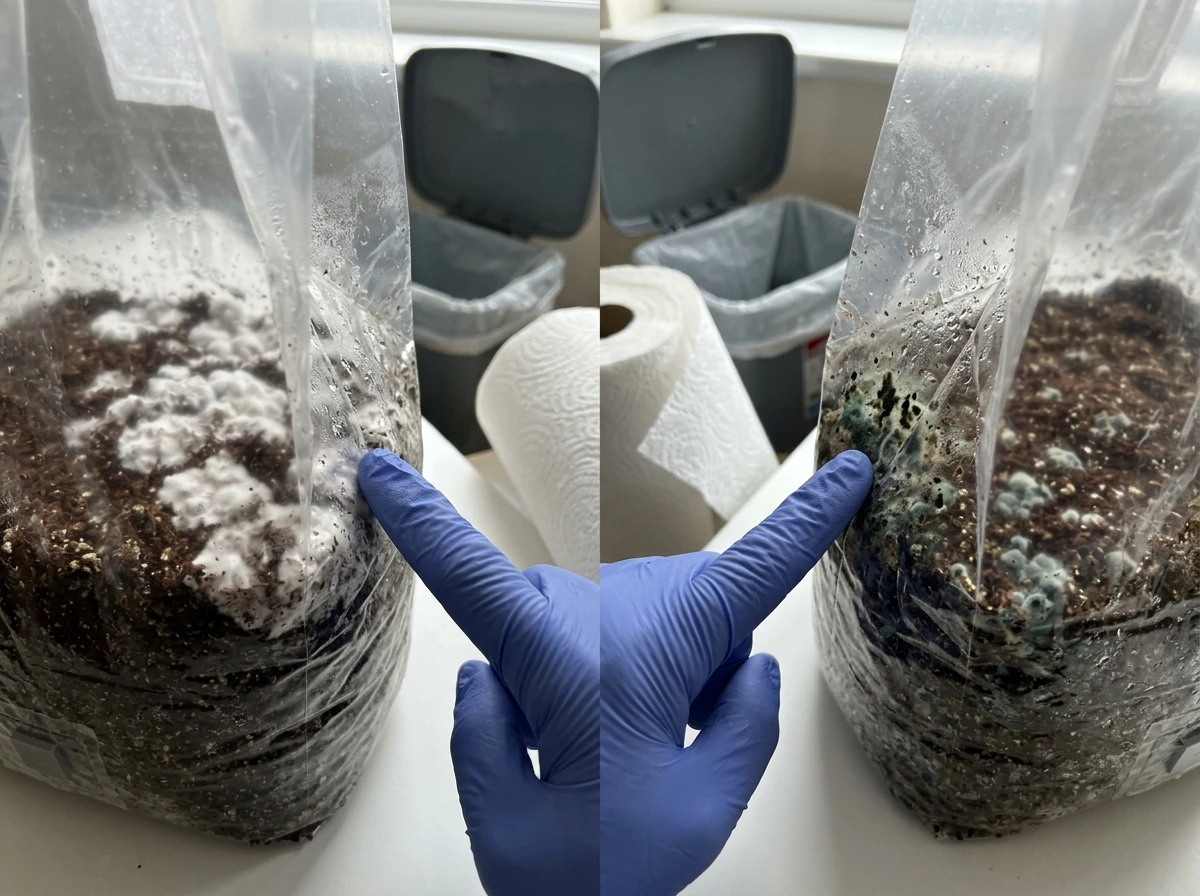
- The mycelium looks white and healthy, not discolored or patchy
- You haven't seen any green, black, pink, or orange mold anywhere on or in the block
- The block still has visible weight and moisture (feels dense, not dried out and crumbly)
- You've only completed one or two flushes and pins are still forming
- You removed spent mushrooms and stems promptly after each harvest (leaving them leads to sliminess and decomposition that can sicken the block)
Discard and start fresh when:
- You see heavy mold growth, especially any color other than white
- There's a musty, sour, or strange odor, any unusual smell is a reliable contamination signal
- The block has gone dark, slimy, or wet-rotted in sections
- No pins have appeared after multiple rest-and-rehydrate cycles
- The bag itself has tears, punctures, or a compromised filter patch
- You're seeing contamination spreading from one area toward healthy mycelium
- The kit has been sitting unattended with decomposing mushroom material left on the surface
One important rule: if you spot contamination, move that grow away from any others immediately. Mold spores spread, and keeping a contaminated block near healthy ones is how you lose an entire batch. Trichoderma, a major cause of green mold disease in cultivated mushrooms, is associated with crop losses, so preventing spread matters for protecting the rest of your grow mold spores spread.
How to clean, dry, and store after harvest
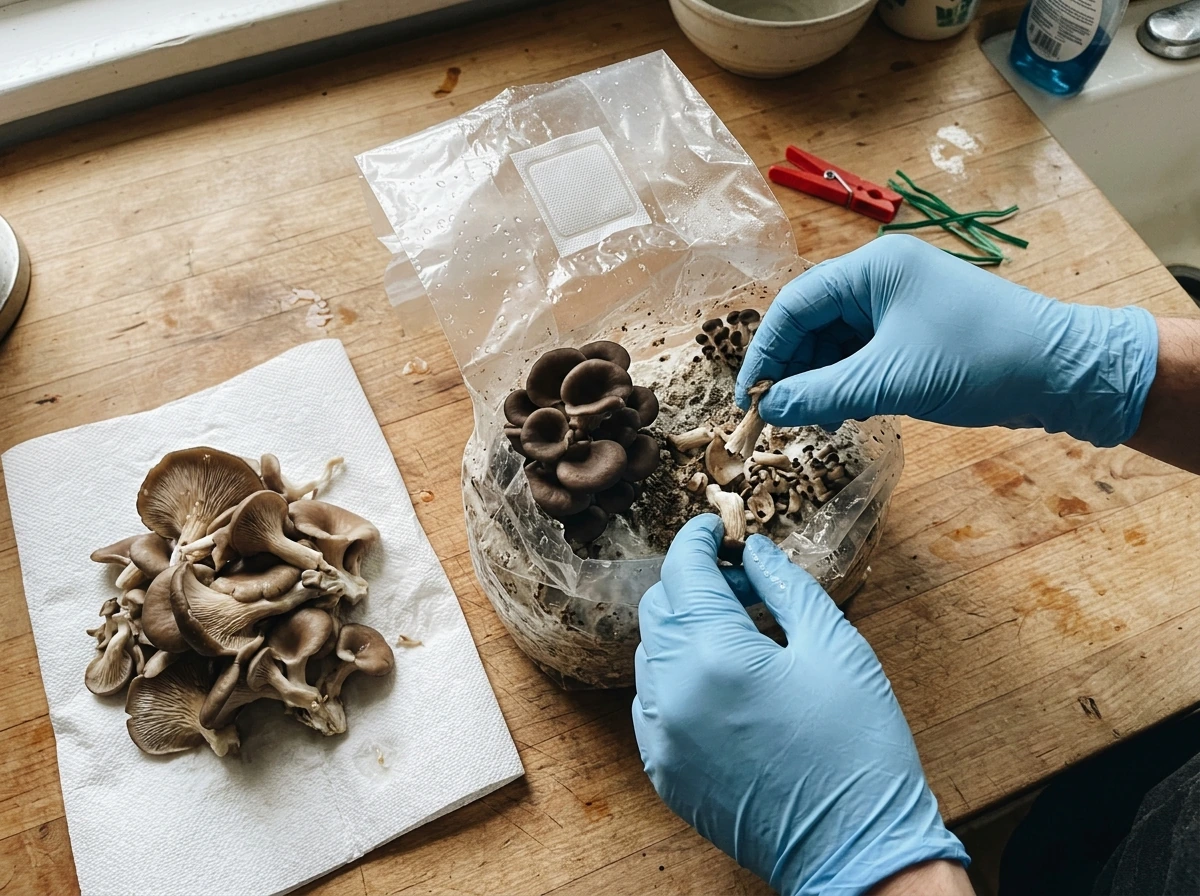
Right after harvest is when most contamination problems start, so handling this window correctly is important. The first thing to do is remove all spent stems and any mushrooms you didn't harvest. Leftover mushroom material decomposes quickly, gets slimy, and can introduce bacteria that will degrade the block and reduce your next flush.
Once the block is cleared, reseal the bag to retain moisture. A simple method is folding the top of the bag over and clipping it shut with a few paper clips. You're not trying to create a perfect seal, just preventing the block from drying out during the rest period.
If you're planning to restart after a longer break, store the sealed block in a cool, dark, dry place. A refrigerator works well for this. The cold slows microbial activity and gives the mycelium a rest period before you trigger the next fruiting cycle. When you're ready to restart, rehydrate the block by submerging it in water for a few hours, then return it to fruiting conditions.
If you're working with an empty bag that you want to refill, rinse it thoroughly with clean water, inspect it for any micro-tears or weak spots, and let it dry completely before storage. A damaged bag should go in the trash, not into storage. Even a small hole defeats the purpose of pressure sterilization.
Reusing the bag vs reusing the block: what to expect
These are two different things and it's worth keeping them separate in your head. If you're also comparing a grow bag to a monotub, the main difference is how each system handles sealing, airflow, and reusing substrate mushroom grow bag vs monotub.
| What you're reusing | What it involves | Expected outcome | Risk level |
|---|
| Same block, same bag (additional flushes) | Reseal, rehydrate, rest period, then fruit again | Fewer mushrooms than first flush, takes longer to pin; 2-3 flushes typical before yields drop off | Low if block is healthy |
| Empty bag refilled with fresh substrate | Rinse, dry, refill, re-sterilize at 15 PSI for 90-120 min | Comparable to new bag if properly re-sterilized and bag integrity holds | Moderate to high; bag weakening and seal failure are real risks |
| Used block moved to a new bag or monotub | Remove colonized block, transfer to new container | Can extend productive life, often used when original bag is compromised | Moderate; opening and transfer increases contamination exposure |
The second flush from the same block will almost always be smaller than the first. That's normal and expected, not a sign that something went wrong. Each successive flush pulls more from the substrate, and the mycelium puts progressively less energy into pinning. By flush three or four, yields are usually modest. That's the natural arc of a block, not a failure.
As for reusing the physical bag with new substrate, the honest take is that unless you're running a higher-volume home operation and already pressure-cooking your own substrate, the cost savings don't justify the added complexity and risk. New bags are inexpensive, and the peace of mind from a fresh, intact bag is worth it.
Step-by-step: safe reuse workflow to reduce contamination
This workflow covers the most common reuse scenario: pulling additional flushes from an existing colonized block. Follow this process after every harvest to keep contamination risk low.
- Harvest promptly: pick mushrooms at the right stage and don't let them sit on the block past their prime. Overripe mushrooms drop spores and decompose faster.
- Clear the block surface: remove all stems and any leftover mushroom material by twisting and pulling cleanly. Don't leave stubs in the substrate.
- Inspect for contamination: look for any unusual colors (green, black, pink, orange), smell for anything musty or off. If you find either, stop here and discard.
- Reseal the bag: fold the top over and clip it shut with paper clips or a bag clip. You want to hold in moisture without creating an airtight seal that traps stale air.
- Rest the block: let it sit for about 7 days in a clean, low-humidity environment away from direct light. This dormancy period lets the mycelium recover.
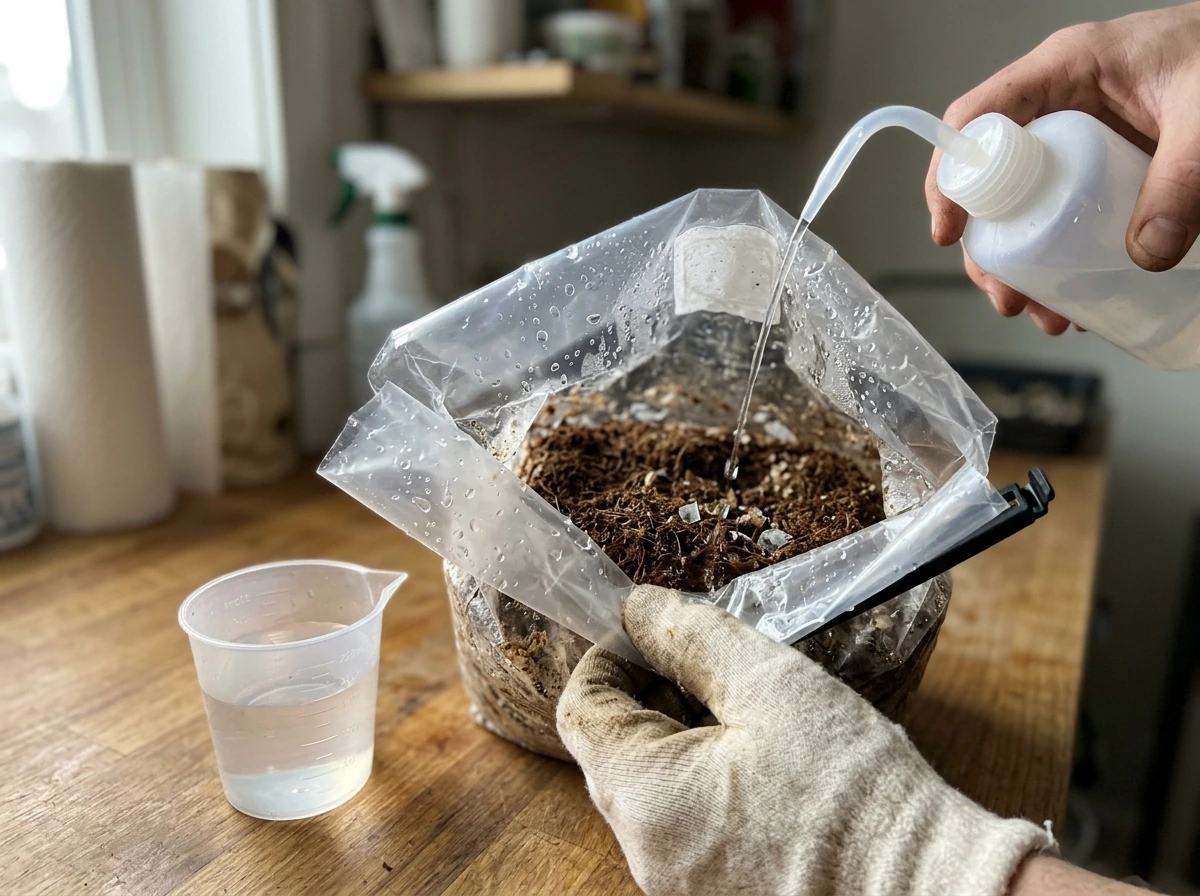
- Rehydrate if needed: if the block feels noticeably lighter than when you started, submerge it (still in the bag, or remove and submerge the block) in clean water for 2 to 4 hours, then drain thoroughly.
- Return to fruiting conditions: move back to your fruiting area, maintain humidity, and watch for pins. Do not open the bag or disturb the block until pins have formed.
- Repeat the cycle: continue through as many flushes as the block supports, stopping when yields drop to near nothing, contamination appears, or the block dries out past recovery.
If you're working with an all-in-one kit that has an "unused side" (like some commercial kits where you flip the substrate bag and cut a new X on the other face), follow the kit's specific instructions for that step. The Back to the Roots approach, for example, involves flipping the bag to the unused side, scraping the surface mycelium, cutting a new X, and soaking overnight before restarting. That's a kit-specific method and doesn't apply universally.
Troubleshooting contamination and poor results after reuse
No pins appearing after rest and rehydration
Give it a full 7 to 10 days in proper fruiting conditions before worrying. If nothing happens, check humidity (low humidity is one of the most common reasons pins stall), then try a cold shock by refrigerating the block for 12 to 24 hours and returning it to room temperature. If still nothing after two full cycles of this, the block has likely exhausted its productive capacity.
Visible mold spots on the surface
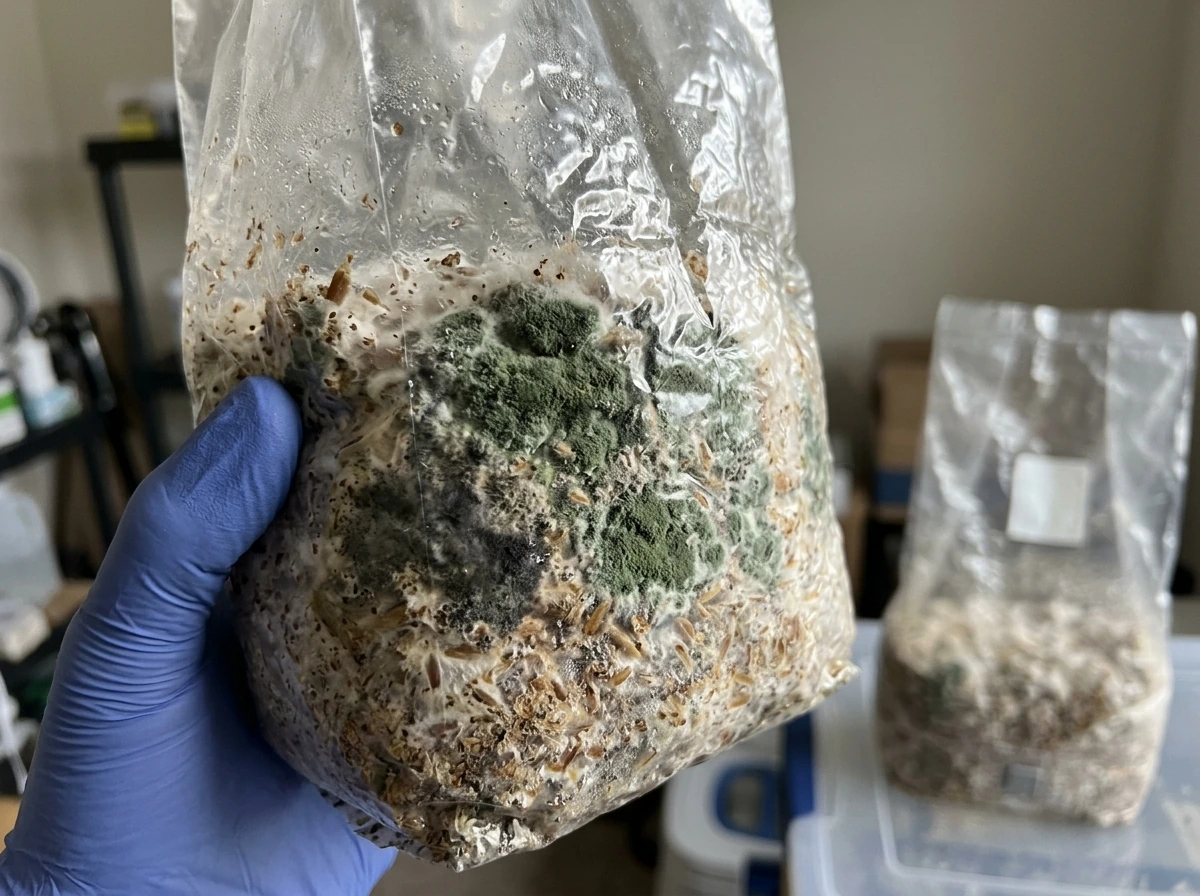
Small white fuzzy patches might be mycelium, but any color is a red flag. Green is almost always Trichoderma, one of the most aggressive and common mushroom contaminants. Black, pink, or orange growth is also a clear sign of contamination. If the mold is isolated to a small surface area and hasn't reached the interior of the block, some experienced growers will cut out the affected section and continue, but this is higher risk at home. For most home growers, the safer call is to discard and start fresh rather than gamble on the spread.
Unusual smell
A healthy block smells like fresh earth, clean mushrooms, or mild grain. Musty, sour, ammonia-like, or generally "off" smells are a definitive contamination signal. Don't try to work around it. Bag it up, remove it from your growing area, and discard it away from other grows.
Smaller and smaller flushes, then nothing
This is normal biology, not contamination. Each flush depletes nutrients and moisture in the substrate. Diminishing yields are expected and are a sign the block has lived its productive life, not a sign anything went wrong. Accept it, compost the spent block (it makes great garden amendment), and start fresh.
Wet, slimy sections on the block

Wet rot usually comes from leaving decomposing material on the block surface or from overwatering without adequate drainage or air exchange. If it's localized, you can try removing the affected section, but wet rot spreads and it's often better to cut your losses. Going forward, harvest promptly and don't let standing water sit in or around the bag.
Best next steps: choosing the right bag system for mushrooms
If you're planning to grow mushrooms long-term rather than one-off kits, it's worth thinking about bag selection from the start. The right bag makes reuse, contamination control, and overall results much easier to manage.
For beginners, an all-in-one mushroom grow bag is the most forgiving option. Everything is pre-mixed and sterilized, the filter patch is already in place, and there's no pressure cooking required. The trade-off is that these bags aren't designed for re-sterilization and refilling, so your reuse path is limited to additional flushes from the same substrate. If you want help picking the best all in one mushroom grow bag reddit, that comparison is covered elsewhere on this site. best psilocybe cubensis grow bag
For more experienced growers who are mixing and sterilizing their own substrate, bulk autoclavable bags make sense. These are rated for multiple sterilization cycles at high pressure, so refilling and re-sterilizing is a legitimate workflow. The key is using bags that are confirmed autoclavable, inspecting them before each run for any wear or micro-damage, and not pushing a bag past the point where its integrity is questionable.
If you're managing larger colonized blocks and want to extend their productive life or improve fruiting conditions, transferring to a monotub is a popular option, learn more about how to transfer mushroom grow bag to monotub so you can plan the move without raising contamination risk. The monotub gives you more control over humidity and air exchange, and a block that's running low on steam in a bag can sometimes produce a few more flushes when moved to a roomier container. That workflow is its own topic, but it's worth knowing the option exists if your block still looks healthy but your bag is compromised. monotub vs grow bag. mushroom grow bag vs monotub
The bottom line on reuse: don't stress too much about getting every possible flush from a bag or block at the expense of contamination control. A healthy grow environment and clean practices will serve you better long-term than squeezing extra flushes from aging substrate. Fresh bags are cheap, so if you’re wondering where to buy mushroom grow bags, prioritize clean, sealed options to protect your grow. The time and substrate you lose to a contaminated grow is not.