
CO2 grow bags are worth using in specific, well-sealed grow spaces where light and nutrients are already dialed in. In a tight 4x4 tent with good light intensity, they can raise ambient CO2 by 150–200 ppm above baseline and push measurable growth improvements. In a leaky room, a greenhouse with active ventilation, or a setup that's still struggling with watering and lighting basics, they almost certainly won't make a noticeable difference and you'll feel like you wasted $30–60. The honest answer is: CO2 bags are a legitimate tool with real limitations, and most growers either use them in the wrong conditions or have unrealistic expectations about the results.
CO2 Grow Bags Review: Types, Results, Setup, and Tips
Marcus Holloway
10 Jul 2026
What CO2 grow bags are and how they work
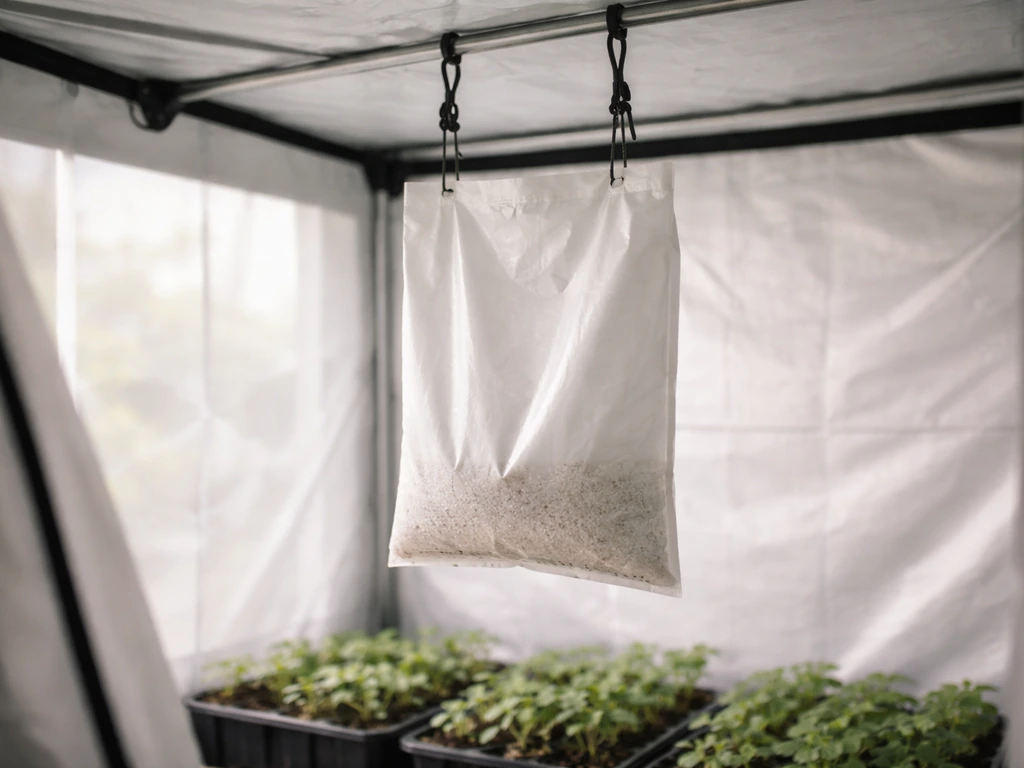
CO2 grow bags are passive enrichment products that use biological activity inside the bag to generate and release carbon dioxide continuously into your grow space. Most of them are filled with a substrate colonized by beneficial fungal mycelium (like Trichoderma) or other microorganisms. When the mycelium metabolizes the substrate, it produces CO2 as a byproduct. That CO2 passes through a microporous breather patch on the bag and slowly diffuses into the surrounding air. You're not dealing with pressurized gas tanks, regulators, or solenoid valves. The whole thing is passive and low-tech.
Different brands approach activation differently. ExHale bags, for example, are pre-colonized at the factory and start producing CO2 as soon as you open and hang them. Other products, like some Pure CO2 Bag variants, require you to add water to activate microbial activity. Either way, output isn't instant. ExHale's own documentation states peak output typically takes 30–45 days to reach after activation. Some listings for products like the Pakenham XL 1300PPM model describe an intensifying release over the first few days, followed by sustained output for 3 to 5 months. Blomgrow's CO2BAG claims a 1 to 4 month window depending on bag size and ventilation. These timelines vary because temperature, humidity, and airflow in your grow space directly influence how fast the substrate is consumed.
CO2 is colorless and odorless, so you won't smell the gas itself. What you might smell is the substrate or mycelium inside the bag, especially if conditions get too humid. The breather patch is designed to allow steady, consistent diffusion without releasing moisture into your tent, but the bag still contains a live biological material. That's worth knowing before you buy.
Quick take: who should use them (and when they won't help)
CO2 grow bags make the most sense for growers who are already producing solid results and want to push output a bit further, not for growers trying to fix a struggling crop. The science on CO2 enrichment is clear: you need other inputs to be near-optimal before elevated CO2 delivers meaningful benefits. If you are also looking for a rain science grow bags coupon code to cut costs on your setup, compare current offers before you buy CO2 enrichment. Oklahoma State University's extension research puts the effective enrichment range at 800–1,000 ppm for notable yield increases, but specifically notes that CO2 alone won't do much if light, temperature, humidity, and nutrition are limiting photosynthesis. A CO2 bag won't rescue a plant sitting under a weak grow light or sitting in waterlogged soil.
You'll get the most out of CO2 bags if you check most of the boxes below. If you're missing two or more, prioritize fixing those first.
- You're growing in a sealed or semi-sealed indoor tent, not an open room or actively vented greenhouse
- Your light intensity is high enough to drive photosynthesis at above-ambient CO2 levels (generally 400+ PPFD for vegetative, higher for fruiting crops)
- You're growing C3 plants like tomatoes, cucumbers, peppers, lettuce, or cannabis (C3 crops can show 40–100% yield increases at optimal CO2; C4 crops like corn see a much smaller 10–25% response)
- Ambient CO2 in your space is near or below outdoor baseline (~400–420 ppm), not already elevated from other sources
- Your grow space is reasonably sealed so CO2 can accumulate rather than immediately exchange out
When CO2 bags won't help: if you're running continuous high-volume exhaust fans that fully exchange your tent air every few minutes, the CO2 will be gone before plants can use it. Same story for greenhouses with open vents. Growers in leaky spaces, basements with open doors, or anyone growing C4 crops or extremely low-light plants are unlikely to see results worth the cost.
How to choose the right CO2 grow bag
The market is fairly small. ExHale is the most established brand and has the most third-party discussion, which makes it the easiest to evaluate. The standard ExHale bag is marketed for small to medium grow spaces, while the ExHale XL is positioned for larger tents and claims 6 months of output. Other options include the Pure CO2 Bag (water-activated, Trichoderma-based, 3–5 months claimed) and the Blomgrow CO2BAG (1–4 months). Here's how they stack up across the factors that matter most:
| Feature | ExHale Standard | ExHale XL | Pure CO2 Bag | Blomgrow CO2BAG |
|---|---|---|---|---|
| Activation method | Pre-colonized, open and hang | Pre-colonized, open and hang | Add water to activate | Pre-activated |
| Claimed duration | Up to 6 months | Up to 6 months | 3–5 months | 1–4 months |
| Peak output timing | ~30–45 days after activation | ~30–45 days after activation | Intensifies over first few days | Variable |
| Coverage area | Small to medium tents | Medium to large tents | Medium tents | Size-dependent |
| CO2 release method | Microporous breather patch (passive) | Microporous breather patch (passive) | Microporous release (passive) | Passive diffusion |
| Third-party data available | Yes (community reviews, forum tests) | Limited | Limited | Limited |
If you're buying your first CO2 bag for a 4x4 or 5x5 tent, the ExHale XL is the safest bet purely because of the volume of real-world feedback available. You can find actual meter readings from growers who tested it, which makes it easier to set honest expectations. Water-activated bags like the Pure CO2 Bag can work well but require you to monitor moisture levels more carefully during activation to avoid encouraging mold on the substrate.
One thing to ignore when comparing bags: headline PPM claims like "1300PPM" on some product listings. That number describes a theoretical output concentration under ideal conditions, not what you'll actually measure floating in your tent air. Your real ambient CO2 level depends on how sealed your space is, your air exchange rate, and the volume of the room.
Performance expectations and what 'better growth' actually looks like
Let's be direct about what you should expect. In a well-sealed 4x4 tent with one ExHale bag, growers who've tested with meters have reported CO2 levels roughly 150–200 ppm above their baseline. If your baseline is 400–420 ppm, you might reach 550–620 ppm, which is above ambient but short of the 800–1,000 ppm sweet spot that research identifies for meaningful yield increases. To get into that 800–1,000 ppm range with a bag alone would require an extremely well-sealed space, minimal air exchange, and possibly multiple bags.
What does that 150–200 ppm bump actually translate to in the real world? Faster vegetative growth is the most commonly reported result, especially during the first few weeks after the bag reaches peak output. Some growers notice slightly larger leaf size, faster internode development, and earlier transition to the flowering or fruiting stage. For tomatoes, cucumbers, and peppers specifically, research supports the premise: these are C3 crops and among the most responsive to CO2 enrichment, with OSU extension data and ScienceDirect reviews both noting yield responses to enrichment in the 600–1,000 ppm range. A ScienceDirect review of greenhouse CO2 enrichment reports that raising CO2 during ventilation periods can increase cucumber yield, and that crop species differ in how strongly they respond increases cucumber yield during ventilation periods. If you are looking at shrüm grow bag reviews, focus on how the bag performs in C3 crops and whether real meter readings match the CO2 enrichment claims. But the increases you'll see from a bag in a home tent will be more modest than the 40–100% yield gains cited in controlled commercial greenhouse studies, where CO2 is tightly managed at 800–1,000 ppm with other inputs fully optimized.
A CO2 meter is genuinely useful here if you want to verify results. Budget meters in the $50–100 range (NDIR sensor type) will tell you whether CO2 is actually accumulating. If your readings don't budge after 6–8 weeks of using the bag, that's important feedback. It likely means your space isn't sealed enough, your ventilation rate is too high, or the bag isn't performing as expected.
Setup and best practices
Where to hang the bag
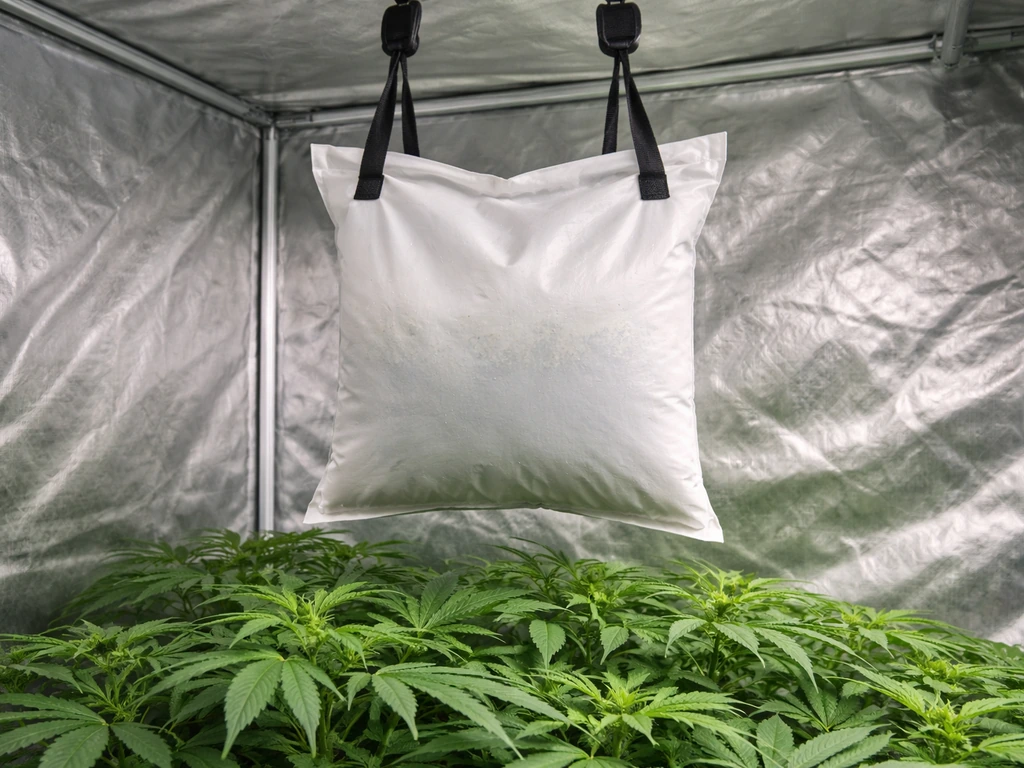
CO2 is heavier than air and settles downward, so you want the bag positioned slightly above plant canopy level, ideally near the center of the grow space. ExHale's product guidance specifically states to hang the XL slightly above plant level so CO2 diffuses down through the canopy over 24 hours. Growland's instruction PDF similarly recommends placing the bag near the center of the grow room or tent, not near the exhaust fan or air intake where your ventilation will immediately pull the CO2 out before plants can use it. If you want a quick, practical summary before buying, this westland grow bag review covers what to expect and how to judge quality for your setup. Hanging it directly next to an intake or exhaust port is one of the most common mistakes.
Airflow and ventilation balance
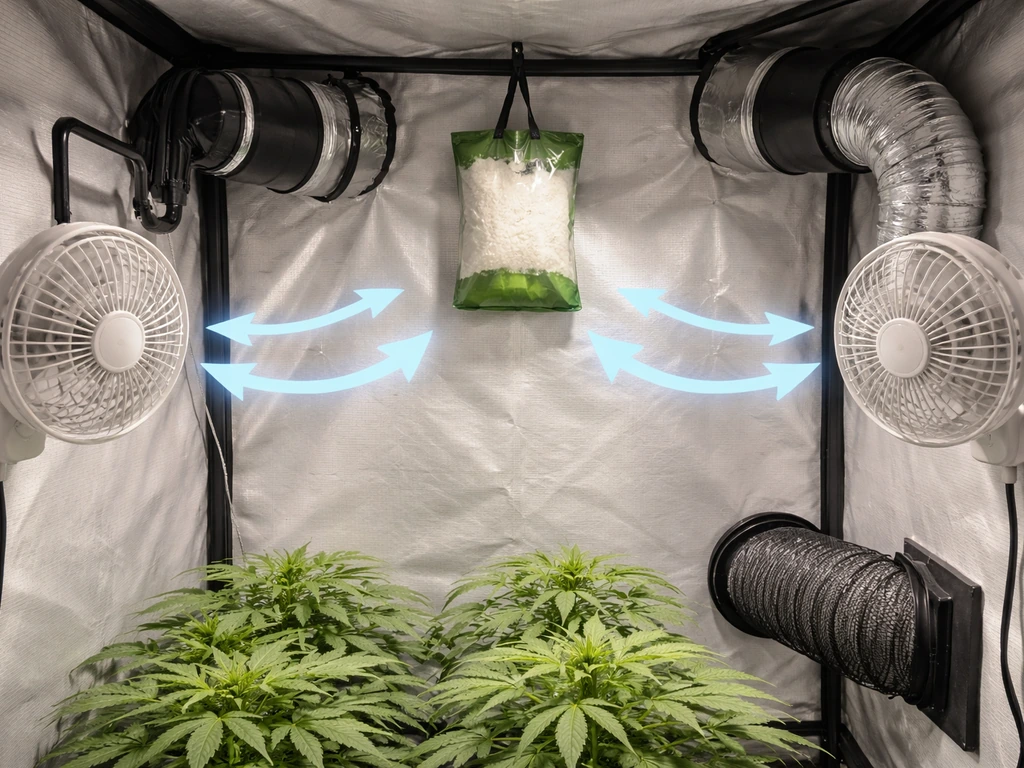
This is the biggest practical challenge with passive CO2 bags. You need enough air circulation to prevent heat and humidity buildup, but too much active exhaust will flush your CO2 before plants absorb it. If you're running a continuous exhaust fan on a timer, consider cycling it to run for shorter bursts rather than continuously, especially during the peak photosynthesis hours in the middle of the light period. CO2 enrichment research from Frontiers in Plant Science notes that ventilation primarily regulates temperature, and extra CO2 supply is most valuable when ventilation is reduced. The practical takeaway: during cool parts of the day when you don't need as much ventilation for temperature control, reduce exhaust and let CO2 accumulate.
Plant stage and timing
CO2 supplementation does the most work during active vegetative growth and the early fruiting stage. Bayer's guidance on tomatoes notes that CO2 applications are most beneficial early and late in the daylight period, and that optimal CO2 for seedlings after establishment is 800–1,000 ppm. For cannabis growers, the vegetative stage through mid-flower is where CO2 enrichment typically produces the clearest response. Starting a fresh bag at the beginning of a grow cycle makes sense because the bag takes 30–45 days to reach peak output, meaning it'll hit its stride right when your plants are in high-growth phase.
Heat and humidity near the bag
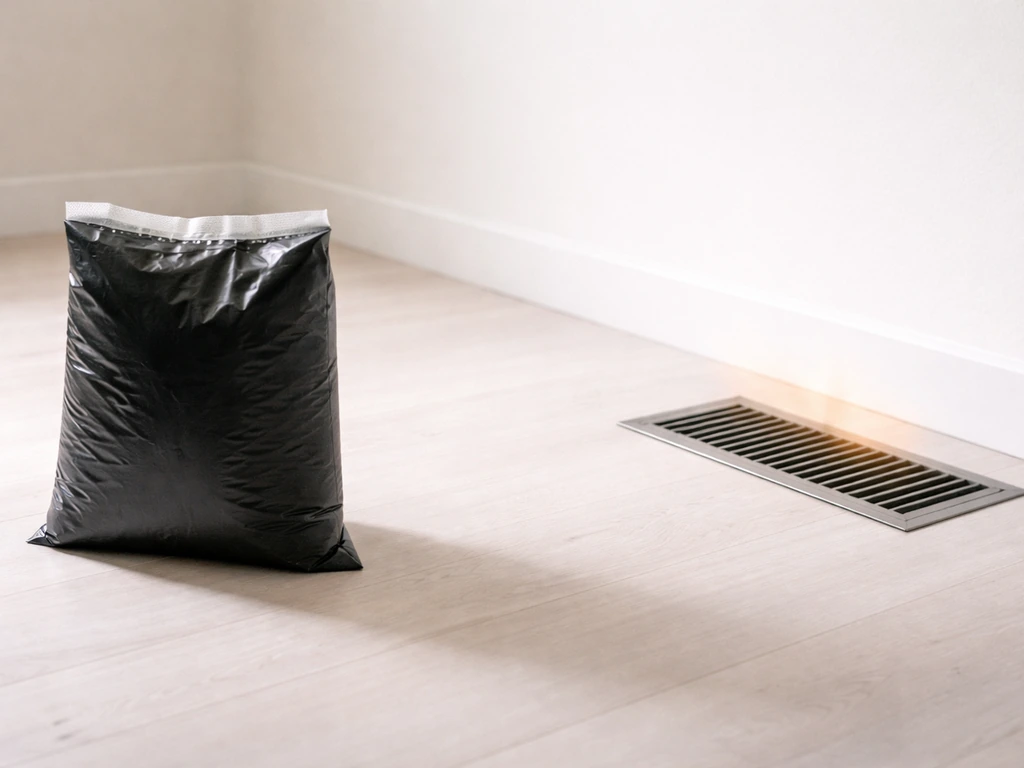
Keep heat sources away from the bag. CO2 Grow's FAQ documentation specifically warns that placing a heat source too close reduces moisture content in the substrate, shortening the bag's productive life. The substrate inside the bag needs a stable, moderately humid environment to maintain microbial activity. Don't position the bag directly under a high-intensity light or next to a heater.
Safety, common problems, and what to do when results are weak
Is it safe?
CO2 itself is colorless, odorless, and non-toxic at the concentrations these bags produce. You're not going to hit dangerous levels from a passive bag in a home grow tent. CO2 becomes a safety concern at concentrations above 5,000 ppm (and Bayer's guidance warns against exceeding that level), but a single passive bag in a typical home grow setup won't get anywhere close to that. The real safety consideration is the substrate inside the bag: it's a living biological material, and if conditions get too humid or the bag develops a leak, you could get mold growth on the outside of the bag. Mold from the substrate won't hurt your plants directly, but mold spores in your grow space are worth avoiding. Check the bag periodically, especially in the first few months.
Why your bag might not be working
This is where grower frustration typically comes from. Multiple community threads and forum discussions from experienced growers report CO2 meters showing little to no increase after adding an Exhale bag. Here are the most common reasons:
- Your grow space isn't sealed well enough. Passive bags can't overcome high air exchange rates. If your tent has gaps at the ports, the zipper, or open ducting, CO2 will leak faster than the bag produces it.
- You placed the bag near the exhaust fan. CO2 diffuses out before it reaches your plants. Move it to the center of the tent, above canopy.
- The bag hasn't reached peak output yet. Remember, peak output takes 30–45 days. Don't judge at week one or two.
- Your baseline CO2 is already higher than 400 ppm. In some homes, especially in small rooms with poor ventilation, ambient CO2 can already be 600–800 ppm from human respiration. A bag won't add meaningful CO2 on top of that.
- You're using an inaccurate CO2 meter. Cheap electrochemical CO2 sensors are often unreliable. NDIR (non-dispersive infrared) sensors are more accurate. If you're testing, make sure your meter is a quality NDIR unit.
- The bag is old or was stored improperly. Substrate that dried out during shipping or storage before activation may already have reduced microbial activity.
Odor and moisture
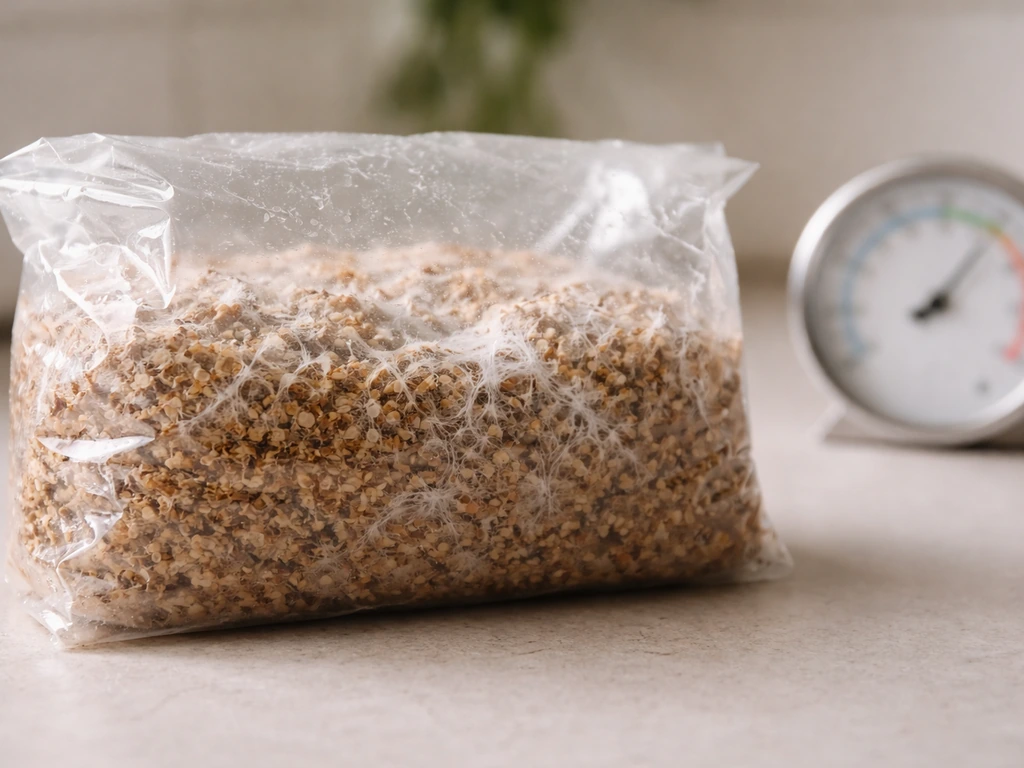
The bag substrate can produce a faint earthy or musty smell, especially when it's new and actively colonizing. This is normal fungal mycelium smell, not a sign of a problem. If you notice a stronger or unpleasant odor, inspect the outside of the bag for visible mold and check that humidity in your grow space isn't excessively high. The CDC notes that mold can smell musty and cause health issues at elevated exposure, so if you're seeing significant mold growth on the bag exterior, remove it and improve humidity control before introducing a new one.
Alternatives and next steps if CO2 bags aren't the right move
If you've tried a CO2 bag and seen no improvement, or if your grow setup doesn't meet the conditions where bags work, here's a practical hierarchy for what to fix first:
- Light is almost always the bottleneck before CO2. If you're not running enough PPFD to saturate your plants' current photosynthetic capacity, more CO2 won't help. Upgrade your light before spending money on CO2 supplementation.
- Watering and root health come next. Plants sitting in oversaturated soil or root-bound containers can't use extra CO2 efficiently regardless of ambient levels. If you're growing in fabric grow bags, make sure you're matched to the right bag size for your plant and getting proper drainage and aeration.
- Nutrients need to be at least adequate. CO2 drives photosynthesis, but the sugars produced still need nitrogen, phosphorus, and micronutrients to become actual plant tissue. A deficient plant won't respond to CO2.
- If you want reliable, measurable CO2 control above 1,000 ppm, passive bags aren't the tool. A CO2 generator or compressed CO2 tank with a controller (like the Growcontrol GrowBase or similar) gives you precise set-point control. These are more expensive and have their own complexity, but they're the only way to reliably hit and hold 800–1,000 ppm in a home tent.
- For small spaces or tight budgets, vinegar-and-baking-soda DIY setups and fermentation-based CO2 systems are lower-cost alternatives worth exploring before committing to commercial bags.
If you're specifically evaluating CO2 bags as part of choosing the right overall grow bag system, it's worth noting that the grow bag itself (the container your plants are in) and the CO2 bag (the enrichment product) are two completely separate things. Getting your fabric grow bag setup right, with proper sizing, drainage, and aeration, is a prerequisite for any CO2 supplementation to be worth anything. Other grow bag brands and setups each have their own tradeoffs in construction and performance that are worth comparing alongside your CO2 strategy.
The bottom line: CO2 bags are a real product with real science behind them, but they're not magic and they're not universal. In the right setup, with a tight tent, strong light, and well-fed plants, they're a low-effort way to nudge yields a bit higher. In the wrong setup, they're an easy $40 to waste. Know your conditions before you buy, hang the bag correctly, give it 6–8 weeks to hit peak output, and measure if you're serious about knowing whether it's actually working.
FAQ
Will a CO2 grow bag work in my tent if my exhaust fan is always on?
Not really. CO2 grow bags are designed to work only when the grow space is relatively well sealed and when plants can benefit from the extra CO2 during periods when photosynthesis is active. If your setup uses frequent or high-volume exhaust that constantly exchanges tent air, you usually will not see a sustained CO2 rise, and you are better off first improving light, watering, and ventilation balance (or using active CO2 control if you truly need higher ppm).
How close will I get to the “1300 PPM” or similar claim on the packaging?
You should treat “PPM on the label” as a lab or ideal condition number, not what you will measure inside your room. Actual ambient ppm depends on sealed volume, air exchange rate, and how close the bag is to the canopy and airflow paths. If you want a reality check, use an NDIR CO2 meter and look for a trend over at least a few weeks after activation, not a one-hour reading.
Should I run my exhaust differently when using a CO2 grow bag?
Most bags are meant to be used continuously for the duration of their active window, but your ventilation timing matters. A common approach is to reduce exhaust (or shorten exhaust run time) during peak light hours and periods when plants are most photosynthetically active, then rely on ventilation outside those windows for temperature control. The goal is to let CO2 accumulate rather than being immediately flushed.
Where should I place a CO2 meter to know if the bag is actually working?
A CO2 meter is helpful, but placement and airflow can make readings misleading. If your sensor is near an intake, exhaust, or strongly mixing fan, it can read lower than the rest of the canopy microclimate. Place the sensor at canopy height near the center of the grow space, and compare “before and after” using the same location and light schedule.
Can I restart or recharge a CO2 grow bag after it seems to run out?
Do not assume you can “top off” a used bag. These products rely on a finite biological substrate and activation moisture, so once the output window ends, performance typically drops sharply. If you still see odor or condensation but CO2 does not rise, that is often a sign the substrate has slowed rather than a sign you should rehydrate or extend it.
What should I do if my CO2 bag smells very bad or I see mold on it?
If you see a stronger musty smell or visible mold on the outside, that is a cue to pause use and inspect. Even though the main gas is non-toxic, the mold risk is about spores in your grow space. Improve humidity control, check whether the bag is too close to heat or direct airflow that is drying or wetting the breather area, and only reintroduce the bag after the exterior is clean and the grow environment is stable.
If my bag is water-activated, how do I avoid problems during the first week?
Some activation methods involve adding water, and that changes how carefully you need to manage humidity during the first days. Overly wet substrate conditions can encourage unwanted mold growth, while too-dry conditions can reduce microbial activity and slow CO2 output. If your bag is water-activated, keep your grow humidity in a normal operating range and avoid splashing or over-wetting near the breather patch.
What are the most common reasons growers see no benefit from CO2 bags besides ventilation?
CO2 supplementation is most beneficial when other drivers of photosynthesis are not limiting. If your plants are cold, heat-stressed, under-lit, nutrient-deficient, or chronically waterlogged, the CO2 bump will not translate into meaningful growth. Use CO2 bags as an “add-on” once you have stable VPD or humidity, consistent watering, and adequate light intensity for your crop.
Are CO2 grow bags safe to use without an air monitor?
Safety-wise, passive bags in home tents are unlikely to reach dangerous CO2 concentrations, but you should still use basic controls. Keep the bag away from direct high-intensity light, heaters, and anything that can over-dry the substrate, and prevent water drips or condensation from accumulating on the bag exterior. If you are running sealed spaces with multiple bags, monitoring becomes more important to avoid accidentally creating extreme conditions.
Does the crop stage or crop type change how noticeable the CO2 bag results are?
Yes, the effect can vary by crop type and by whether the plant is in an active growth stage. CO2 enrichment tends to be more noticeable during vegetative growth and early fruiting or flowering (when carbon fixation is high). If you try to run a bag during late senescence or when growth is already slow for other reasons, you may not see a strong response.
Next Articles
Westland Grow Bag Review: Worth Buying and Best Size Guide
Direct Westland grow bag review with best size guide, performance tips, pros and cons for veg and flowers.
Best Landscape Fabric for Grow Bags: Buy and Install Guide
Choose the best landscape fabric for grow bags with weed-blocking, drainage and aeration tips plus DIY install steps.
Best Soil for Grow Bags: Mix Recipes and How Much to Add
Best soil for grow bags: mix recipes, how much to add by bag size, and vegetable tweaks for strong drainage and yield.